秒杀项目之mybatis与微服务注册
目录
一、SpringBoot整合MybatisPlus
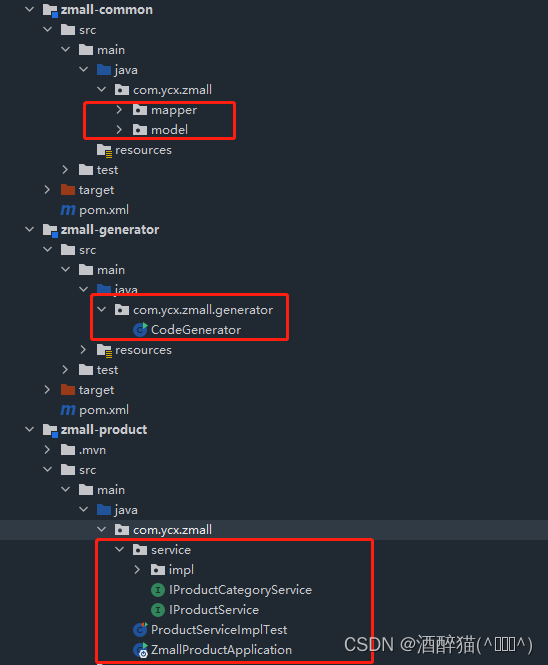
创建自动生成代码子模块
创建商品服务子模块
二、SpringBoot整合Freeamarker
三、SpringBoot整合微服务&gateway&nginx
整合微服务之商品服务zmall-product
创建并配置网关gateway服务
安装配置SwitchHosts
安装配置Windows版nginx
请求链路测试
一、SpringBoot整合MybatisPlus
创建自动生成代码子模块
基于maven方式创建子模块zmall-generator,用于结合mybatis-plus生成代码
-
在公共模块zmall-common中注释掉mybatis的依赖引入,改换成mybatis-plus依赖引入
com.baomidou mybatis-plus-boot-starter 3.4.0
2.在zmall-generator中引入mybatis-plus-generator依赖。该模块专用于mybatis-plus的代码生成,所以单独在此引入该依赖即可。
com.baomidou mybatis-plus-generator 3.4.0
3.在src/main/resources下创建templates目录,并导入mybatis-generator生成代码模板页
4.在src/main/java下创建包com.ycx.zmall,并导入generator下的CodeGenerator类用于代码生成
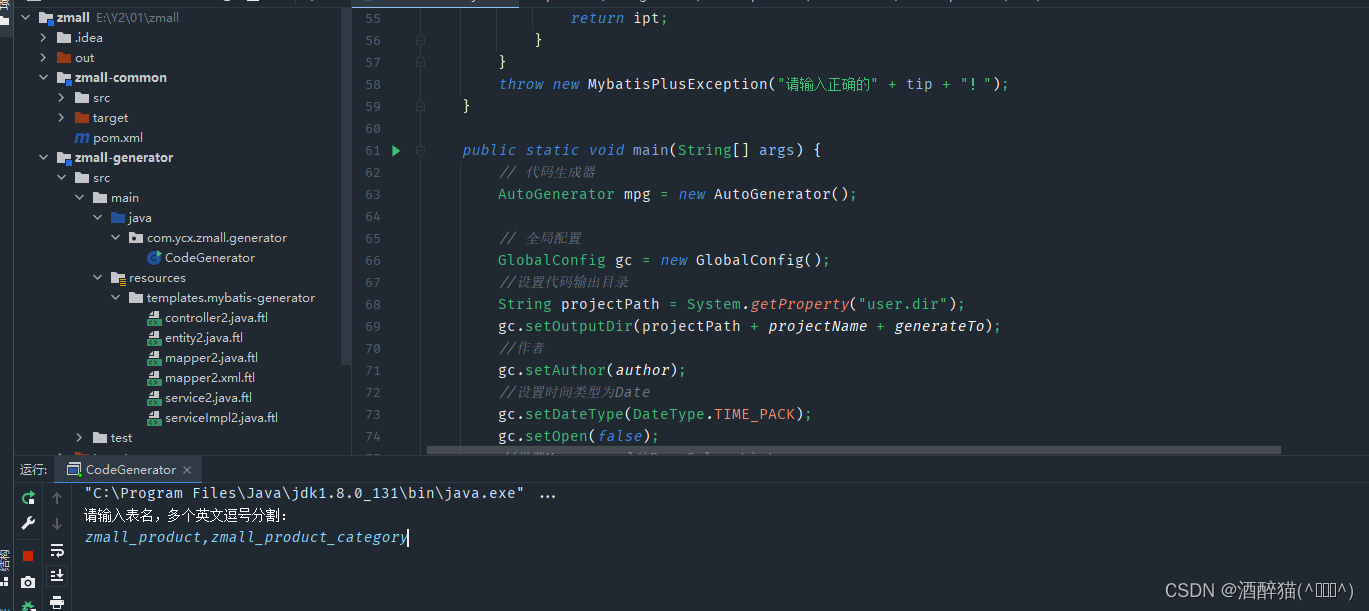
5.修改CodeGenerator类基本生成参数,并生成代码
//数据库连接参数
public static String driver = "com.mysql.jdbc.Driver";
public static String url = "jdbc:mysql://localhost:3306/zmall?characterEncoding=utf8&useSSL=false&serverTimezone=Asia/Shanghai&rewriteBatchedStatements=true";
public static String username="root";
public static String password="123456";
//父级别包名称
public static String parentPackage = "com.ycx.zmall";
//项目名设置(如果是SpringCloud项目则需要设置,其他为""即可)
public static String projectName="/zmall-generator";
//代码生成的目标路径
public static String generateTo = "/src/main/java";
//mapper.xml的生成路径
public static String mapperXmlPath = "/src/main/resources/mapper";
//控制器的公共基类,用于抽象控制器的公共方法,null值表示没有父类
public static String baseControllerClassName ;
//业务层的公共基类,用于抽象公共方法
public static String baseServiceClassName ;
//作者名
public static String author = "ycx";
//模块名称,用于组成包名
public static String modelName = "model";
注意:
修改数据库连接URL中的数据库名、数据库账号和密码;
修改父级别包名称
修改项目名,如果是SpringCloud项目则修改,不是则默认“”
先生成
zmall_product_category,zmall_product
创建商品服务子模块
1.基于Spring Initializr方式创建商品服务模块zmall-product
2.在主模块pom.xml中加入商品服务子模块zmall-product
zmall-common zmall-user zmall-generator zmall-product
3.配置商品服务子模块zmall-product的application.yml配置文件
server:port: 8020
spring:application:name: zmall-productdatasource:#type连接池类型 DBCP,C3P0,Hikari,Druid,默认为Hikaritype: com.zaxxer.hikari.HikariDataSourcedriver-class-name: com.mysql.jdbc.Driverurl: jdbc:mysql://localhost:3306/zmall?characterEncoding=utf8&useSSL=false&serverTimezone=Asia/Shanghai&rewriteBatchedStatements=trueusername: rootpassword: 1234freemarker:suffix: .htmltemplate-loader-path: classpath:/templates/
#mybatis-plus配置
mybatis-plus:#所对应的 XML 文件位置mapper-locations: classpath*:/mapper/*Mapper.xml#别名包扫描路径type-aliases-package: com.ycx.zmall.modelconfiguration:#驼峰命名规则map-underscore-to-camel-case: true
#日志配置
logging:level:com.ycx.zmall.mapper: debug
4.在商品服务子模块中启动类上添加
@SpringBootApplication
@MapperScan({"com.ycx.zmall.mapper"})
public class ZmallProductApplication {public static void main(String[] args) {SpringApplication.run(ZmallProductApplication.class, args);}
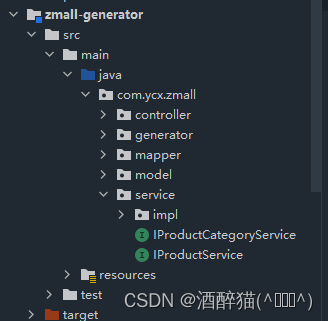
}5.将公共子模块中生成的service层代码复制到商品服务子模块zmall-product中,并删除掉非商品相关的service接口及实现类
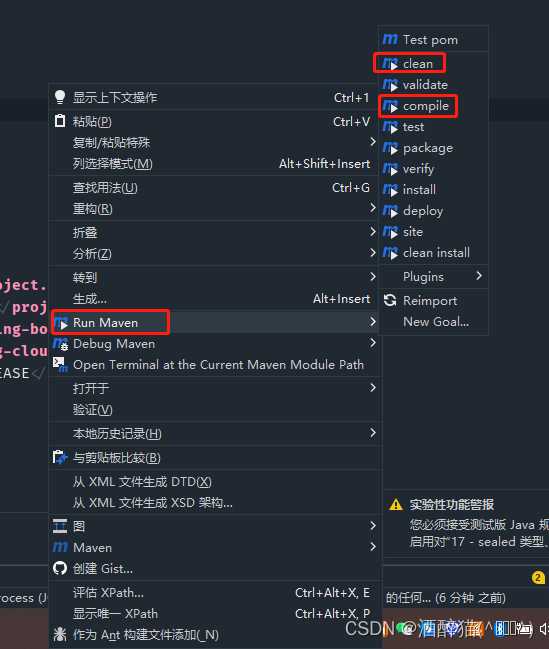
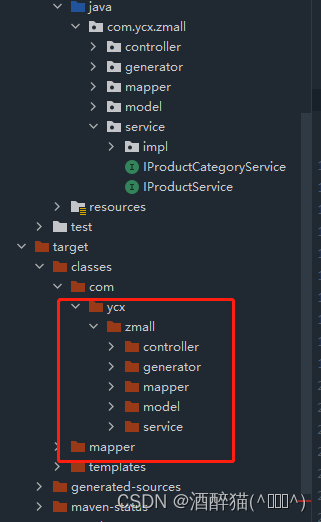
(注意:记得把父模块pom依赖clean再compile)
6.创建junit实现接口测试
zmall-common模块
junit junit 4.12 org.springframework.boot spring-boot-starter-test 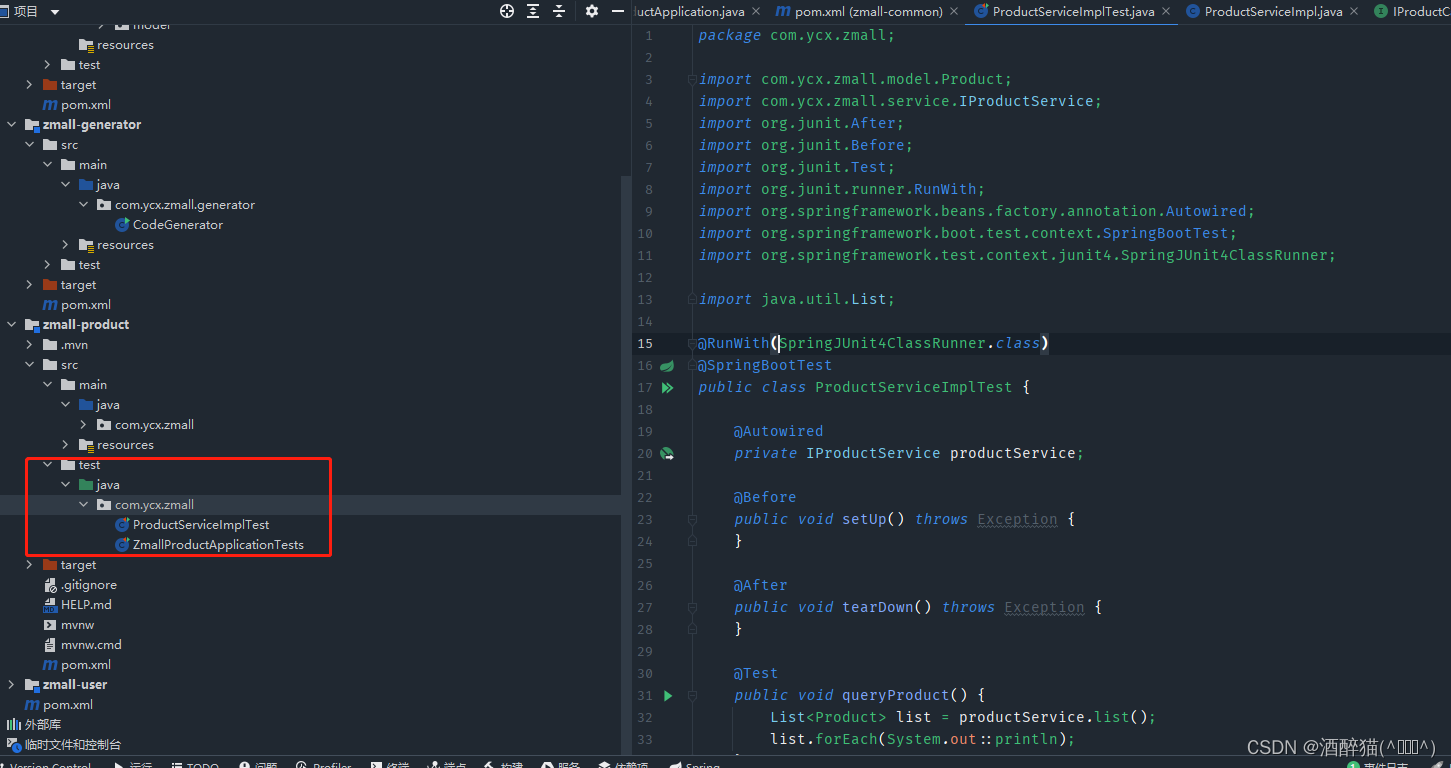
package com.ycx.zmall;import com.ycx.zmall.model.Product;
import com.ycx.zmall.service.IProductService;
import org.junit.After;
import org.junit.Before;
import org.junit.Test;
import org.junit.runner.RunWith;
import org.springframework.beans.factory.annotation.Autowired;
import org.springframework.boot.test.context.SpringBootTest;
import org.springframework.test.context.junit4.SpringJUnit4ClassRunner;import java.util.List;@RunWith(SpringJUnit4ClassRunner.class)
@SpringBootTest
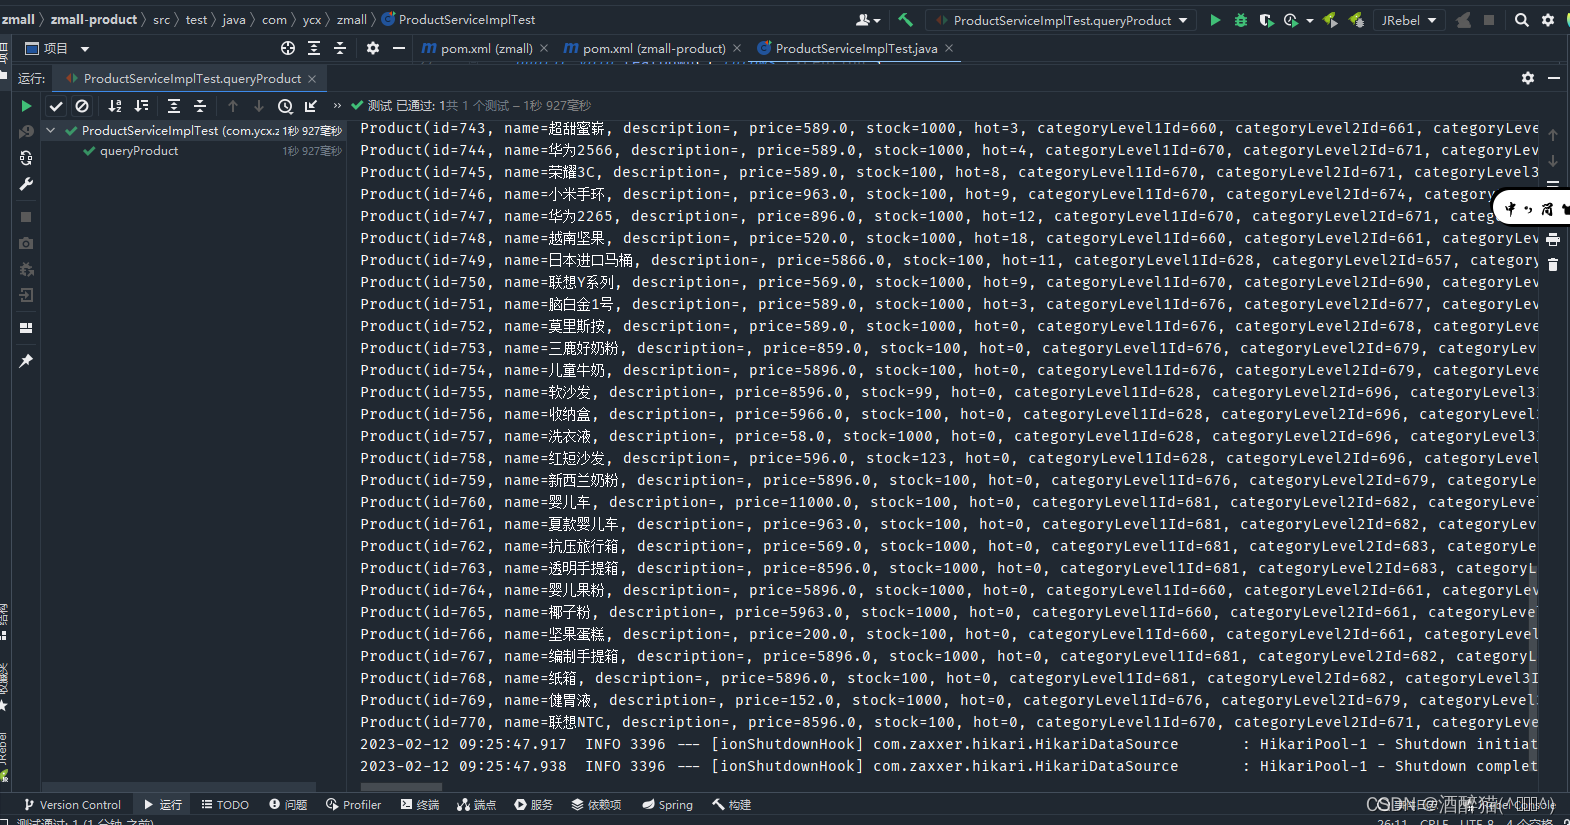
public class ProductServiceImplTest {@Autowiredprivate IProductService productService;@Beforepublic void setUp() throws Exception {}@Afterpublic void tearDown() throws Exception {}@Testpublic void queryProduct() {List list = productService.list();list.forEach(System.out::println);}
} 
二、SpringBoot整合Freeamarker
1、在公共模块zmall-common中引入freemarker依赖
org.springframework.boot spring-boot-starter-freemarker
2、在商品子模块zmall-product中添加首页和商品详情页面及公共资源(js/css/images)
-
将资料目录中的《易买网网页素材.rar》解压后,将其中Index.html、Product.html和js/css/images等等添加到项目的templates和static目录下,最好请将Index.html、Product.html页面首字母改成小写
-
导入资料目录中的common目录到项目的templates目录下
-
将页面中的头部申明修改成(支持H5风格)
-
在页面中通过<#include>指令引入common目录中的head.html
3、创建ProductController定义请求方法
@Controller
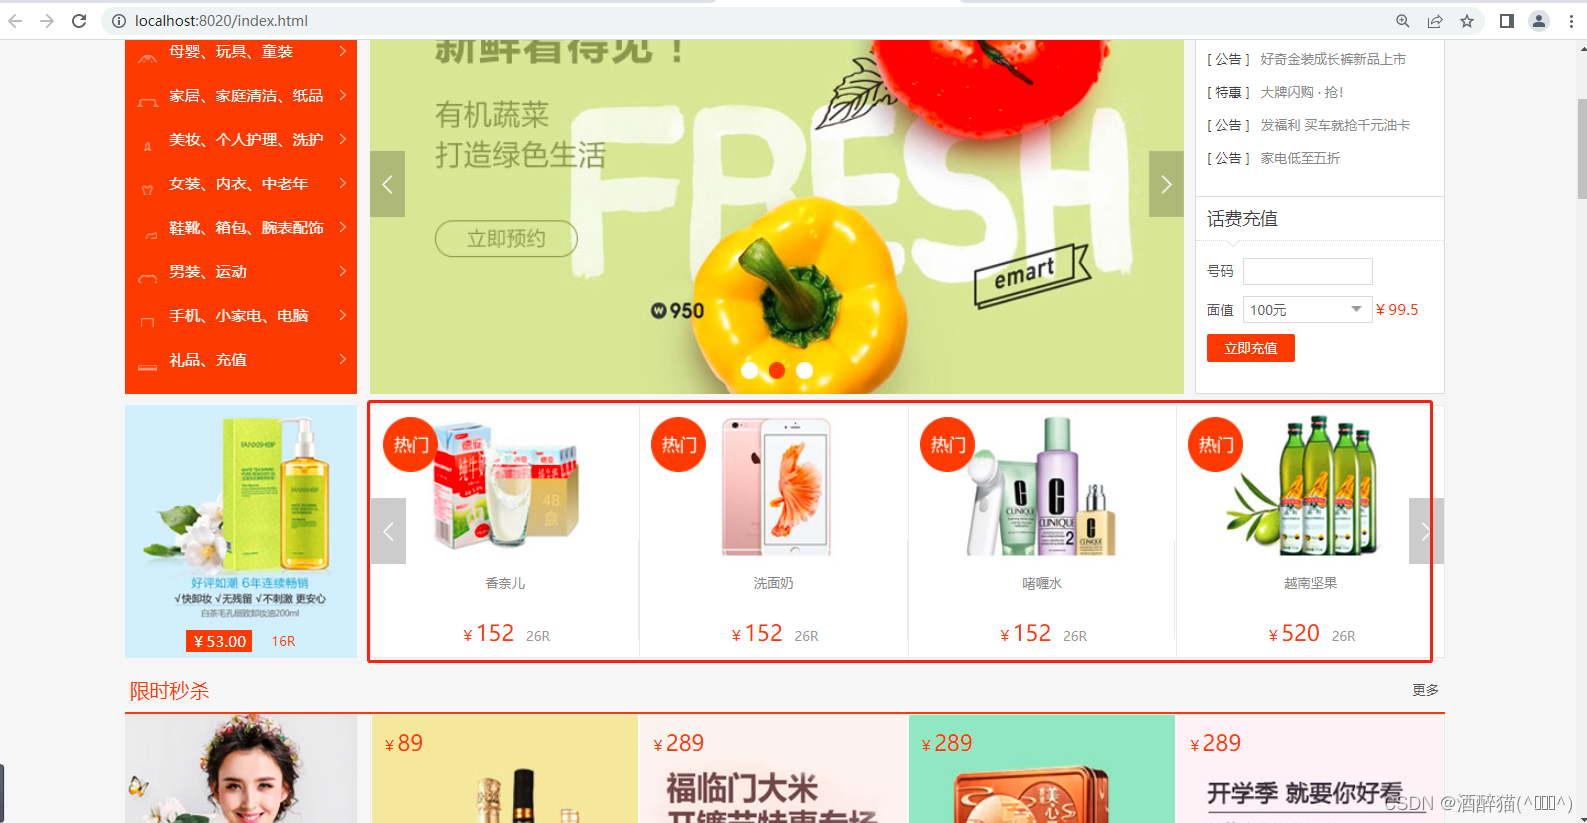
public class ProductController {@Autowiredprivate IProductService productService;@RequestMapping("/index.html")public String index(Model model){//按照商品的销量降序排序获取销量排名Top5的商品List products = productService.list(new QueryWrapper().orderByDesc("hot").last("limit 5"));model.addAttribute("hots",products);return "index";}@RequestMapping("/product.html")public String detail(Model model,Integer pid){//根据商品ID查询商品详情信息Product product = productService.getById(pid);model.addAttribute("product",product);return "product";}
} 4、在index.html中绑定热门数据和product.html中绑定商品详情数据
index.html
<#--判断hots是否为空--><#if hots??><#--循环遍历热销商品--><#list hots as it>
!}) <#--
<#-- 德国进口
-->${(it.name)!}¥${(it.price)!} 26R
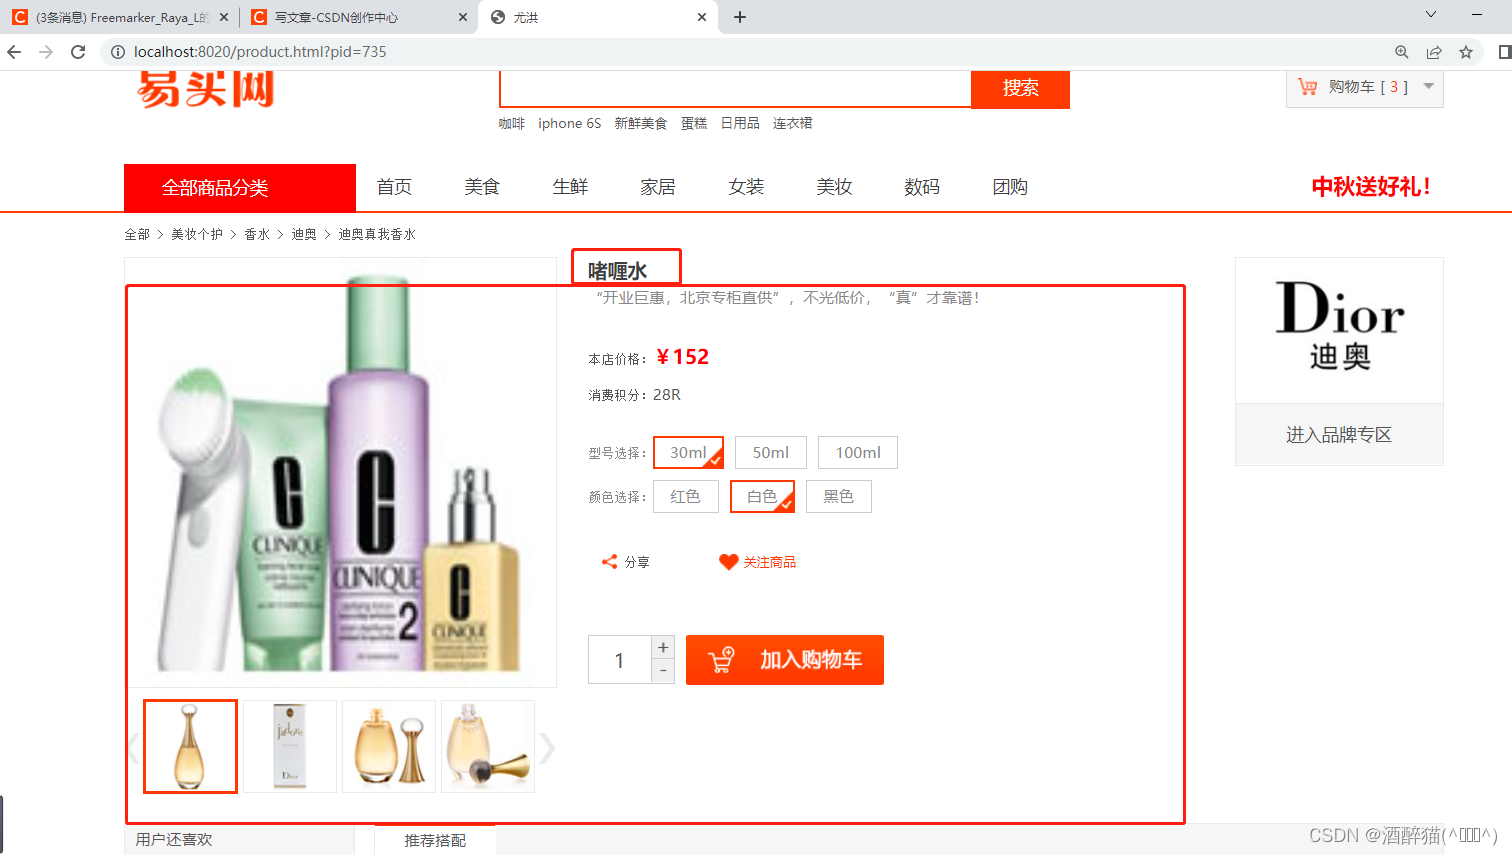
product.html
!})


${(product.name)!}
“开业巨惠,北京专柜直供”,不光低价,“真”才靠谱!本店价格:¥${(product.price)}
消费积分:28R型号选择:- 30ml
- 50ml
- 100ml
颜色选择:- 红色
- 白色
- 黑色
分享


 进入品牌专区
效果图
三、SpringBoot整合微服务&gateway&nginx
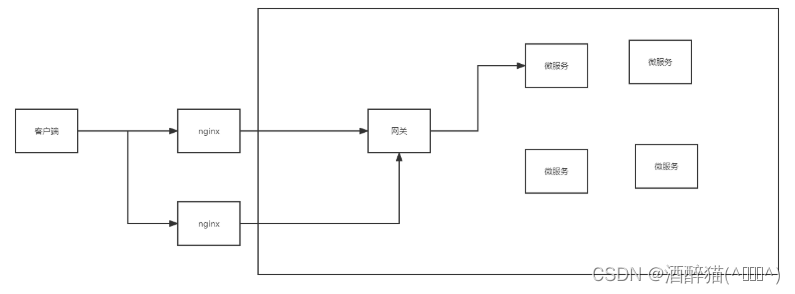
请求链路要求:客户端发送请求先经过nginx,再用nginx转至内部访问网关gateway,最后由网关服务的路由规则转发到微服务的内部服务。
整合微服务之商品服务zmall-product
在公共模块zmall-common中导入微服务相关依赖
com.alibaba.cloud spring-cloud-starter-alibaba-nacos-discovery
org.springframework.cloud spring-cloud-starter-openfeign
com.alibaba.cloud spring-cloud-starter-alibaba-nacos-config
配置商品服务模块zmall-product的application.yml文件
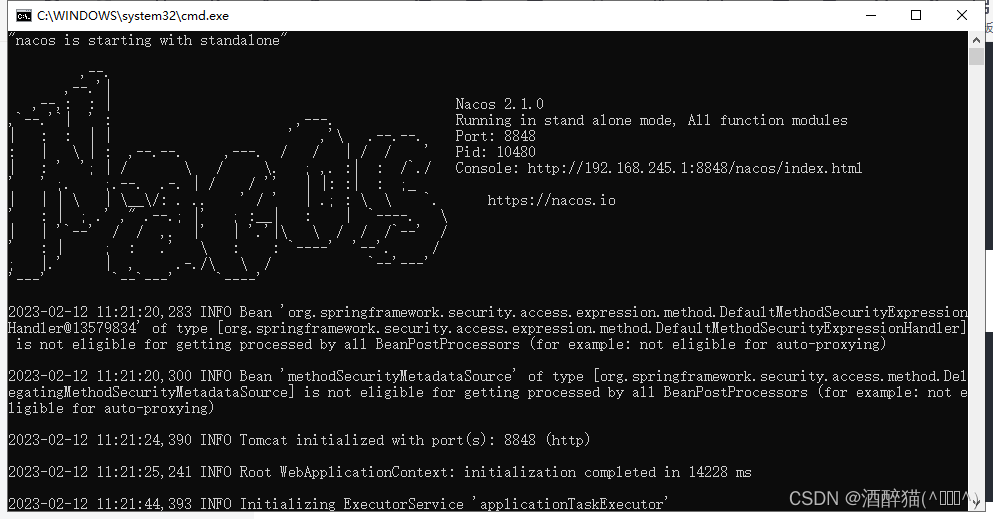
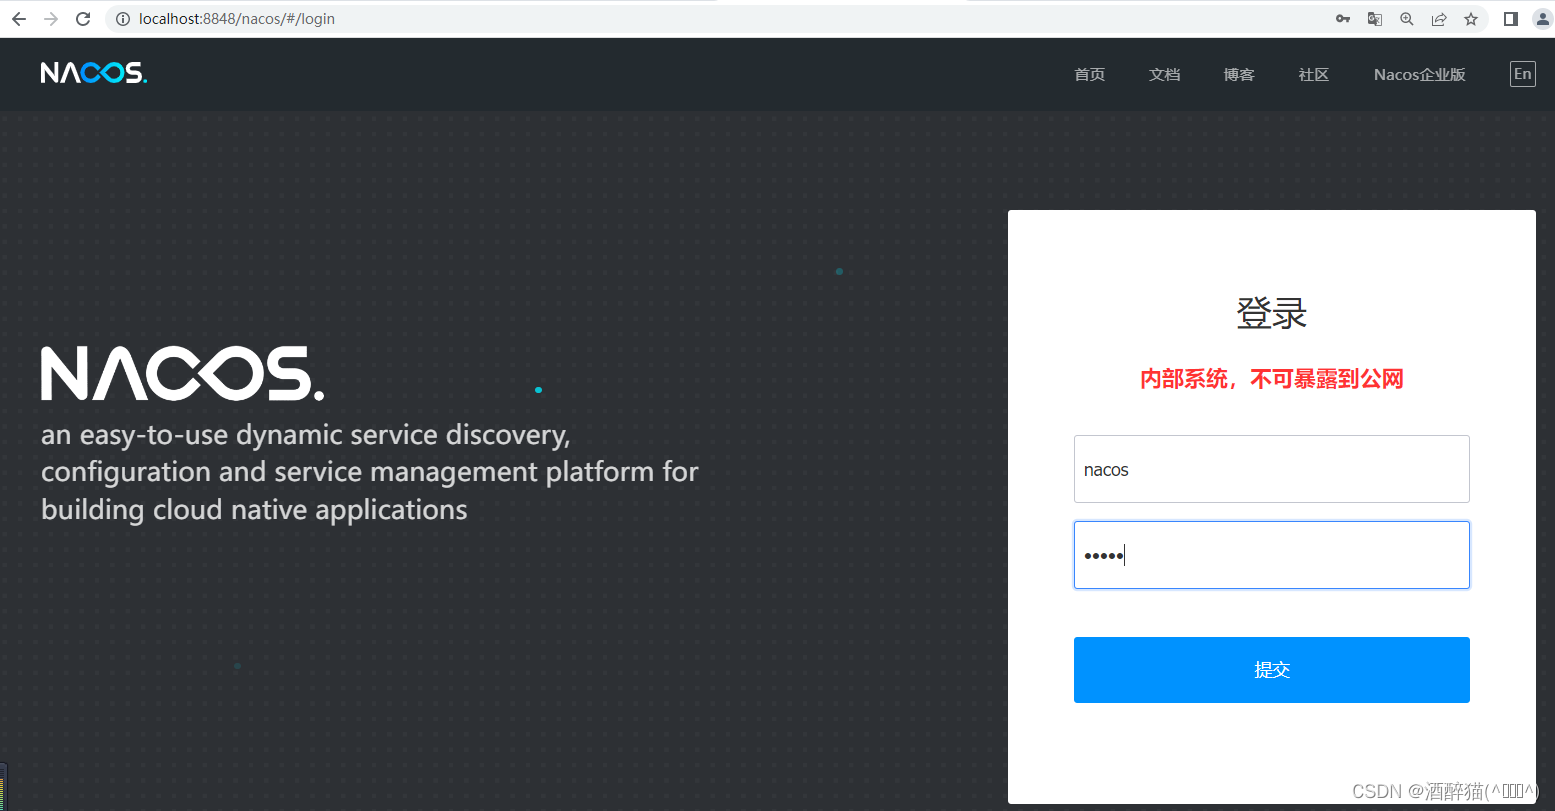
spring:application:name: zmall-productcloud:nacos:discovery:server-addr: localhost:8848启动nacos:
修改启动类,向nacos进行注册
@EnableDiscoveryClient
@SpringBootApplication
@MapperScan({"com.ycx.zmall.mapper"})
public class ZmallProductApplication {public static void main(String[] args) {SpringApplication.run(ZmallProductApplication.class, args);}
}
创建并配置网关gateway服务
-
基于Spring initializr方式创建网关模块zmall-gateway
-
配置pom.xml添加nacos和gateway的依赖
4.0.0
com.ycx.zmall zmall 1.0-SNAPSHOT zmall-gateway
org.springframework.cloud spring-cloud-starter-gateway com.alibaba.cloud spring-cloud-starter-alibaba-nacos-discovery org.projectlombok lombok org.apache.commons commons-lang3 3、修改启动类,向nacos进行注册
@EnableDiscoveryClient
@SpringBootApplication
public class ZmallGatewayApplication {public static void main(String[] args) {SpringApplication.run(ZmallGatewayApplication.class, args);}
}
4、配置application.yml设置gateway路由转发规则
server:port: 8000
spring:application:name: zmall-gatewaycloud:nacos:discovery:server-addr: localhost:8848gateway:routes:- id: product_routeuri: lb://zmall-product # lb指的是从nacos中按照名称获取微服务,并遵循负载均衡策略predicates:- Path=/product-serv/**filters:- StripPrefix=1
5、将易买网网页素材中的公共静态资源js/css/images复制到gateway网关服务中
这里请注意了,之前在商品服务模块zmall-product中已经配置了易买网的静态资源,为什么还要在gateway网关服务中再配置一次呢?这是因为当请求经过gateway网关服务后会进行断言条件匹配和条件路径截取等操作,从而导致gateway网关路由转发后静态资源失效404的问题,所以特此在gateway网关服务中也配置一次易买网网页素材中的公共静态资源js/css/images,确保能正常访问。
解决方案:(此处将在第三次课解决,使用nginx动静分离方式实现) 配置静态资源访问服务器,将各个微服务模块中的静态访问资源迁移到静态资源访问服务器中,然后通过http方式访问即可。
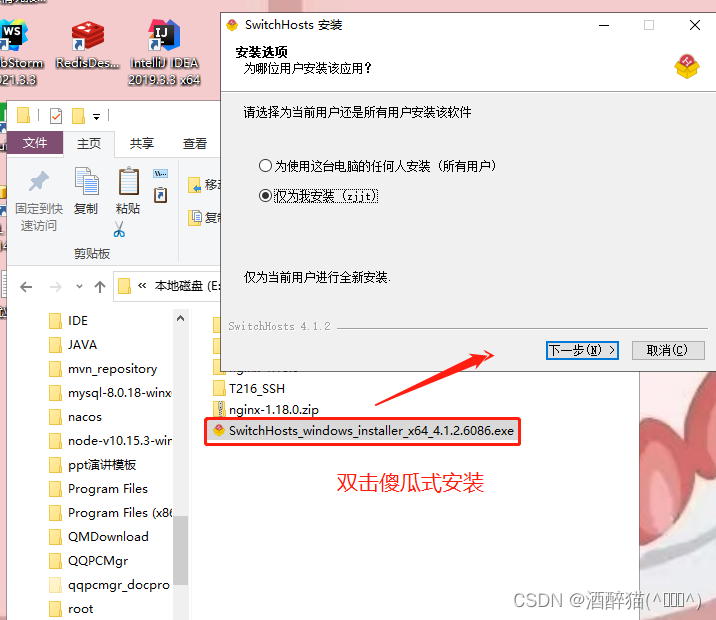
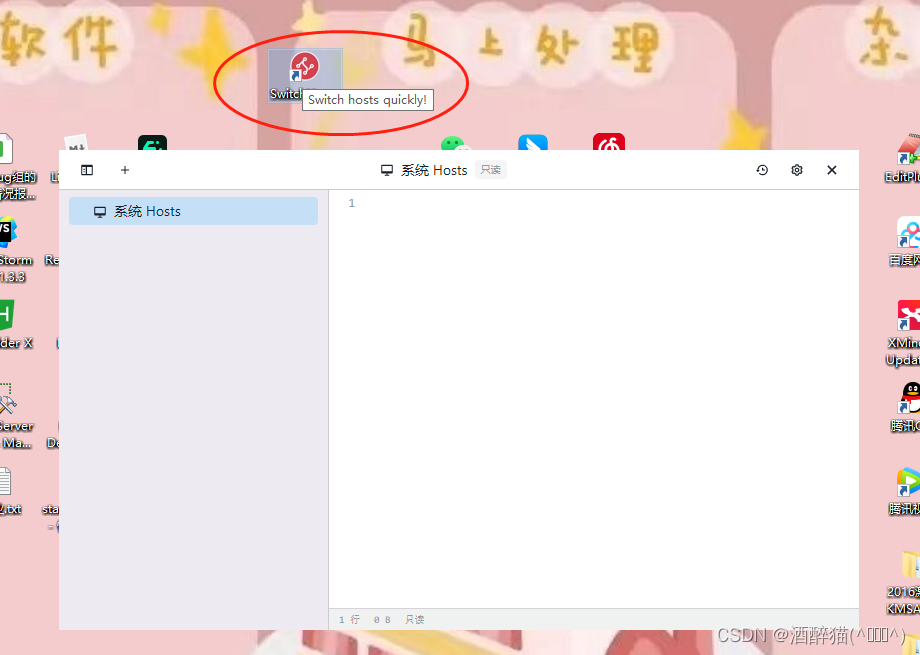
安装配置SwitchHosts
-
直接双击exe文件即可安装SwitchHosts
-
进入C:\Windows\System32\drivers\etc目录,设置hosts文件访问权限并取消只读模式
-
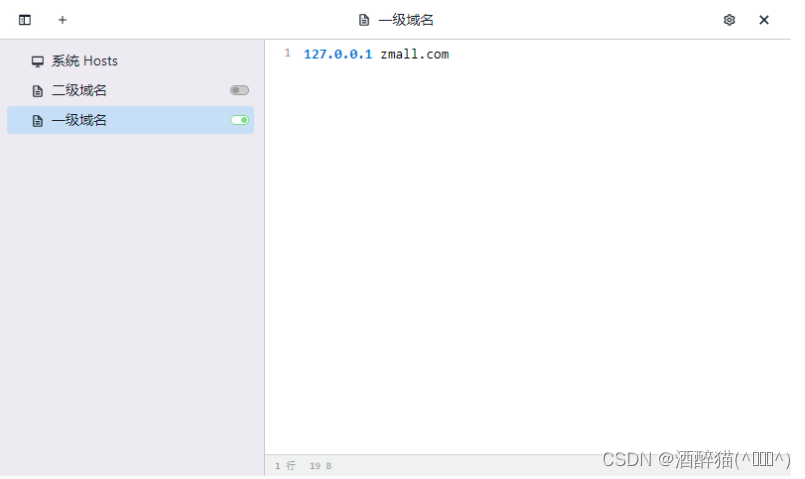
打开SwitchHosts设置一级域名
安装配置Windows版nginx
-
解压nginx-1.18.0.zip至任意目录
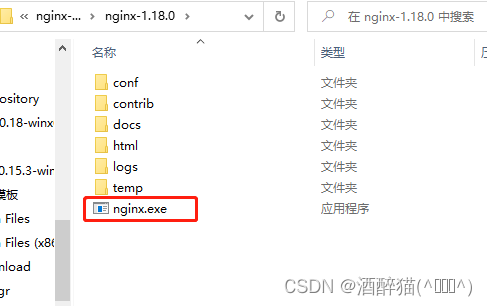
双 击nginx.exe一闪而过,就不要再点了!
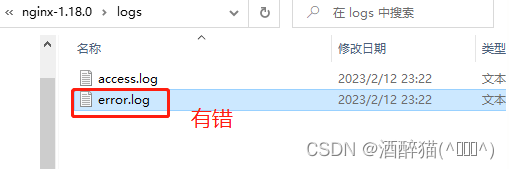
2023/02/12 23:22:17 [emerg] 9728#9732: bind() to 0.0.0.0:80 failed (10013: An attempt was made to access a socket in a way forbidden by its access permissions)
-
进入conf目录,并修改nginx.conf配置文件
server
{listen 80;server_name zmall.com;proxy_redirect off;proxy_set_header Host $host;proxy_set_header X-Real-IP $remote_addr;proxy_set_header X-Forwarded-For $proxy_add_x_forwarded_for;location / {proxy_pass http://127.0.0.1:8000/;}
}
3.最后运行nginx根目录下的nginx.exe启动nginx
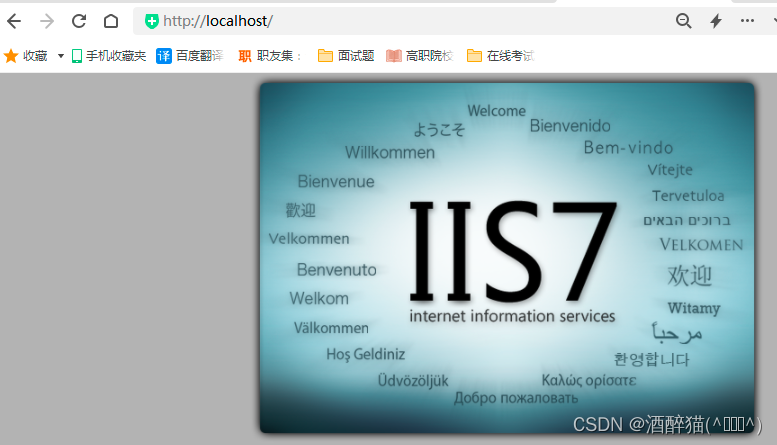
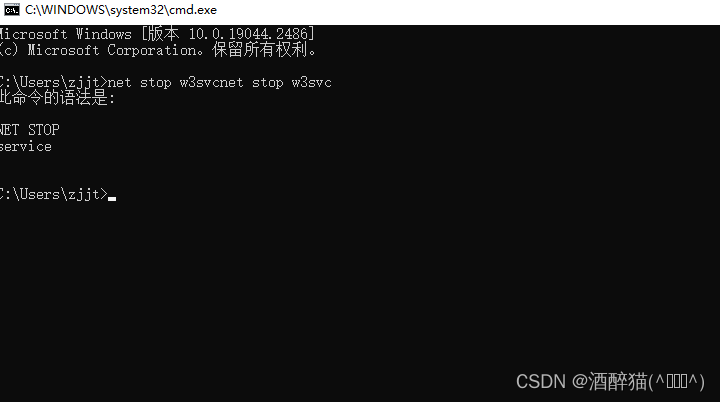
如果出现IIS7,那么cmd窗口中执行下列指令
net stop w3svc
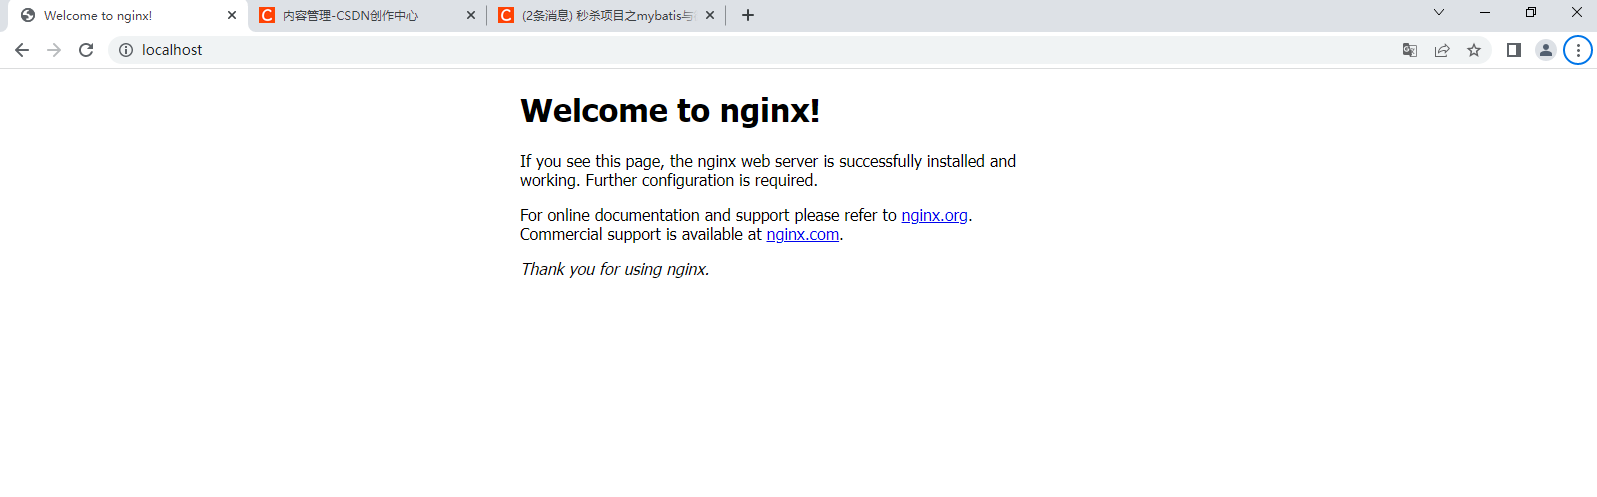
再去双击 nginx.exe 一闪而过后再去访问:
请求链路测试
单独访问商品服务:http://localhost:8020/index.html
通过gateway访问:http://localhost:8000/product-serv/index.html
通过nginx访问:http://zmall.com/product-serv/index.html
本文来自互联网用户投稿,文章观点仅代表作者本人,不代表本站立场,不承担相关法律责任。如若转载,请注明出处。 如若内容造成侵权/违法违规/事实不符,请点击【内容举报】进行投诉反馈!