【leaflet地图点线面(多边形)绘制、删除】
一、leaflet项目中使用
1. 安装并引入leaflet
安装 npm install leaflet -S,然后main.js全局设置
import * as L from 'leaflet'
import 'leaflet/dist/leaflet.css'
delete L.Icon.Default.prototype._getIconUrl
L.Icon.Default.mergeOptions({iconRetinaUrl: require('leaflet/dist/images/marker-icon-2x.png'),iconUrl: require('leaflet/dist/images/marker-icon.png'),shadowUrl: require('leaflet/dist/images/marker-shadow.png')
})
2. 初始化地图
引入leaflet : import L from ‘leaflet’
this.map = L.map('map',{center: [19.15, 110.49], // 地图中心zoom: 17, // 缩放比列zoomControl: false, // 禁用 + - 按钮doubleClickZoom: false, // 禁用双击放大attributionControl: false // 移除右下角leaflet标识});
3. 引入图层
L.tileLayer('http://webrd01.is.autonavi.com/appmaptile?lang=zh_cn&size=1&scale=1&style=7&x={x}&y={y}&z={z}',).addTo(this.map);
4. 初始化代码
<template><div><div id="map"></div></div>
</template><script>
import L from 'leaflet'
export default {data() {return {map: "",layerDom: null};},mounted() {this.initMap();},methods: {initMap() {this.map = L.map("map", {center: [19.15, 110.49], // 默认的地图中心点minZoom: 1, // 最小缩放级别maxZoom: 17, // 最大缩放级别zoom: 17,   // 缩放比列zoomControl: false, // 禁用 + - 按钮doubleClickZoom: false,  // 禁用双击放大attributionControl: false  // 移除右下角leaflet标识});this.layerDom = L.tileLayer("http://webrd01.is.autonavi.com/appmaptile?lang=zh_cn&size=1&scale=1&style=7&x={x}&y={y}&z={z}").addTo(this.map);//   this.map.removeLayer(this.layerDom)  // 移除地图图层}}
};
</script><style lang="scss" scoped>
#map {width: 100%;height: 100vh;
}
</style>
二、地图点线面绘制、删除
点位的绘制
// 1. 定义保存点位的数组变量
pointMarkerList: []
// 2. 绘制点位
addMarker() {// 资源下图this.removeMarkerLin() // 点击地图绘制点位this.map.once('click', e => {// 点位上图,数组保存this.pointMarkerList = []const marker = L.marker([e.latlng.lat, e.latlng.lng], { id: this.videoSearchID }).addTo(this.mixMap)this.pointMarkerList.push(marker)}
点位的删除
removeMarkerLin(){this.pointMarkerList.forEach(item => {item.remove()})this.pointMarkerList = []
}
线的绘制
// 1. 定义保存线的相关变量
markerList: [], // 绘制过程和最终存的点
addLineArr: [], // 绘制过程中存取的线
lineList: []	// 最终存的线的数// 2. 绘制createLine() {this.removeLine()this.$message.success('请在地图上进行路线打点,双击结束打点')this.map.once('click', e => {this.addLineArr.push([e.latlng.lat, e.latlng.lng])const marker = L.marker([e.latlng.lat, e.latlng.lng]).addTo(this.map)this.markerList.push(marker)this.map.on('click', e => {this.addLineArr.push([e.latlng.lat, e.latlng.lng])// 绘点const marker = L.marker([e.latlng.lat, e.latlng.lng], { icon: this.mixMarkerPoint }).addTo(this.map)this.markerList.push(marker)// 绘线const line = L.polyline(this.addLineArr, { color: '#fc6a00', dashArray: '5,10' }).addTo(this.map)this.lineList.push(line)})this.map.once('dblclick', e => {this.addLineArr.push([e.latlng.lat, e.latlng.lng])// 绘点const marker = L.marker([e.latlng.lat, e.latlng.lng], { icon: this.mixEndPoint }).addTo(this.map)this.markerList.push(marker)// 绘线const line = L.polyline(this.addLineArr, { color: '#fc6a00', dashArray: '5,10' }).addTo(this.map)this.lineList.push(line)// 结束绘制this.map.off('click')})})
}
线的删除
removeLine(){this.markerList.forEach(item => {this.map.removeLayer(item)})this.lineList.forEach(item => {this.map.removeLayer(item)})this.addLineArr = []this.markerList = []this.lineList = []
}
面的绘制
// 1. 定义保存面的相关变量
points: [], // 画的过程中的点
lines: {}, // 画的过程中生成的多边形
tempLines: {}, // 鼠标移动中生成的多边形(实际是一条线段)
polygonList: {}, // 双击结束生成多边形
facelines: [], // 存储画的多边形
facetempLines: [], // 存储移动的多边形
facepolygonList: [], // 存储结束生成的多边形// 2. 绘制createFace() {this.removePolygon()this.$message.success('请在地图绘制多边形,双击结束自动生成')this.lines = L.polyline([], { color: '#fc6a00', fillColor: '#fc6a00', fillOpacity: 0.2 })this.tempLines = L.polyline([], { color: '#fc6a00', fillColor: '#fc6a00', fillOpacity: 0.2 })this.map.addLayer(this.lines)this.map.addLayer(this.tempLines)this.map.on('click', e => {this.points.push([e.latlng.lat, e.latlng.lng])this.lines.addLatLng(e.latlng)this.map.addLayer(this.lines)this.facelines.push(this.lines)})this.map.on('mousemove', e => {if (this.points.length > 0) {this.tempLines.setLatLngs([this.points[this.points.length - 1], [e.latlng.lat, e.latlng.lng]])this.map.addLayer(this.tempLines)this.facetempLines.push(this.tempLines)}})this.map.on('dblclick', e => {this.polygonList = L.polygon([this.points], {color: '#fc6a00',fillColor: '#fc6a00',fillOpacity: 0.2,id: this.videoSearchID}).addTo(this.map)this.map.addLayer(this.polygonList)this.facepolygonList.push(this.polygonList)this.points = []this.lines.setLatLngs([])this.map.off('click')})}
面的删除
removePolygon(){this.points.forEach(item => {this.map.removeLayer(item)})this.facelines.forEach(item => {this.map.removeLayer(item)})this.facetempLines.forEach(item => {this.map.removeLayer(item)})this.facepolygonList.forEach(item => {this.map.removeLayer(item)})this.points = []this.facelines = []this.facetempLines = []this.facepolygonList = []
}
利用这些自定义方法可以绘制大部分业务需求,快去尝试吧
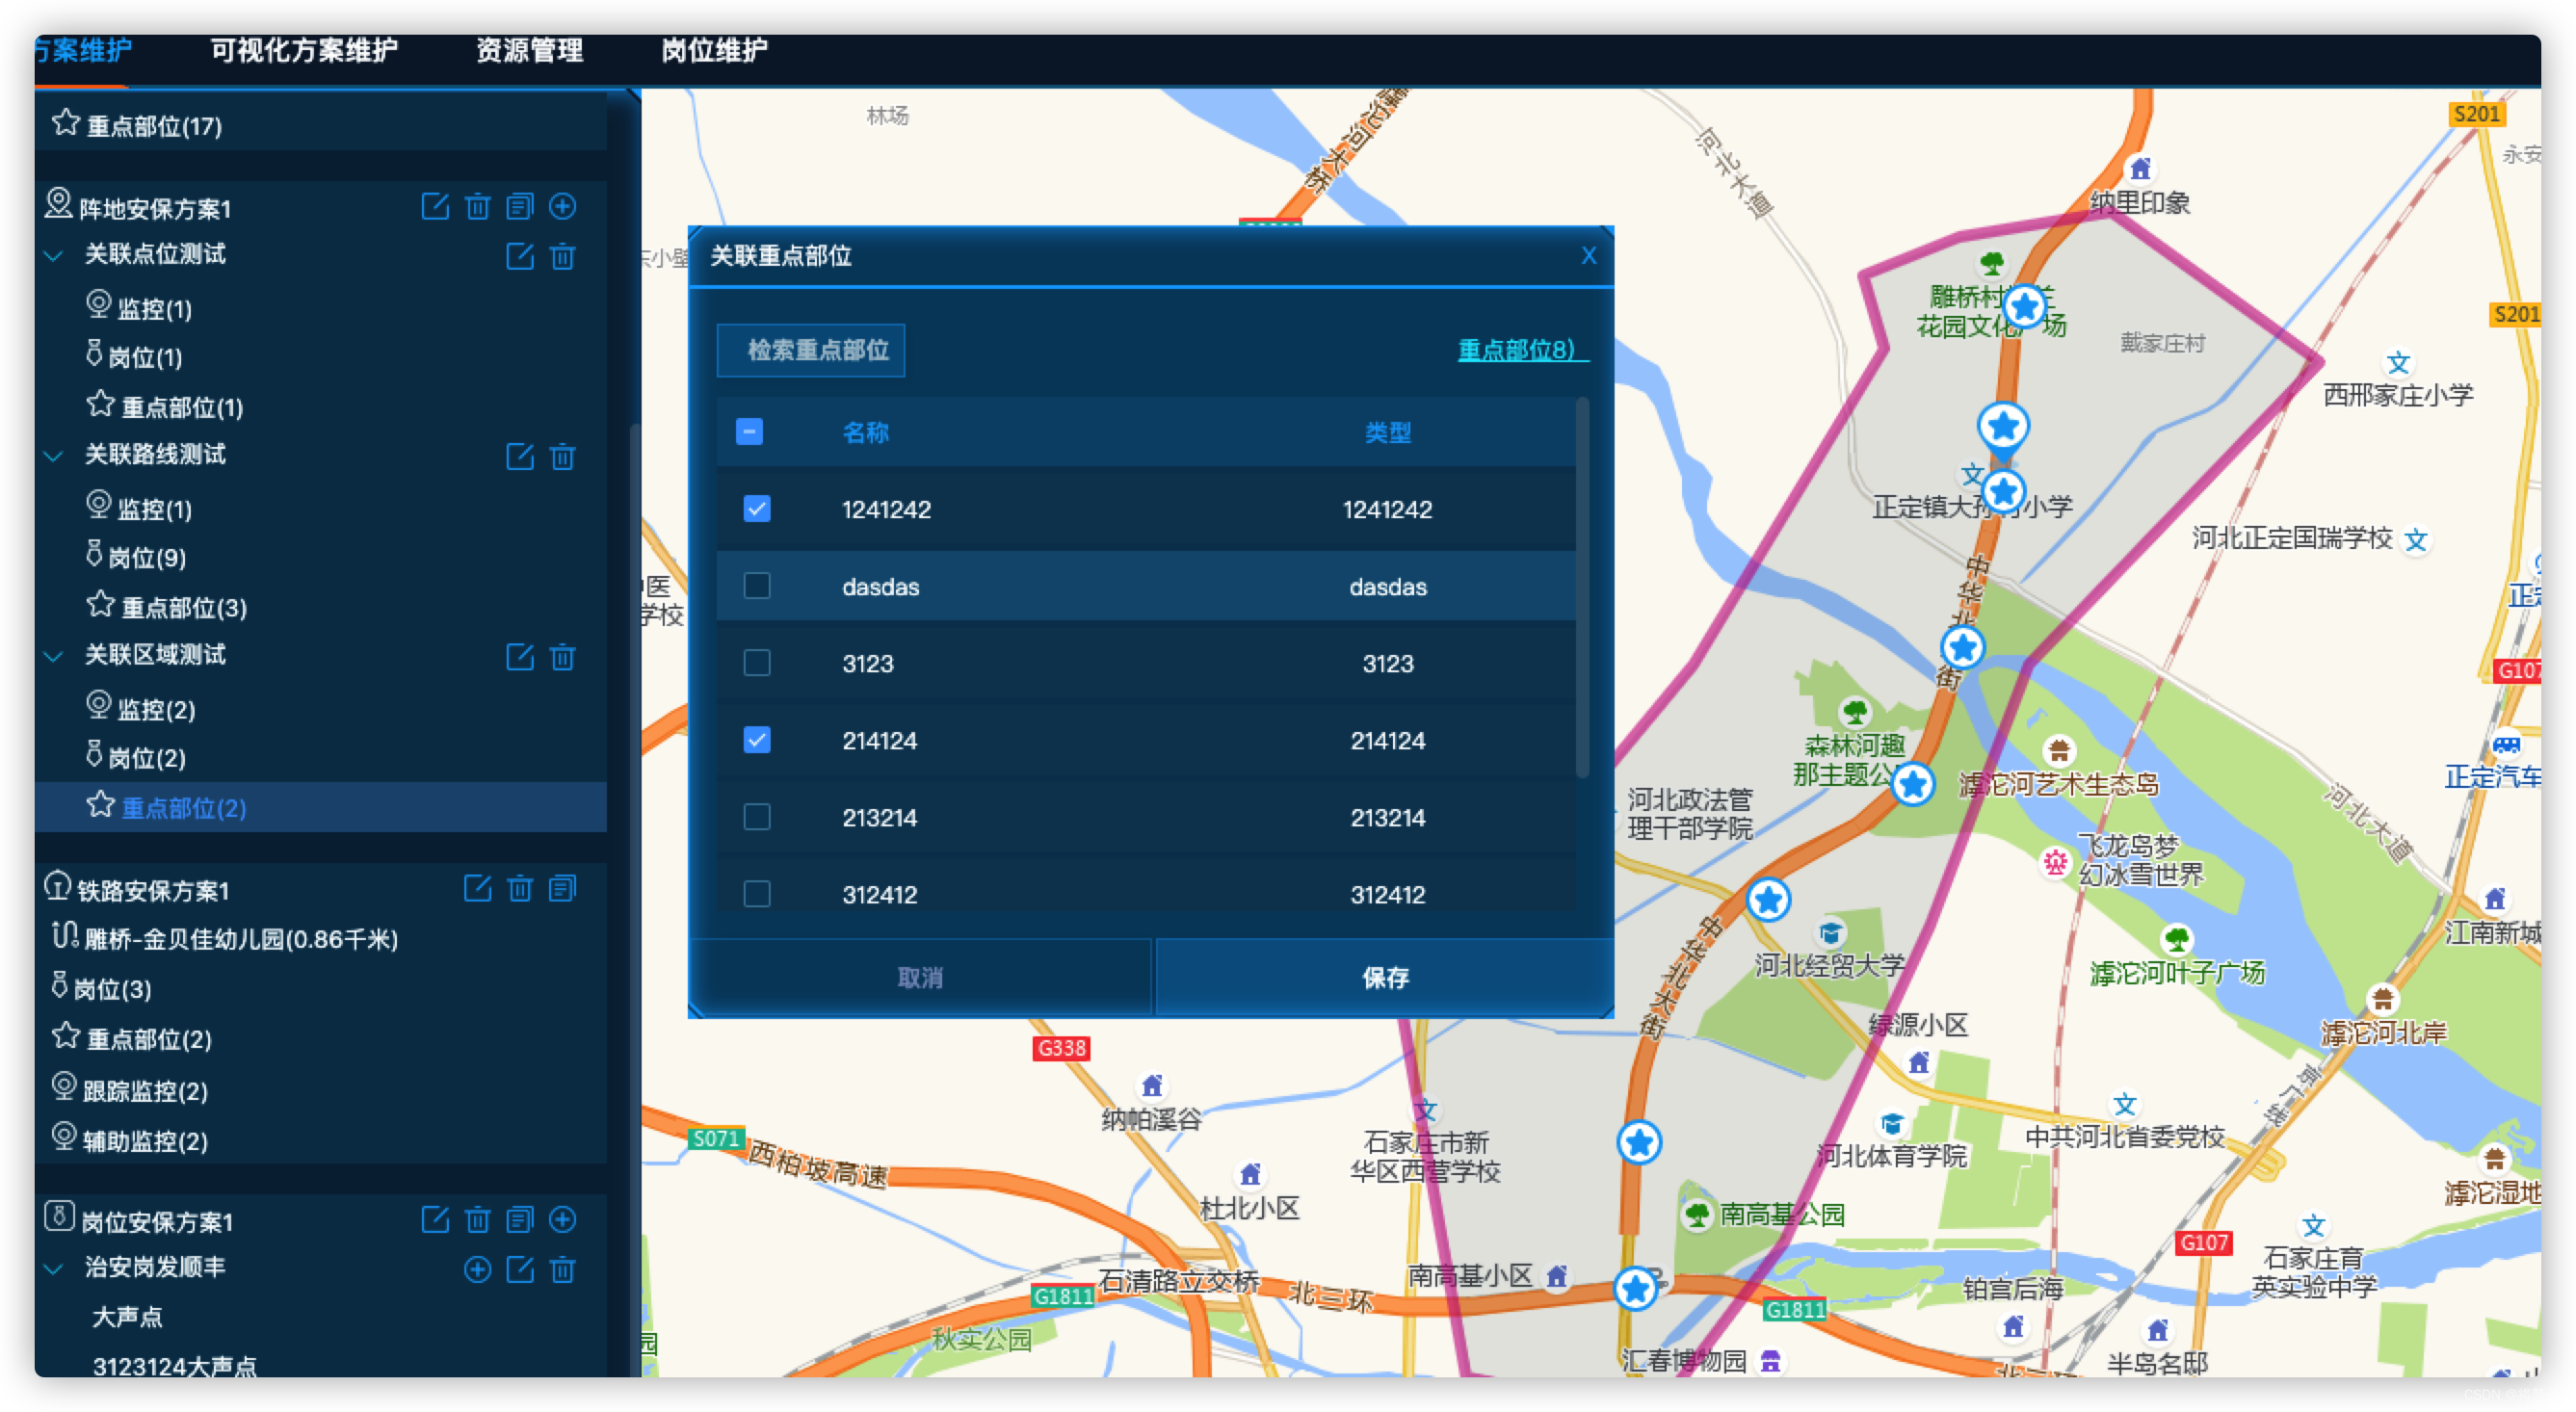
最终附上一些项目页面截图


小结
编辑不易,转载请注明出处。感谢赏阅,期待你的建议,点赞和关注。
本文来自互联网用户投稿,文章观点仅代表作者本人,不代表本站立场,不承担相关法律责任。如若转载,请注明出处。 如若内容造成侵权/违法违规/事实不符,请点击【内容举报】进行投诉反馈!