前端解决 API 跨域的几种方式
文章目录
- 使用 webpack 配置代理
- 使用 http-server 模块进行代理
- 使用 nodejs 的 node-http-proxy 模块来处理
- 使用 nginx 配置
使用 webpack 配置代理
webpack 对于前端来说是个强大的工具, 除了能够帮助你打包和启动调试服务器外, 代理的功能也值得你了解下
中文文档地址 webpack 印记中国
最简单的配置
module.exports = {//...devServer: {proxy: {'/api': 'http://localhost:3000'     // 需要反向代理的后端接口地址}}
};
上述配置将自动把 /api 这一地址的访问转请求到 http://localhost:3000 从而起到了代理的作用。
如果你的规则需要去掉 api 前缀,你可以使用重写地址的方式。
module.exports = {//...devServer: {proxy: {'/api': {target: 'http://localhost:3000',pathRewrite: {'^/api' : ''}}}}
};
你可能还遇到 https 的安全问题触发未验证的证书错误, 则你可以简单的加上 secure: false 来处理
module.exports = {//...devServer: {proxy: {'/api': {target: 'https://other-server.example.com',secure: false}}}
};
有时你不想代理所有的请求。可以基于一个函数的返回值绕过代理。 在函数中你可以访问请求体、响应体和代理选项。必须返回 false 或路径,来跳过代理请求。 例如:对于浏览器请求,你想要提供一个 HTML 页面,但是对于 API 请求则保持代理。你可以这样做:
proxy: {"/api": {target: "http://localhost:3000",bypass: function(req, res, proxyOptions) {if (req.headers.accept.indexOf("html") !== -1) {console.log("Skipping proxy for browser request.");return "/index.html";}}}
}
多个路径的代理
proxy: [{context: ["/auth", "/api"],target: "http://localhost:3000",
}]
webpack 提供了多种灵活的方式, 相信大多时候都能满足到你到要求。
此方式最合适项目已经使 webpack 工程项目,随项目启动自动开启
使用 http-server 模块进行代理
熟悉 nodejs 的朋友应该知道有个非常好和强大的工具模块叫 http-server ,使用方式如下:
安装全局模块
npm install http-server -g
然后到你需要运行展示的 html 资源目录执行
// http://www.your-backend.com/api 是需要反向代理的后端接口地址
http-server -P http://www.your-backend.com/api
然后你就可以使用 http://localhost:8080 进行访问了(如果 8080 端口不被占用掉的话,若占用了你可以 -p 指定其他端口 ),是不是超级 easy?
更多参数可以查询官方文档 http-server。
使用 nodejs 的 node-http-proxy 模块来处理
node-http-proxy 提供了一个可以编程模式的代理环境,如果你有很特殊的需求如session、cookie 已绑定的域处理成其他的域什么,或是内容还要转换处理等,你可以用这个方式来处理复杂的 hacker.
如增加特殊请求头;
var http = require('http'),httpProxy = require('http-proxy');var proxy = httpProxy.createProxyServer({});proxy.on('proxyReq', function(proxyReq, req, res, options) {proxyReq.setHeader('X-Special-Proxy-Header', 'foobar');
});var server = http.createServer(function(req, res) {// You can define here your custom logic to handle the request// and then proxy the request.proxy.web(req, res, {target: 'http://127.0.0.1:5060'});
});console.log("listening on port 5050")
server.listen(5050);
上面三种方法参考:https://yq.aliyun.com/articles/610231
使用 nginx 配置
到官网下载稳定版
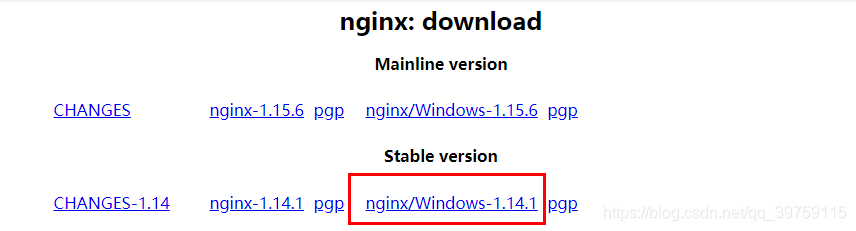
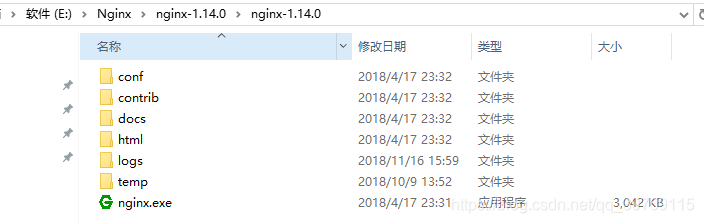
下载完成后,解压到 E 盘
打开 conf 目录下的 nginx.conf 文件进行反向代理配置
#user  nobody;
worker_processes  1;#error_log  logs/error.log;
#error_log  logs/error.log  notice;
#error_log  logs/error.log  info;#pid        logs/nginx.pid;events {worker_connections  1024;
}http {include       mime.types;default_type  application/octet-stream;#log_format  main  '$remote_addr - $remote_user [$time_local] "$request" '#                  '$status $body_bytes_sent "$http_referer" '#                  '"$http_user_agent" "$http_x_forwarded_for"';#access_log  logs/access.log  main;sendfile        on;#tcp_nopush     on;#keepalive_timeout  0;keepalive_timeout  65;gzip  on;server {listen       8000;server_name  localhost;location / {proxy_pass http://127.0.0.1:8080;    # 前端项目服务地址}location /api {proxy_pass http://127.0.0.1:3030;  # 后台接口服务地址}location  /v2 {proxy_pass https://api.douban.com/v2; # 其他服务地址,如豆瓣}}}
ctrl+r 运行 cmd 进入到解压目录运行 start nginx 命令开启服务

在浏览器 http://localhost:8000/ 查看,代理成功

nginx 常用命令:
start nginx开启服务nginx -s reload重新加载配置文件nginx -s stop停止服务nginx -s quit退出服务
不错的 nginx 文章: 做个前端,来点Nginx
本文来自互联网用户投稿,文章观点仅代表作者本人,不代表本站立场,不承担相关法律责任。如若转载,请注明出处。 如若内容造成侵权/违法违规/事实不符,请点击【内容举报】进行投诉反馈!