Opencv 实战之阴影去除
OpenCV (Open Source Computer Vision Library) 是一个广泛使用的开源计算机视觉库,提供了许多图像处理和计算机视觉算法。阴影去除是图像处理中的一个重要任务,它旨在消除图像中由光照不均匀或遮挡造成的阴影,以便更好地识别和分析图像内容。
阴影去除的原理可以有多种方法,其中一种常见的方法是通过颜色空间转换和图像分割来实现。以下是一个基本的阴影去除原理:
颜色空间转换:首先,将原始图像从RGB颜色空间转换为HSV(色相、饱和度、值)或Lab(亮度、a、b)颜色空间。HSV或Lab颜色空间能够更好地分离颜色信息和亮度信息。
分割阴影区域:利用颜色信息和亮度信息,可以使用一些图像分割技术(例如阈值分割、区域增长、边缘检测等)来将图像中的阴影区域与非阴影区域分割开。
阴影校正:对于被标记为阴影的区域,可以根据不同的方法进行校正。一种常见的方法是通过减少该区域的亮度值或调整颜色值来抵消阴影效果。
融合处理:将处理后的阴影区域与原始非阴影区域重新融合,以得到去除阴影的图像。
import cv2 as cv
import numpy as np
from skimage import measure
from matplotlib import pyplot as pltfrom typing import Tuple, List# Applies median filtering over given point
def median_filter(img: np.ndarray, point: np.ndarray, filter_size: int) -> List:indices = [[x, y]for x in range(point[1] - filter_size // 2, point[1] + filter_size // 2 + 1)for y in range(point[0] - filter_size // 2, point[0] + filter_size // 2 + 1)]indices = list(filter(lambda x: not (x[0] < 0 or x[1] < 0 orx[0] >= img.shape[0] orx[1] >= img.shape[1]), indices))pixel_values = [0, 0, 0]# Find the median of pixel valuesfor channel in range(3):pixel_values[channel] = list(img[index[0], index[1], channel] for index in indices)pixel_values = list(np.median(pixel_values, axis=1))return pixel_values# Applies median filtering on given contour pixels, the filter size is adjustable
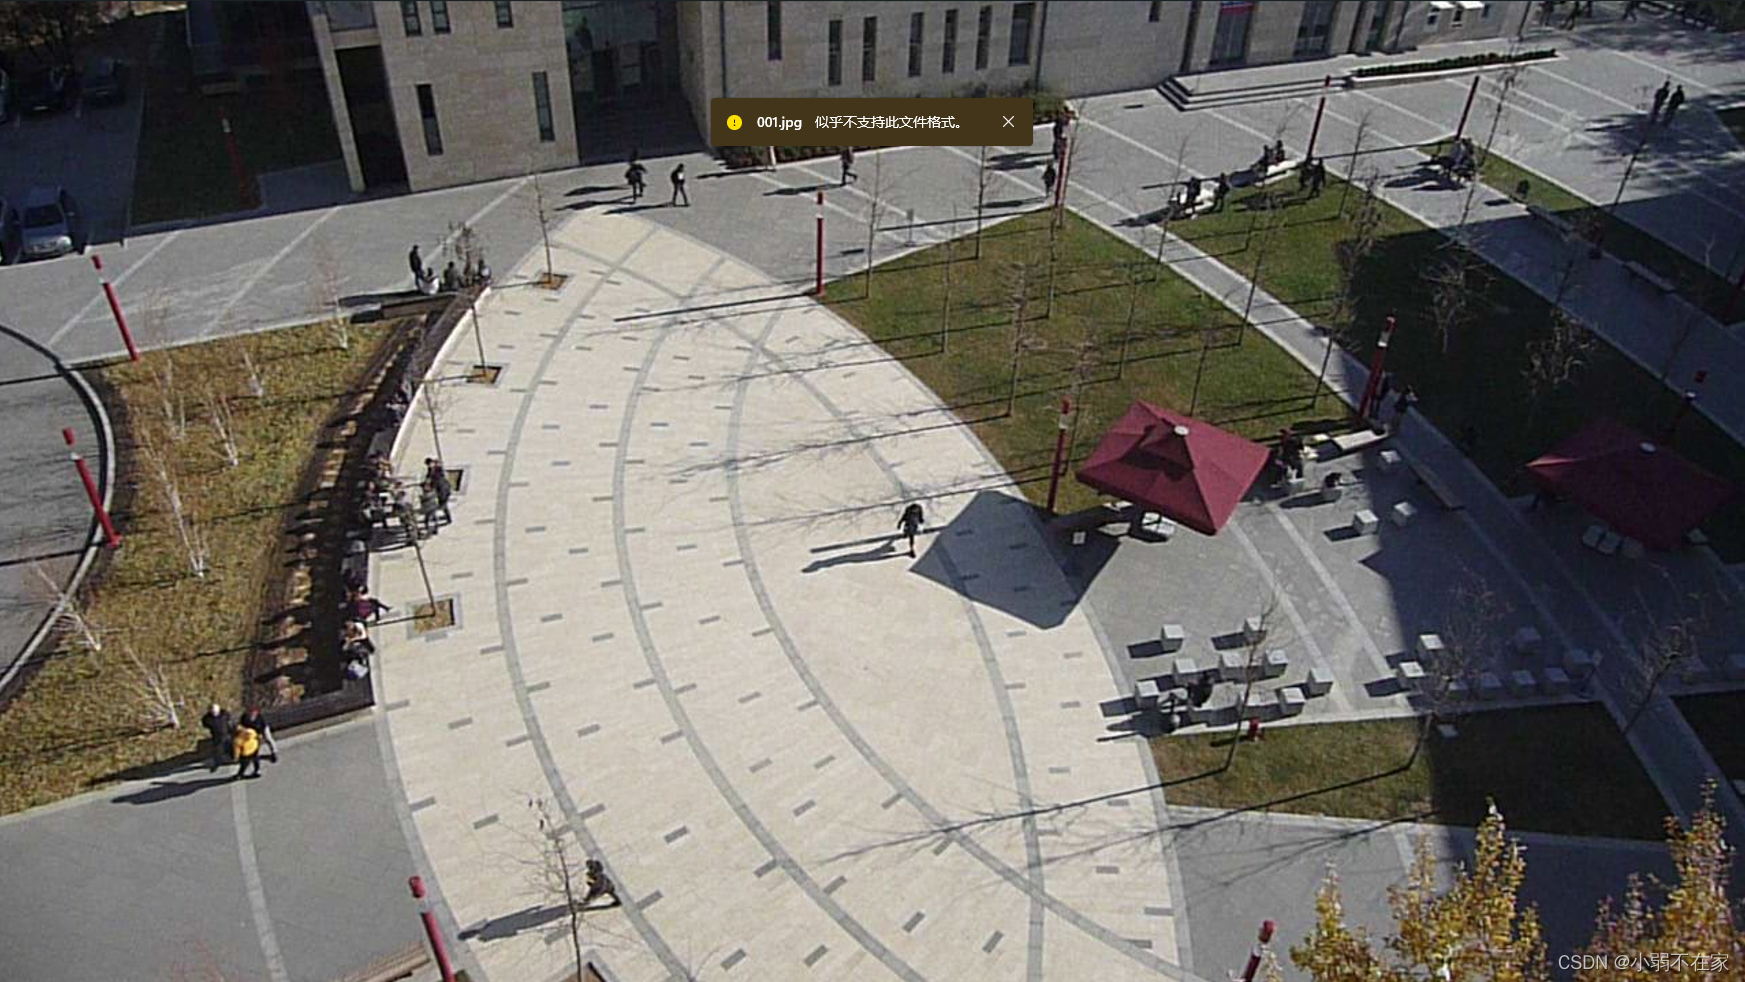
def edge_median_filter(img: np.ndarray, contours_list: tuple, filter_size: int = 7) -> np.ndarray:temp_img = np.copy(img)for partition in contours_list:for point in partition:temp_img[point[0][1]][point[0][0]] = median_filter(img,point[0],filter_size)return cv.cvtColor(temp_img, cv.COLOR_HSV2BGR)def display_region(org_image: np.ndarray,shadow_clear_image: np.ndarray,label: int,label_region: np.ndarray,contours: tuple) -> None:# For debugging, cut the current shadow region from the imagereverse_mask = cv.cvtColor(cv.bitwise_not(label_region), cv.COLOR_GRAY2BGR)img_w_hole = org_image & reverse_masktemp_filter = cv.cvtColor(label_region, cv.COLOR_GRAY2BGR)cv.drawContours(temp_filter, contours, -1, (255, 0, 0), 3)fig, axes = plt.subplots(2, 2)ax = axes.ravel()plt.title(f"Shadow Region {label}")ax[0].imshow(cv.cvtColor(org_image, cv.COLOR_BGR2RGB))ax[0].set_title("Original Image")ax[1].imshow(cv.cvtColor(temp_filter, cv.COLOR_BGR2RGB))ax[1].set_title("Shadow Region")ax[2].imshow(cv.cvtColor(img_w_hole, cv.COLOR_BGR2RGB))ax[2].set_title("Shadow Region Cut")ax[3].imshow(cv.cvtColor(shadow_clear_image, cv.COLOR_BGR2RGB))ax[3].set_title("Corrected Image")plt.tight_layout()plt.show()def correct_region_lab(org_img: np.ndarray,shadow_clear_img: np.ndarray,shadow_indices: np.ndarray,non_shadow_indices: np.ndarray) -> np.ndarray:# Q: Rather than asking for RGB constants individually, why not adjust L only?# A: L component isn't enough to REVIVE the colors that were under the shadow.# Calculate average LAB values in current shadow region and non-shadow areasshadow_average_lab = np.mean(org_img[shadow_indices[0], shadow_indices[1], :], axis=0)# Get the average LAB from border areasborder_average_lab = np.mean(org_img[non_shadow_indices[0], non_shadow_indices[1], :],axis=0)# Calculate ratios that are going to be used on clearing the current shadow region# This is different for each region, therefore calculated each timelab_ratio = border_average_lab / shadow_average_labshadow_clear_img = cv.cvtColor(shadow_clear_img, cv.COLOR_BGR2LAB)shadow_clear_img[shadow_indices[0], shadow_indices[1]] = np.uint8(shadow_clear_img[shadow_indices[0],shadow_indices[1]] * lab_ratio)shadow_clear_img = cv.cvtColor(shadow_clear_img, cv.COLOR_LAB2BGR)return shadow_clear_imgdef correct_region_bgr(org_img: np.ndarray,shadow_clear_img: np.ndarray,shadow_indices: np.ndarray,non_shadow_indices: np.ndarray) -> np.ndarray:# Calculate average BGR values in current shadow region and non-shadow areasshadow_average_bgr = np.mean(org_img[shadow_indices[0], shadow_indices[1], :], axis=0)# Get the average BGR from border areasborder_average_bgr = np.mean(org_img[non_shadow_indices[0], non_shadow_indices[1], :], axis=0)bgr_ratio = border_average_bgr / shadow_average_bgr# Adjust BGRshadow_clear_img[shadow_indices[0], shadow_indices[1]] = np.uint8(shadow_clear_img[shadow_indices[0],shadow_indices[1]] * bgr_ratio)return shadow_clear_imgdef process_regions(org_image: np.ndarray,mask: np.ndarray,lab_adjustment: bool,shadow_dilation_kernel_size: int,shadow_dilation_iteration: int,shadow_size_threshold: int,verbose: bool) -> np.ndarray:lab_img = cv.cvtColor(org_image, cv.COLOR_BGR2LAB)shadow_clear_img = np.copy(org_image) # Used for constructing corrected image# We need connected components# Initialize the labels of the blobs in our binary imagelabels = measure.label(mask)non_shadow_kernel_size = (shadow_dilation_kernel_size, shadow_dilation_kernel_size)non_shadow_kernel = cv.getStructuringElement(cv.MORPH_ELLIPSE, non_shadow_kernel_size)CHANNEL_MAX = 255# Now, we will iterate over each label's pixelsfor label in np.unique(labels):if not label == 0:temp_filter = np.zeros(mask.shape, dtype="uint8")temp_filter[labels == label] = CHANNEL_MAX# Only consider blobs with size above thresholdif cv.countNonZero(temp_filter) >= shadow_size_threshold:shadow_indices = np.where(temp_filter == CHANNEL_MAX)non_shadow_temp_filter = cv.dilate(temp_filter, non_shadow_kernel,iterations=shadow_dilation_iteration)# Get the new set of indices and remove shadow indices from themnon_shadow_temp_filter = cv.bitwise_xor(non_shadow_temp_filter, temp_filter)non_shadow_indices = np.where(non_shadow_temp_filter == CHANNEL_MAX)# Contours are used for extracting the edges of the current shadow regioncontours, hierarchy = cv.findContours(temp_filter, cv.RETR_TREE, cv.CHAIN_APPROX_SIMPLE)if lab_adjustment:shadow_clear_img = correct_region_lab(lab_img, shadow_clear_img,shadow_indices, non_shadow_indices)else:shadow_clear_img = correct_region_bgr(org_image, shadow_clear_img,shadow_indices, non_shadow_indices)# Then apply median filtering over edges to smooth them# At least on the images I tried, this doesn't work as intended.# It is possible that this is the result of using a high frequency image only# Image is converted to HSV before filtering, as BGR components of the image# is more interconnected, therefore filtering each channel independently wouldn't be correctshadow_clear_img = edge_median_filter(cv.cvtColor(shadow_clear_img, cv.COLOR_BGR2HSV),contours)if verbose:display_region(org_image, shadow_clear_img, label, temp_filter, contours)return shadow_clear_imgdef calculate_mask(org_image: np.ndarray,region_adjustment_kernel_size: int) -> np.ndarray:lab_img = cv.cvtColor(org_image, cv.COLOR_BGR2LAB)# Calculate the mean values of A and B across all pixelsmeans = [np.mean(lab_img[:, :, i]) for i in range(3)]thresholds = [means[i] - (np.std(lab_img[:, :, i]) / 3) for i in range(3)]# If mean is below 256 (which is I think the max value for a channel)channel_max = 256# Apply threshold using only Lif sum(means[1:]) <= channel_max:mask = cv.inRange(lab_img, (0, 0, 0), (thresholds[0], channel_max, channel_max))else: # Else, also consider B channelmask = cv.inRange(lab_img, (0, 0, 0), (thresholds[0], channel_max, thresholds[2]))kernel_size = (region_adjustment_kernel_size, region_adjustment_kernel_size)kernel = cv.getStructuringElement(cv.MORPH_ELLIPSE, kernel_size)cv.morphologyEx(mask, cv.MORPH_CLOSE, kernel, mask)cv.morphologyEx(mask, cv.MORPH_OPEN, kernel, mask)return maskdef remove_shadows(org_image: np.ndarray,lab_adjustment: bool,region_adjustment_kernel_size: int,shadow_dilation_iteration: int,shadow_dilation_kernel_size: int,shadow_size_threshold: int,verbose: bool) -> Tuple[np.ndarray, np.ndarray]:mask = calculate_mask(org_image, region_adjustment_kernel_size)shadow_clear_img = process_regions(org_image,mask,lab_adjustment,shadow_dilation_kernel_size,shadow_dilation_iteration,shadow_size_threshold,verbose)mask = cv.cvtColor(mask, cv.COLOR_GRAY2RGB)return shadow_clear_img, maskdef process_image_file(img_name,save=False,lab_adjustment=False,region_adjustment_kernel_size=10,shadow_dilation_kernel_size=5,shadow_dilation_iteration=3,shadow_size_threshold=2500,verbose=False) -> Tuple[np.ndarray, np.ndarray, np.ndarray]:org_image = cv.imread(img_name)print("Read the image {}".format(img_name))shadow_clear, mask = remove_shadows(org_image,lab_adjustment,region_adjustment_kernel_size,shadow_dilation_iteration,shadow_dilation_kernel_size,shadow_size_threshold,verbose=verbose)_, axes = plt.subplots(1, 3)ax = axes.ravel()plt.title("Final Results")ax[0].imshow(cv.cvtColor(org_image, cv.COLOR_BGR2RGB))ax[0].set_title("Original Image")ax[1].imshow(cv.cvtColor(mask, cv.COLOR_BGR2RGB))ax[1].set_title("Shadow Regions")ax[2].imshow(cv.cvtColor(shadow_clear, cv.COLOR_BGR2RGB))ax[2].set_title("Corrected Image")plt.tight_layout()plt.show()if save:f_name = img_name[:img_name.index(".")] + "_shadowClear" + img_name[img_name.index("."):]cv.imwrite(f_name, shadow_clear)print("Saved result as " + f_name)return org_image, mask, shadow_clearimage_path = "001.jpg"org_image, mask, image_clear = process_image_file(image_path, save = True, verbose = True)

1.导入必要的库:代码导入了OpenCV(cv2)、NumPy(np)、scikit-image(skimage.measure)和Matplotlib(plt),用于图像处理、数组操作、连通分量标记和可视化。
2.median_filter 函数:此函数在图像的给定点上应用中值滤波器。它计算给定点周围指定滤波器大小内的中值像素值。
3.edge_median_filter 函数:此函数将中值滤波器应用于阴影区域的边缘。它接受图像、表示阴影区域的轮廓列表和一个可选的滤波器大小作为输入。它对分区中的每个点进行迭代,并使用 median_filter 函数来平滑边缘。
4.display_region 函数:此函数用于调试和可视化。它显示原始图像、阴影区域、带有孔的阴影区域和经过校正的图像,使用Matplotlib的子图显示。
5.correct_region_lab 和 correct_region_bgr 函数:这些函数用于校正阴影区域的颜色信息。它们计算阴影和非阴影区域的平均LAB或BGR值,然后相应地调整阴影区域的颜色值。
6.process_regions 函数:此函数处理图像的每个连通分量(blob),即表示阴影的二进制掩膜。它使用 correct_region_lab 或 correct_region_bgr 函数应用区域调整和颜色校正。还对阴影区域的边缘执行中值滤波。
7.calculate_mask 函数:此函数计算图像的二进制掩膜,根据LAB颜色空间中的颜色阈值识别可能是阴影的区域。
8.remove_shadows 函数:此函数协调整个去除阴影的过程。它接受原始图像和各种参数作为输入,并返回校正后的图像和二进制掩膜。
9.process_image_file 函数:此函数从文件中读取图像,调用 remove_shadows 函数去除阴影,并显示原始图像、阴影区域和校正后的图像。
本文来自互联网用户投稿,文章观点仅代表作者本人,不代表本站立场,不承担相关法律责任。如若转载,请注明出处。 如若内容造成侵权/违法违规/事实不符,请点击【内容举报】进行投诉反馈!