Android打开通知栏并回到主页的几种方式
个人博客
用PendingIntent.getActivity创建通知栏
在MainActivity中增加点击事件,用来启动NotifyService和延迟2秒销毁MainActivity,如下面代码所示
Intent intent = new Intent(MainActivity.this, NotifyService.class);
startService(intent);tvTips.postDelayed(new Runnable() {@Overridepublic void run() {finish();}
}, 2000L);
NotifyService类继承IntentService,并在onHandleIntent()方法类处理展示通知栏的逻辑,如下面代码所示
private void showNotification() {Notification notification;NotificationManager manager = (NotificationManager) getSystemService(Context.NOTIFICATION_SERVICE);//pendingIntent生成规则Intent notifyIntent = new Intent();notifyIntent.setClass(this, NotifyActivity.class);PendingIntent pendingIntent = PendingIntent.getActivity(this, 0, notifyIntent, PendingIntent.FLAG_UPDATE_CURRENT);if (Build.VERSION.SDK_INT >= Build.VERSION_CODES.O) {NotificationChannel channel = new NotificationChannel("0", "notify",NotificationManager.IMPORTANCE_DEFAULT);manager.createNotificationChannel(channel);Notification.Builder builder = new Notification.Builder(this, "0").setAutoCancel(true).setContentTitle(getString(R.string.app_name)).setContentText("xxx").setOnlyAlertOnce(true).setSmallIcon(R.mipmap.ic_launcher).setContentIntent(pendingIntent);notification = builder.build();} else {NotificationCompat.Builder builder = new NotificationCompat.Builder(this);builder.setSmallIcon(R.mipmap.ic_launcher).setContentText("xxx").setAutoCancel(true).setWhen(System.currentTimeMillis()).setOnlyAlertOnce(true).setContentTitle(getString(R.string.app_name)).setContentIntent(pendingIntent);notification = builder.build();}manager.notify(0, notification);
}
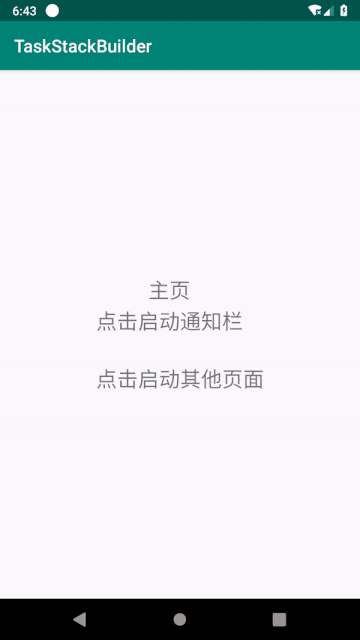
运行代码,点击启动通知栏按钮,此时会创建一个通知栏,并且2秒后,主页自动关闭。然后在点击通知栏,进入到通知栏页面,点击返回按钮时,发下APP没有回到主页面,而是回到了Launcher主页面。如下面截图所示
所以用PendingIntent.getActivity方式打开通知栏,就会出现上面所描述的问题。为了解决这问题,提供了一下几种方式。
用PendingIntent.getActivities创建通知栏
处理逻辑基本上跟上面一致,只需替换pendingIntent生成规则那部分代码,需替换的代码如下面所示
Intent notifyIntent = new Intent();
Intent mainIntent = new Intent();
notifyIntent.setClass(this, NotifyActivity.class);
mainIntent.setClass(this, MainActivity.class);
//需要注意这里的顺序
Intent[] intents = new Intent[]{mainIntent, notifyIntent};
PendingIntent pendingIntent = PendingIntent.getActivities(this, 0, intents, PendingIntent.FLAG_UPDATE_CURRENT);
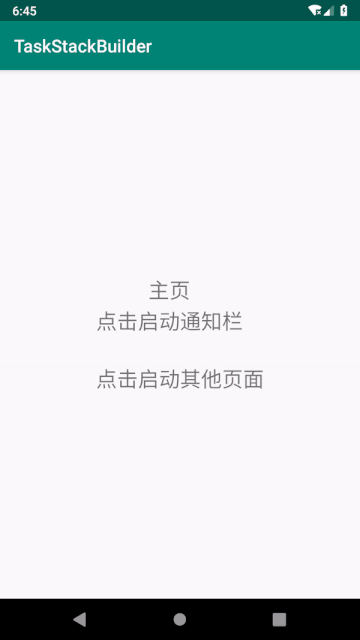
运行代码,如下面截图所示
此方法适用于MainActivity和NotifyActivity在同一个moudle的情况。如果不在同一个moudle又该如何处理呢?接着往下看。
用TaskStackBuilder创建通知栏
替换pendingIntent生成规则那部分代码,需替换的代码如下面所示
Intent notifyIntent = new Intent();
notifyIntent.setClass(this, NotifyActivity.class);TaskStackBuilder stackBuilder = TaskStackBuilder.create(this);
stackBuilder.addParentStack(NotifyActivity.class);
stackBuilder.addNextIntent(notifyIntent);PendingIntent pendingIntent = stackBuilder.getPendingIntent(0, PendingIntent.FLAG_UPDATE_CURRENT);
除了替换pendingIntent生成规则之外,还需要修改AndroidManifest.xml内的代码,为NotifyActivity指定parentActivityName属性,如下面代码所示
<activity android:name=".NotifyActivity"android:parentActivityName=".MainActivity"/>
该属性是在Android 4.1(API level 16)引入的,此处的名称必须与为相应android:name属性指定的类名称一致,以确定当用户按下返回按钮时应该启动哪一个Activity。
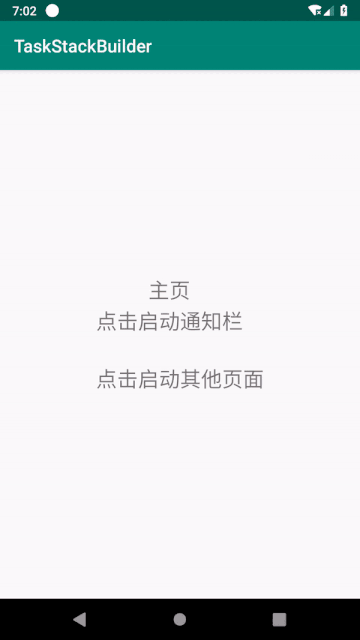
运行代码,效果如图2所示
此方法可以适用于Activity在不同moudle的情况。
但是,当主页MainActivity(这里用A代表,方便后面描述)的launchMode设置为singleTask时,当主页A存在时,并且还打开了其他页面’OtherActivity’(B),目前Activity的栈的顺序是A、B。当打开用PendingIntent.getActivities和TaskStackBuilder两种方式创建的通知栏,页面跳转到NotifyActivity(C),并且一直按返回键,退栈的顺序是C、A、Launcher,B却没在栈内了,见图3。具体原因是,当打开通知栏是,栈的顺序是A、B、A,由于A的launchMode是singleTask,此时会删除B,当整个通知栏操作全部完成时,Activity的栈的顺序是A、C,所以会出现上面描述的现象。如果要满足退栈顺序是C、B、A、Launcher该怎么实现?

用PendingIntent.getActivity创建通知栏,本地维护Activity栈
- 首先需要创建一个Activity管理类
ActivityManager,来维护Activity栈,如下面代码所示
public class ActivityManager {private static final byte[] sLock = new byte[0];private final Stack<Activity> mActivityStack = new Stack<>();private static ActivityManager sInstance;public static ActivityManager getInstance() {if (sInstance == null) {synchronized (sLock) {if (sInstance == null) {sInstance = new ActivityManager();}}}return sInstance;}private ActivityManager() {}/***  activity入栈*/public void addActivity(Activity activity) {mActivityStack.add(activity);}/***  activity出栈*/public void removeActivity(Activity activity) {mActivityStack.remove(activity);}/***  当栈的个数为1的时候,判断cls是否在栈内*/public boolean currentActivity(Class<?> cls) {if (mActivityStack.size() != 1) {return true;}for (Activity activity : mActivityStack) {if (activity.getClass().equals(cls)) {return true;}}return false;}
}
- 其次创建一个
Activity的基类BaseActivity,所有Activity页面需要继承这个基类,并且分别在onCreate和onDestroy方法中分别实现Activity的入栈和出栈操作,并且重写返回事件,如下面代码所示
public abstract class BaseActivity extends AppCompatActivity {@Overrideprotected void onCreate(@Nullable Bundle savedInstanceState) {super.onCreate(savedInstanceState);ActivityManager.getInstance().addActivity(this);}@Overridepublic void onBackPressed() {super.onBackPressed();if (!ActivityManager.getInstance().currentActivity(MainActivity.class)) {Intent intent = new Intent(BaseActivity.this, MainActivity.class);startActivity(intent);}}@Overrideprotected void onDestroy() {super.onDestroy();ActivityManager.getInstance().removeActivity(this);}
}
运行代码,如下面截图所示
本文来自互联网用户投稿,文章观点仅代表作者本人,不代表本站立场,不承担相关法律责任。如若转载,请注明出处。 如若内容造成侵权/违法违规/事实不符,请点击【内容举报】进行投诉反馈!