import os
import numpy as np
import cv2
import torch
import matplotlib.patches as patches
import albumentations as A
from albumentations.pytorch.transforms import ToTensorV2
from matplotlib import pyplot as plt
from torch.utils.data import Dataset
from xml.etree import ElementTree as et
from torchvision import transforms as torchtrans# defining the files directory and testing directory
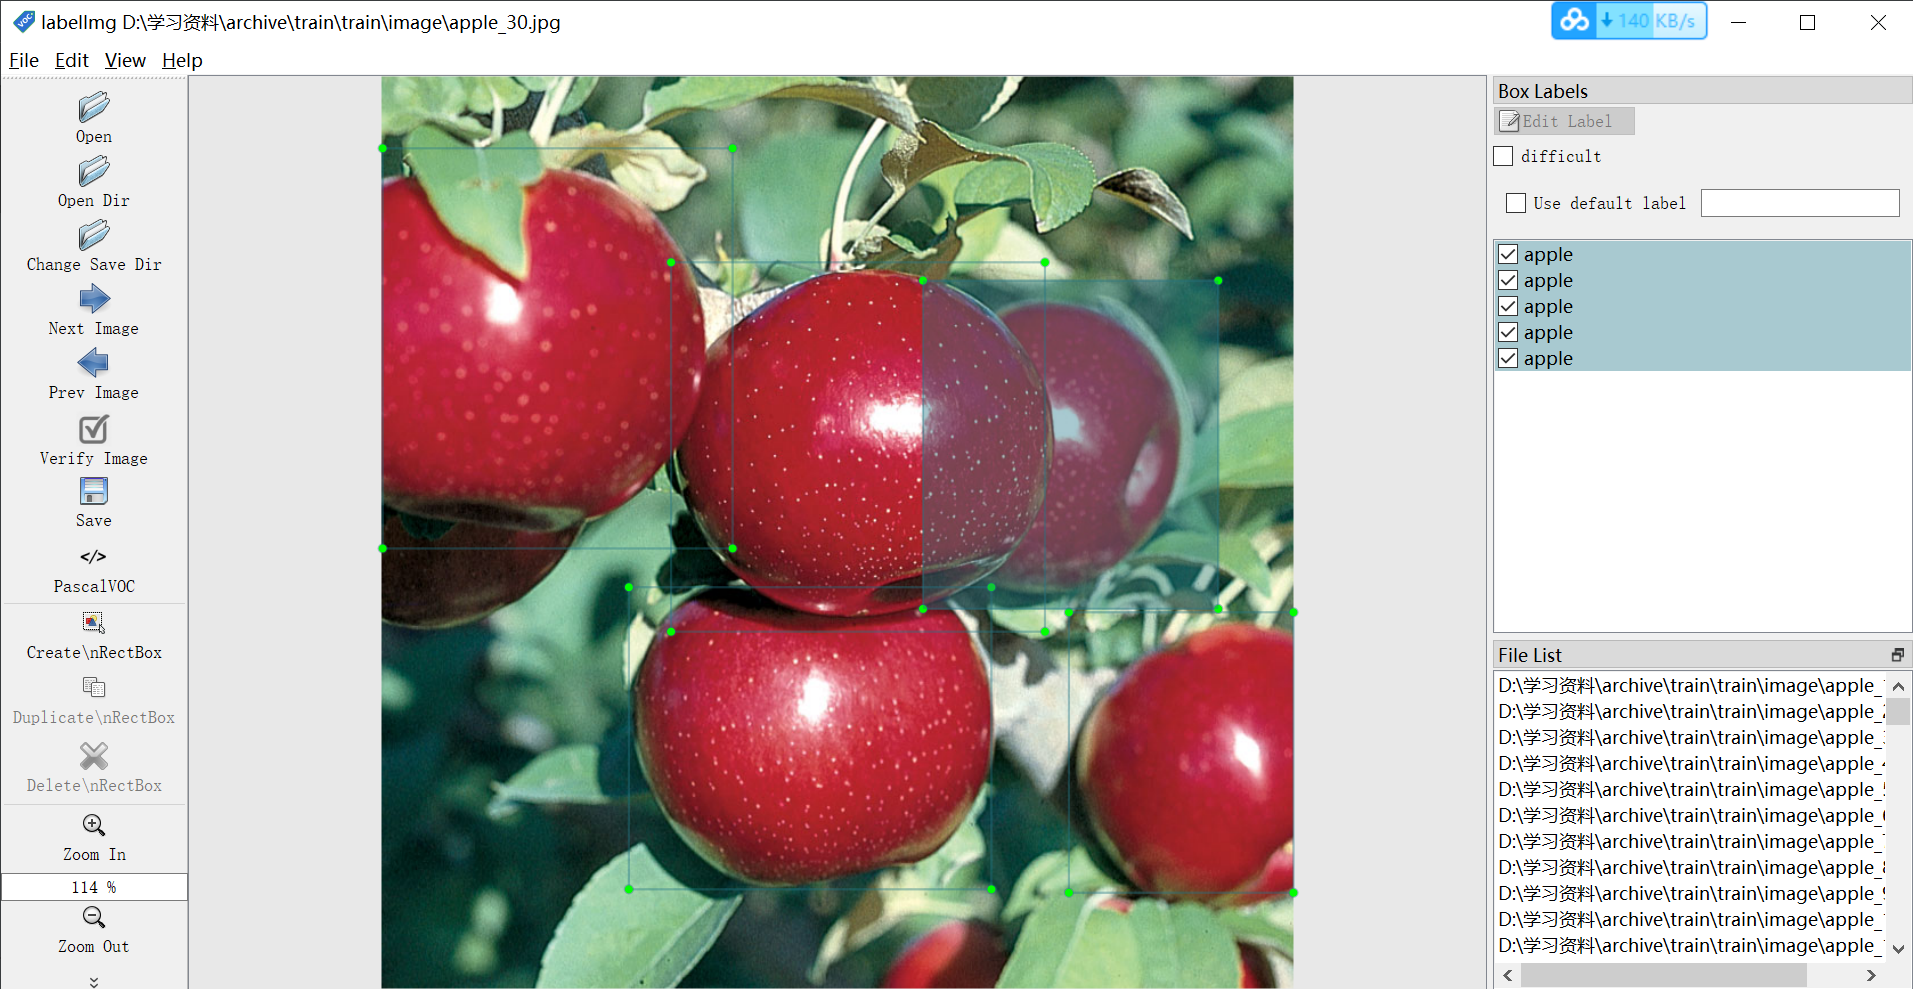
train_image_dir = 'train/train/image'
train_xml_dir = 'train/train/xml'
# test_image_dir = 'test/test/image'
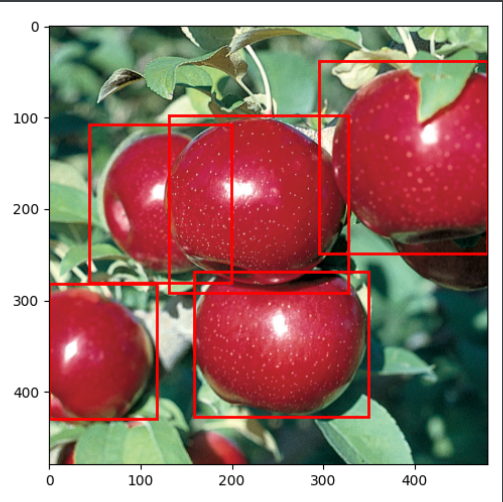
# test_xml_dir = 'test/test/xml'class FruitImagesDataset(Dataset):def __init__(self, image_dir, xml_dir, width, height, transforms=None):self.transforms = transformsself.image_dir = image_dirself.xml_dir = xml_dirself.height = heightself.width = width# sorting the images for consistency# To get images, the extension of the filename is checked to be jpgself.imgs = [image for image in os.listdir(self.image_dir)if image[-4:] == '.jpg']self.xmls = [xml for xml in os.listdir(self.xml_dir)if xml[-4:] == '.xml']# classes: 0 index is reserved for backgroundself.classes = ['apple', 'banana', 'orange']def __getitem__(self, idx):img_name = self.imgs[idx]image_path = os.path.join(self.image_dir, img_name)# reading the images and converting them to correct size and colorimg = cv2.imread(image_path)img_rgb = cv2.cvtColor(img, cv2.COLOR_BGR2RGB).astype(np.float32)img_res = cv2.resize(img_rgb, (self.width, self.height), cv2.INTER_AREA)# diving by 255img_res /= 255.0# annotation fileannot_filename = img_name[:-4] + '.xml'annot_file_path = os.path.join(self.xml_dir, annot_filename)boxes = []labels = []tree = et.parse(annot_file_path)root = tree.getroot()# cv2 image gives size as height x widthwt = img.shape[1]ht = img.shape[0]# box coordinates for xml files are extracted and corrected for image size givenfor member in root.findall('object'):labels.append(self.classes.index(member.find('name').text))# bounding boxxmin = int(member.find('bndbox').find('xmin').text)xmax = int(member.find('bndbox').find('xmax').text)ymin = int(member.find('bndbox').find('ymin').text)ymax = int(member.find('bndbox').find('ymax').text)xmin_corr = (xmin / wt) * self.widthxmax_corr = (xmax / wt) * self.widthymin_corr = (ymin / ht) * self.heightymax_corr = (ymax / ht) * self.heightboxes.append([xmin_corr, ymin_corr, xmax_corr, ymax_corr])# convert boxes into a torch.Tensorboxes = torch.as_tensor(boxes, dtype=torch.float32)# getting the areas of the boxesarea = (boxes[:, 3] - boxes[:, 1]) * (boxes[:, 2] - boxes[:, 0])# suppose all instances are not crowdiscrowd = torch.zeros((boxes.shape[0],), dtype=torch.int64)labels = torch.as_tensor(labels, dtype=torch.int64)target = {}target["boxes"] = boxestarget["labels"] = labelstarget["area"] = areatarget["iscrowd"] = iscrowd# image_idimage_id = torch.tensor([idx])target["image_id"] = image_idif self.transforms:sample = self.transforms(image=img_res,bboxes=target['boxes'],labels=labels)img_res = sample['image']target['boxes'] = torch.Tensor(sample['bboxes'])return img_res, targetdef __len__(self):return len(self.imgs)# function to convert a torchtensor back to PIL image
def torch_to_pil(img):return torchtrans.ToPILImage()(img).convert('RGB')def plot_img_bbox(img, target):# plot the image and bboxesfig, a = plt.subplots(1, 1)fig.set_size_inches(5, 5)a.imshow(img)for box in (target['boxes']):x, y, width, height = box[0], box[1], box[2] - box[0], box[3] - box[1]rect = patches.Rectangle((x, y),width, height,linewidth=2,edgecolor='r',facecolor='none')# Draw the bounding box on top of the imagea.add_patch(rect)plt.show()def get_transform(train):if train:return A.Compose([A.HorizontalFlip(0.5),# ToTensorV2 converts image to pytorch tensor without div by 255ToTensorV2(p=1.0)], bbox_params={'format': 'pascal_voc', 'label_fields': ['labels']})else:return A.Compose([ToTensorV2(p=1.0)], bbox_params={'format': 'pascal_voc', 'label_fields': ['labels']})dataset = FruitImagesDataset(train_image_dir,train_xml_dir, 480, 480, transforms= get_transform(train=True))print(len(dataset))
# getting the image and target for a test index. Feel free to change the index.
img, target = dataset[29]
print(img.shape, '\n', target)
plot_img_bbox(torch_to_pil(img), target)