AS类微信界面设计
文章目录
- 一、设计目标
- 二、步骤分类
- 1.添加drawable图片
- 2.新建top来写wechat的标题
- 3.新建buttom
- 4.新建Fragment
- 5.编辑main_activity
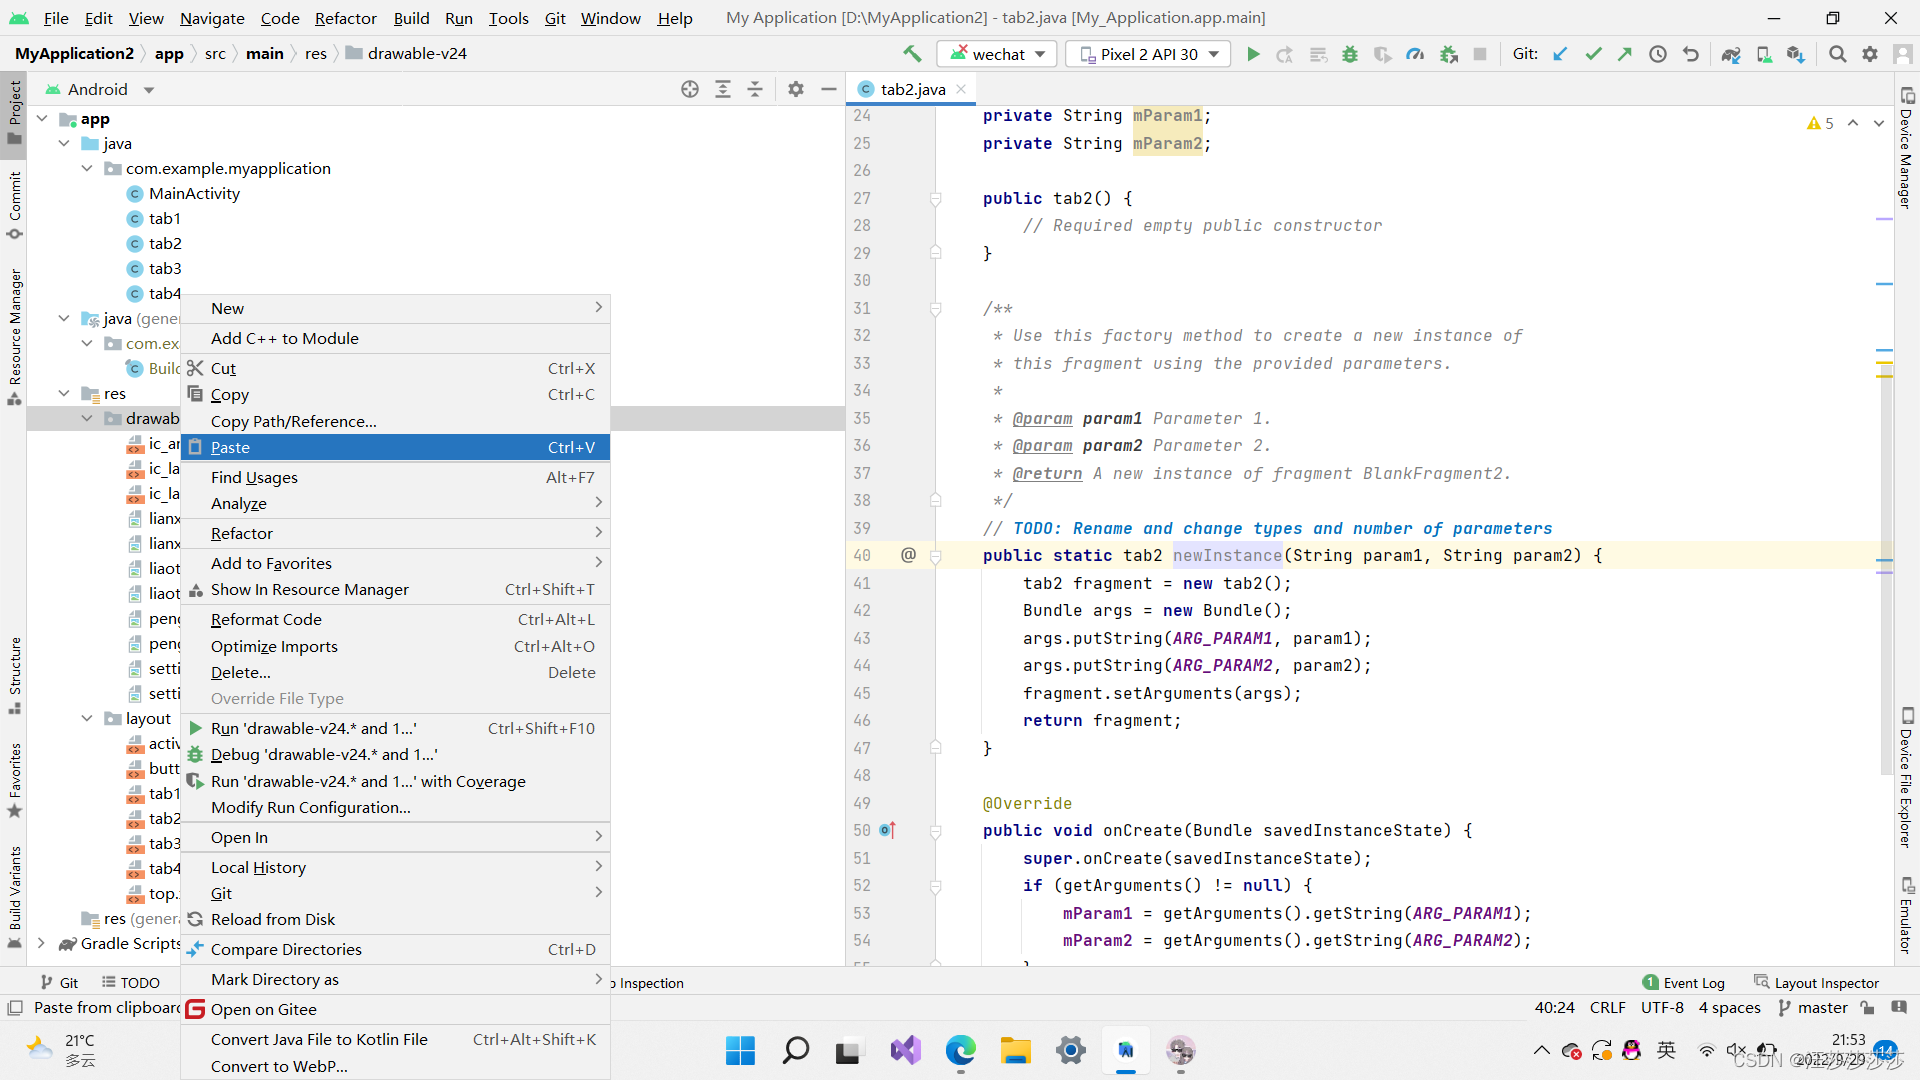
- 6.修改java里面的fragment的命名
- 7.主代码
- 结果
一、设计目标
简易类微信界面设计
二、步骤分类
1.添加drawable图片
在阿里矢量图库搜索微信图标并下载png图片,然后点击复制,再如图所示点击paste,将图片保存在drawable里面方便后续使用(请给图片命名)。
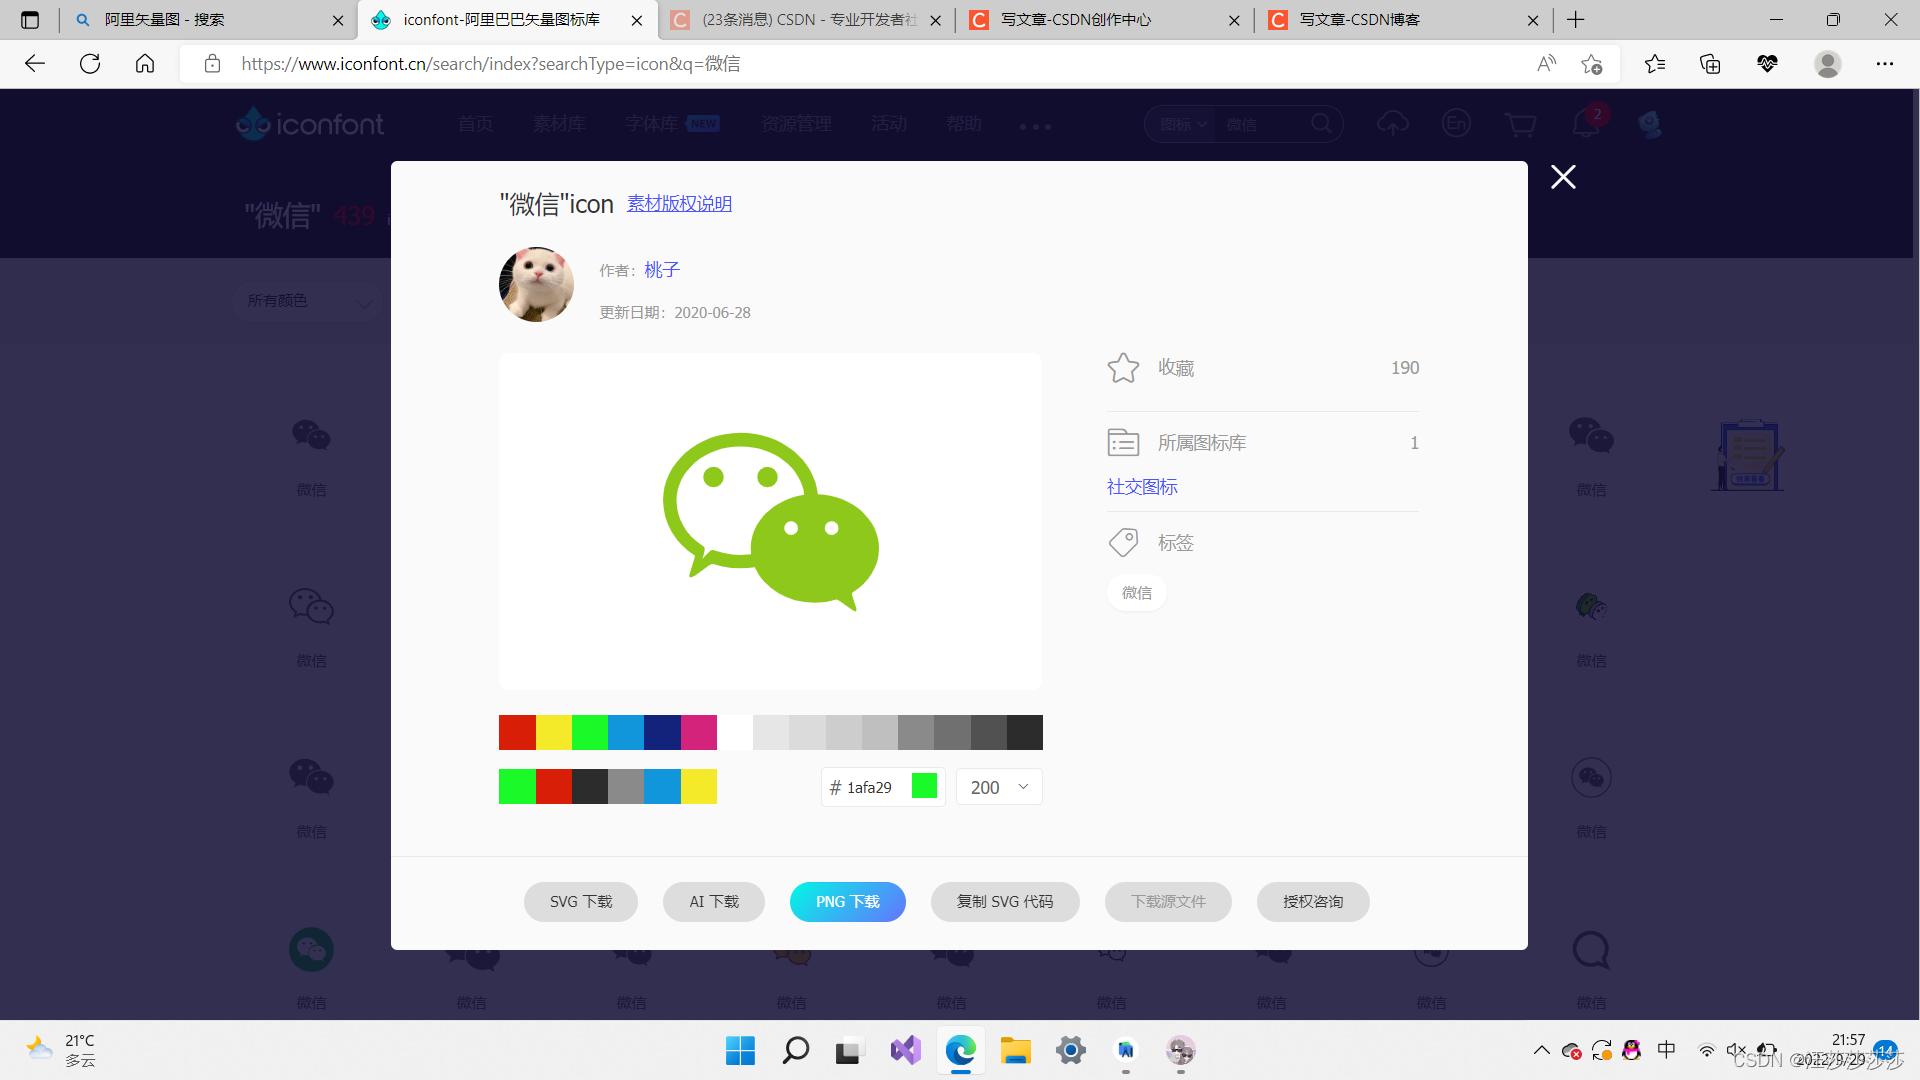
请分别下载绿色和黑色图片方便后续使用。我在这里分别将黑色和绿色命名为liaotian和liaotian1.
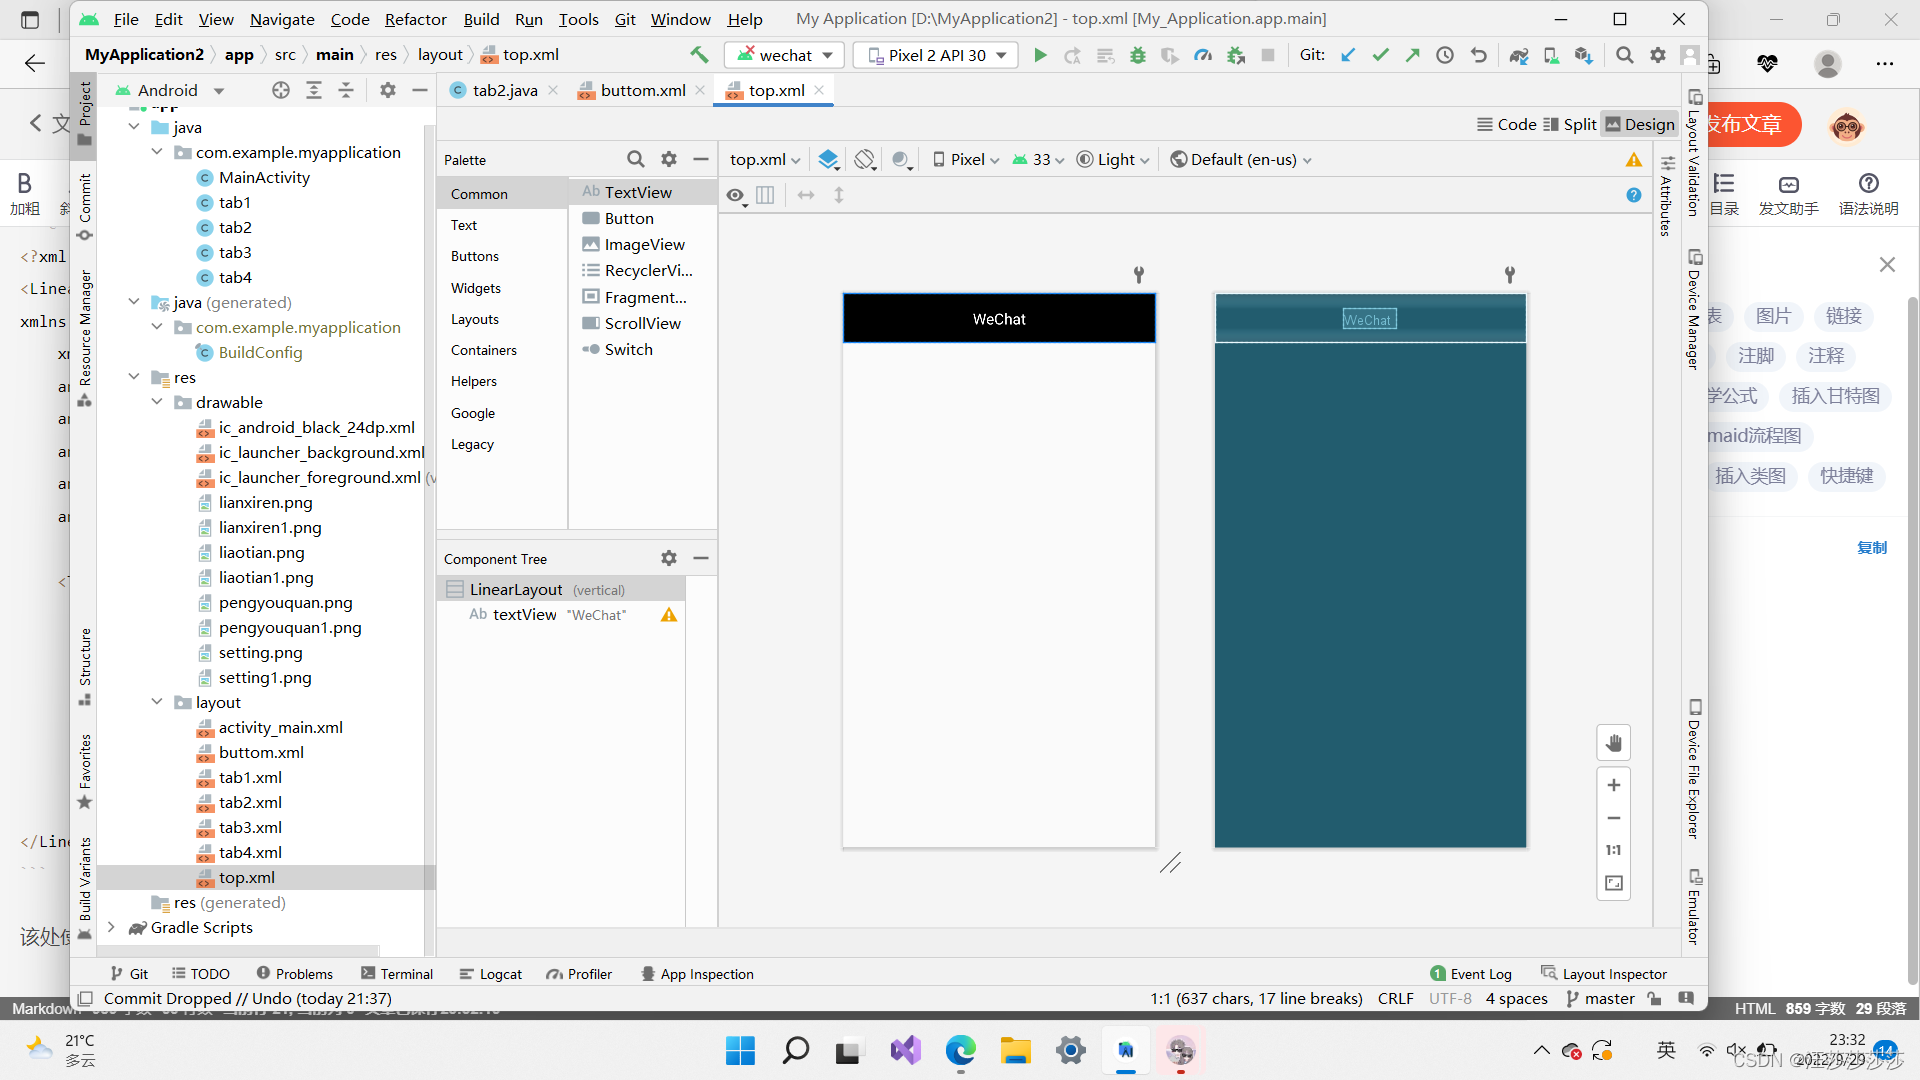
2.新建top来写wechat的标题
<?xml version="1.0" encoding="utf-8"?>
<LinearLayout xmlns:android="http://schemas.android.com/apk/res/android"xmlns:app="http://schemas.android.com/apk/res-auto"android:layout_width="match_parent"android:layout_height="65dp"android:gravity="center"android:background="#000000"android:orientation="vertical"><TextViewandroid:id="@+id/textView"android:layout_width="wrap_content"android:layout_height="wrap_content"android:gravity="center_horizontal"android:text="WeChat"android:textColor="#ffffff"android:textSize="20sp"/>
</LinearLayout>
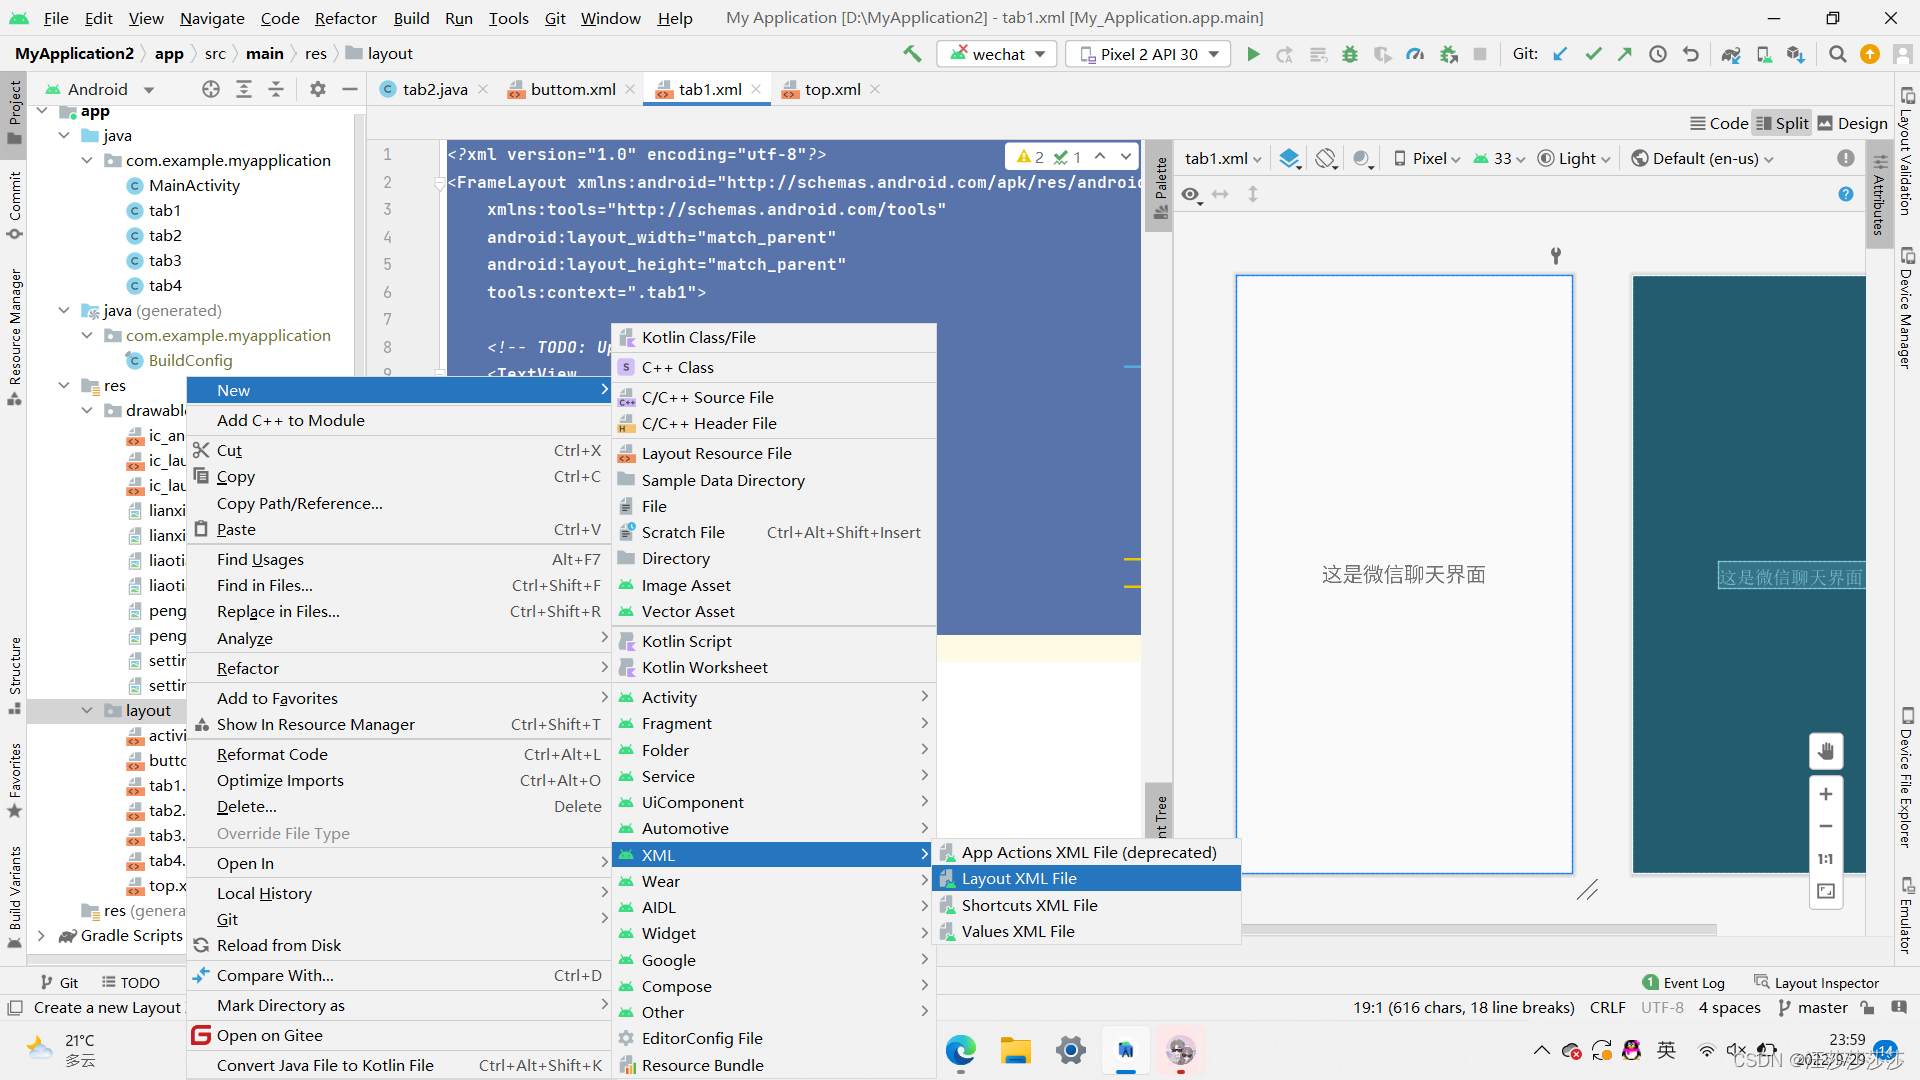
3.新建buttom
用上图的方法新建xml
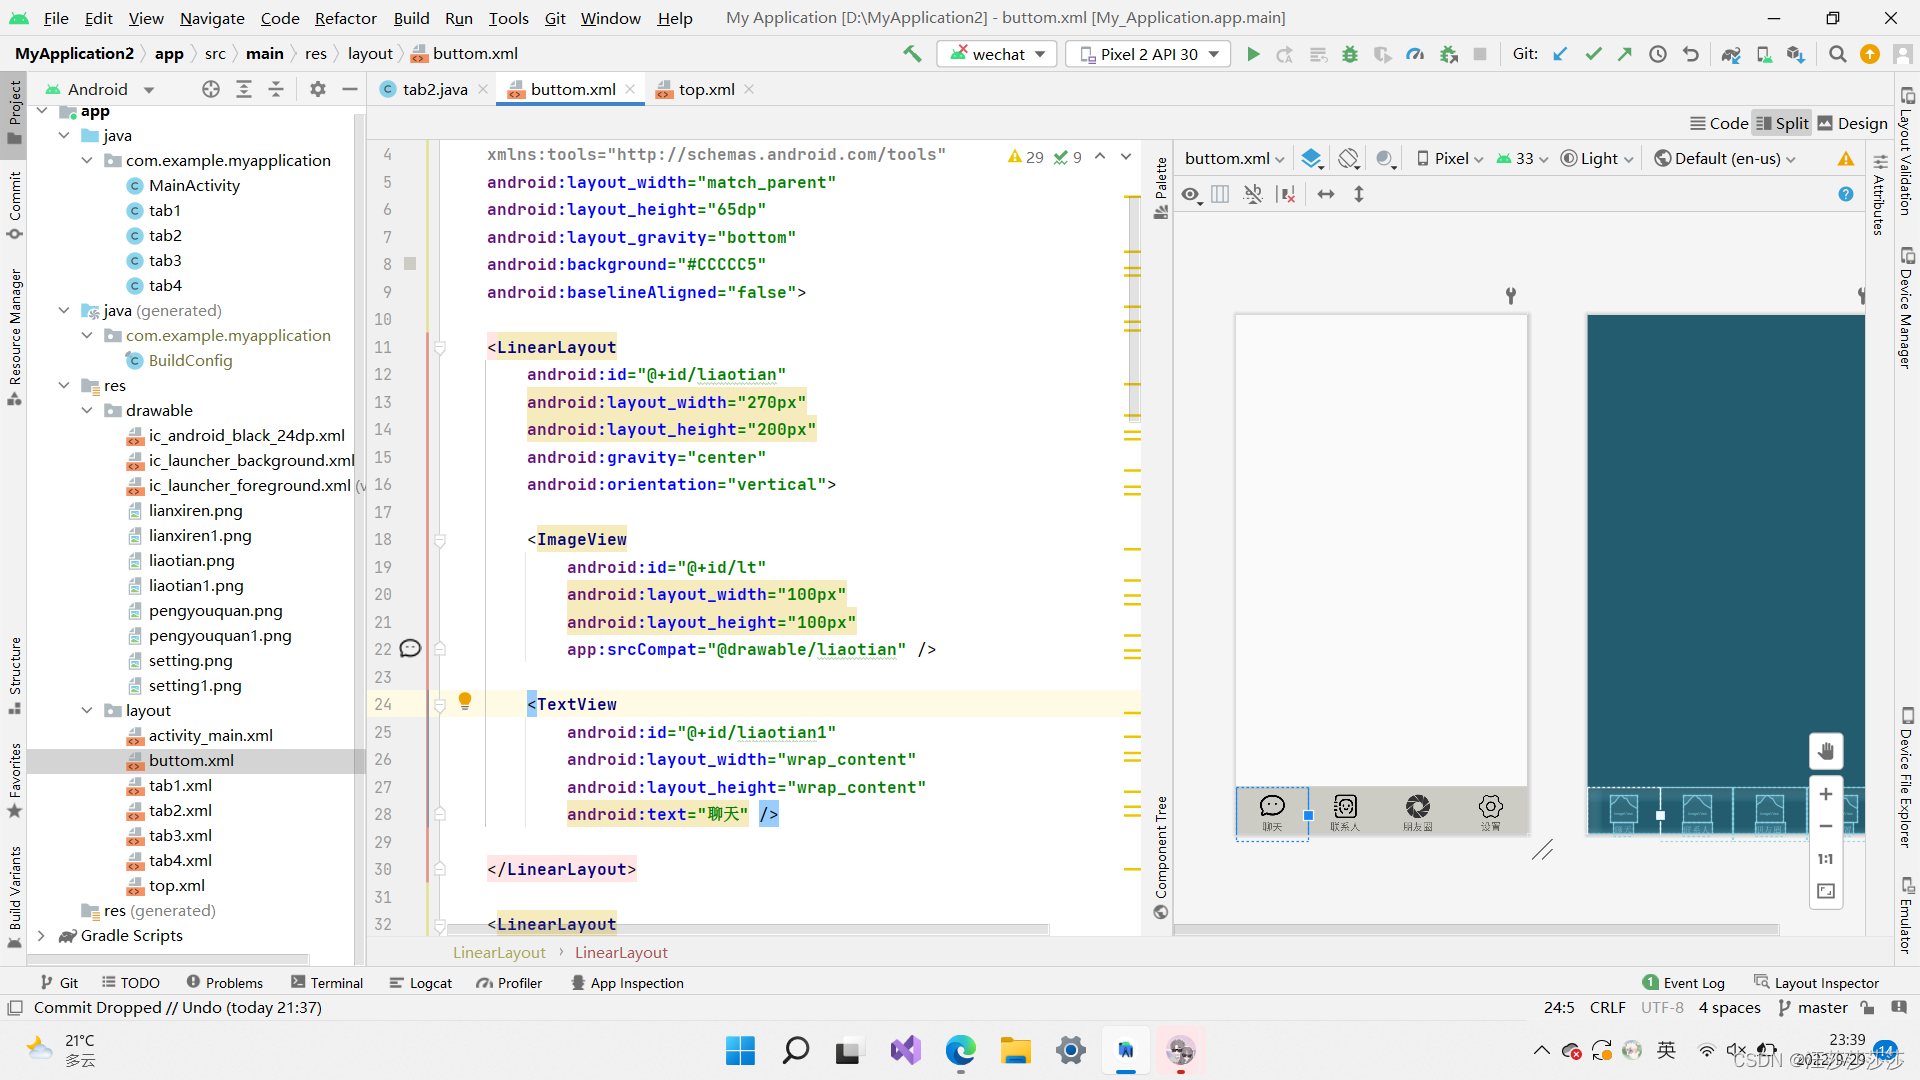
加入四个linearlayout并且命名,然后在linearlayout下面加入imageview和textview。
xmlns:tools="http://schemas.android.com/tools"android:layout_width="match_parent"android:layout_height="65dp"android:layout_gravity="bottom"android:background="#CCCCC5"android:baselineAligned="false"><LinearLayoutandroid:id="@+id/liaotian"android:layout_width="270px"android:layout_height="200px"android:gravity="center"android:orientation="vertical"><ImageViewandroid:id="@+id/lt"android:layout_width="100px"android:layout_height="100px"app:srcCompat="@drawable/liaotian" /><TextViewandroid:id="@+id/liaotian1"android:layout_width本文来自互联网用户投稿,文章观点仅代表作者本人,不代表本站立场,不承担相关法律责任。如若转载,请注明出处。 如若内容造成侵权/违法违规/事实不符,请点击【内容举报】进行投诉反馈!