vue-router通配符的使用
一、简述:
1、当你需要匹配任何路径或者某种格式的路径时,就可以利用通配符(*)来实现
2、当使用通配符时要注意路由的顺序,一般而言,通配符需要放在路由之后
3、当使用通配符时,$route.params里会自动添加一个叫做pathMatch的属性,通过该属性我们可以获得通配符的值
二、下面通过一个小案例熟悉一下通过通配符的使用:
1、创建test.vue文件
<template><div>test页面<br><br><br><br><br><br>通配符*的值: {{$route.params.pathMatch}}<br><br><br><br><br><br><br><br><br><br><br><br><button @click="returnPage">返回hello world界面</button></div>
</template><script>
export default {name: '',data () {return {}},methods:{// 返回hello world界面returnPage(){this.$router.push('/helloWorld');}}
}
</script><style scoped></style>
2、创建404.vue文件
<template><div>404{{$route.params.pathMatch}}</div>
</template><script>
export default {name: '',
}
</script><style scoped></style>
3、对路由文件index.js进行路由配置
import Vue from 'vue';
import Router from 'vue-router';
import notFound from '@/components/404';//404页面
import test from '@/components/test';Vue.use(Router);export default new Router({routes: [{path:'/test',name:'test',component:test},//通配符的使用{path: '/user-*',component:test},{path: '/role-*',component:test},{path: '/*',component:notFound}]
})
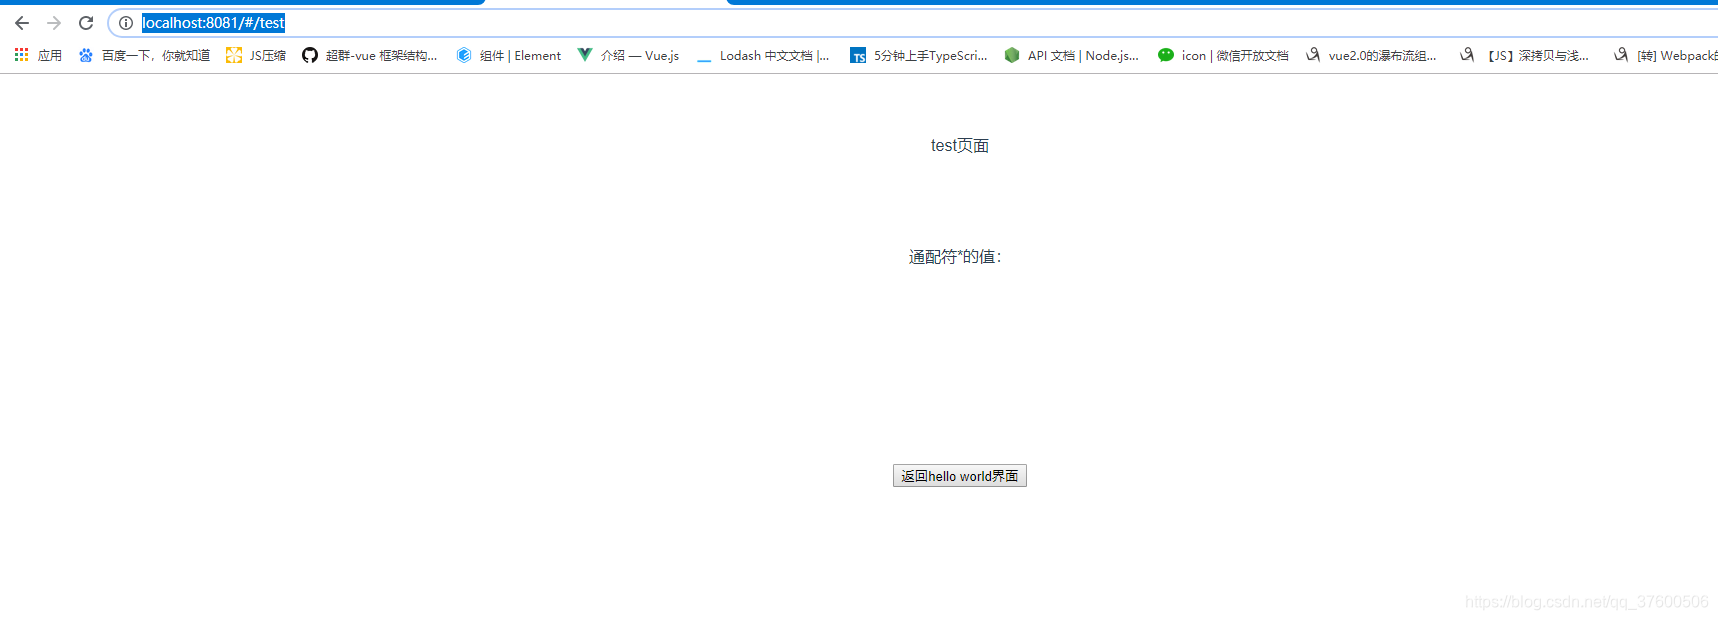
4、运行项目,再浏览器中输入 http://localhost:8081/#/test,页面内容如下:
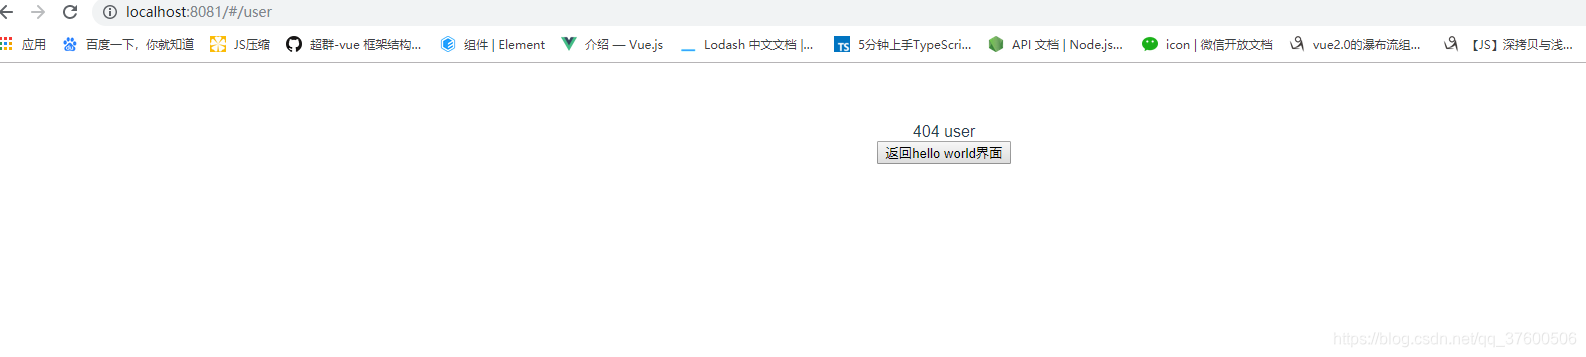
5、当修改浏览器中的test为user时,页面内容如下:
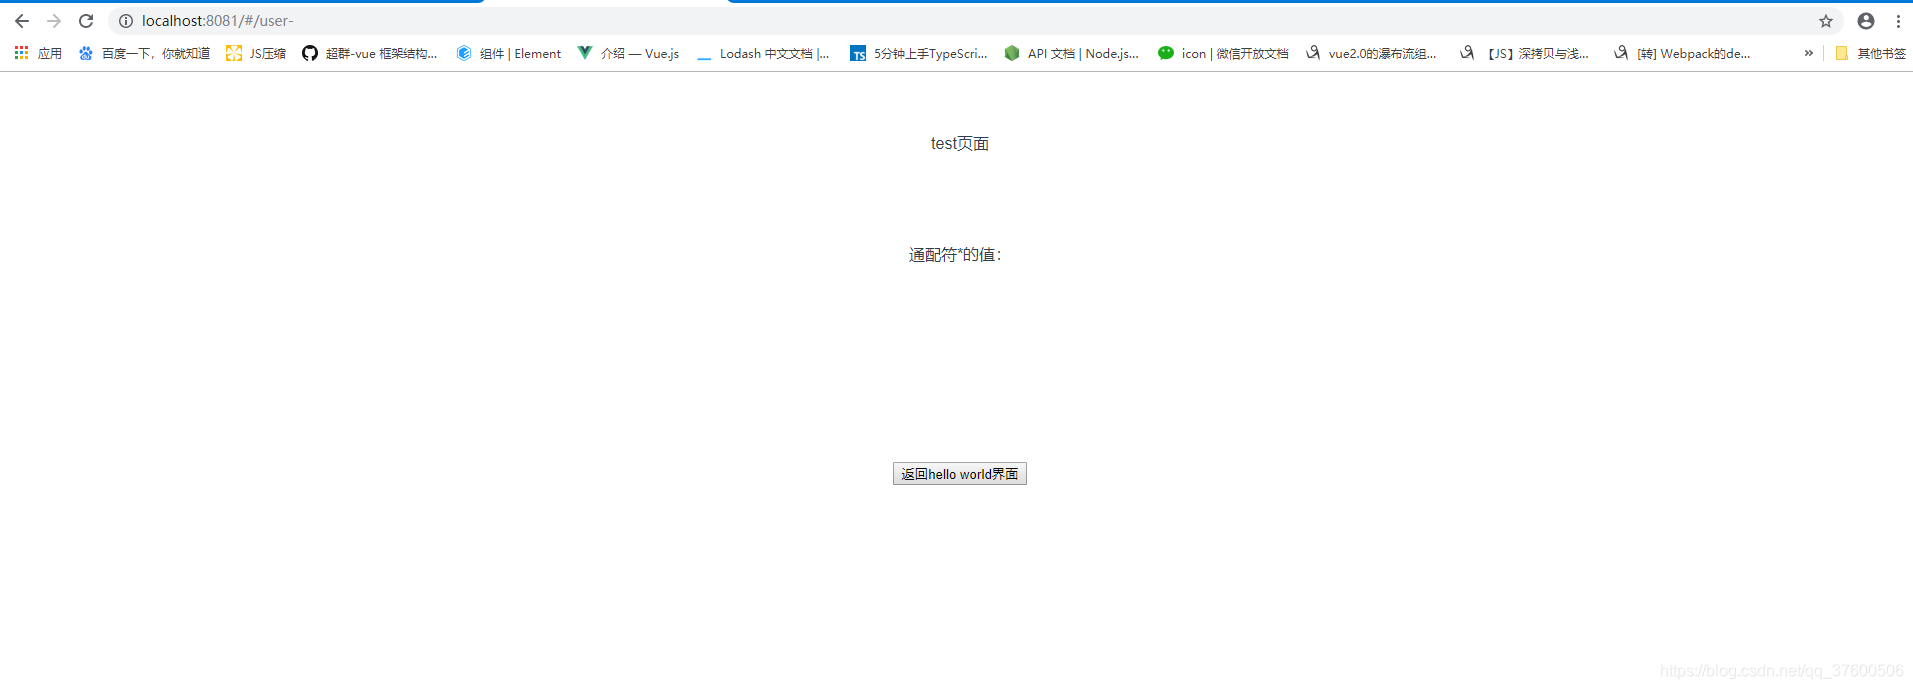
6、当修改浏览器中的test为user-时,页面内容如下:
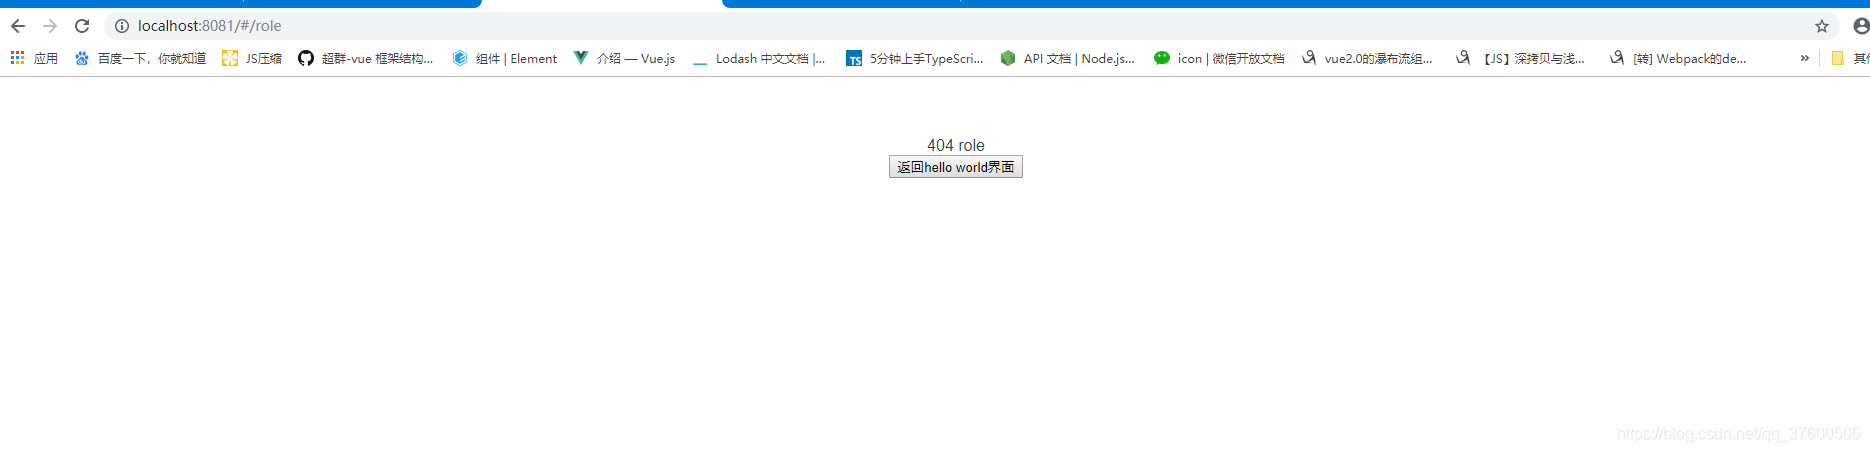
7、当修改浏览器中的test为role时,页面内容如下:
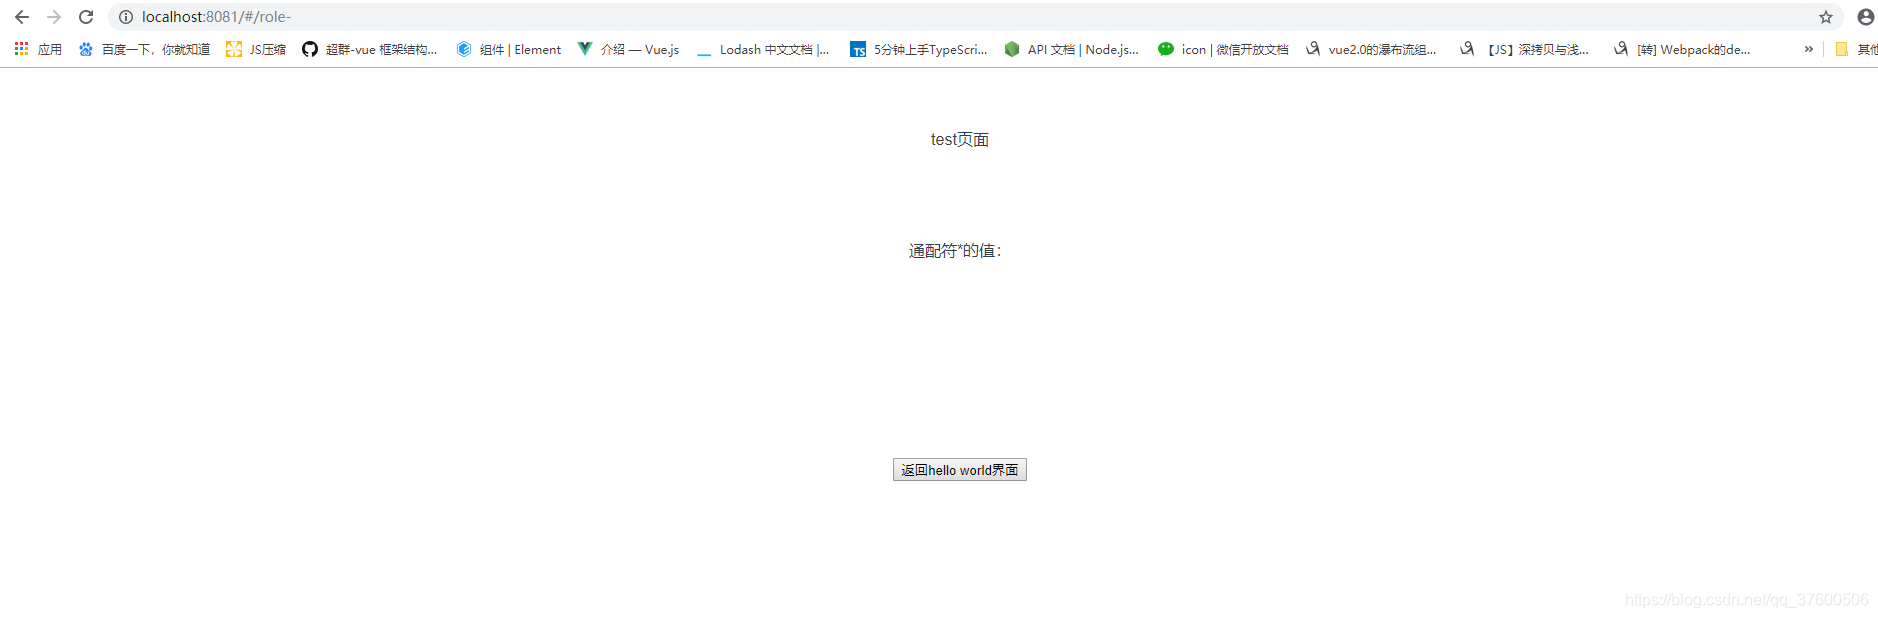
8、当修改浏览器中的test为role-时,页面内容如下:
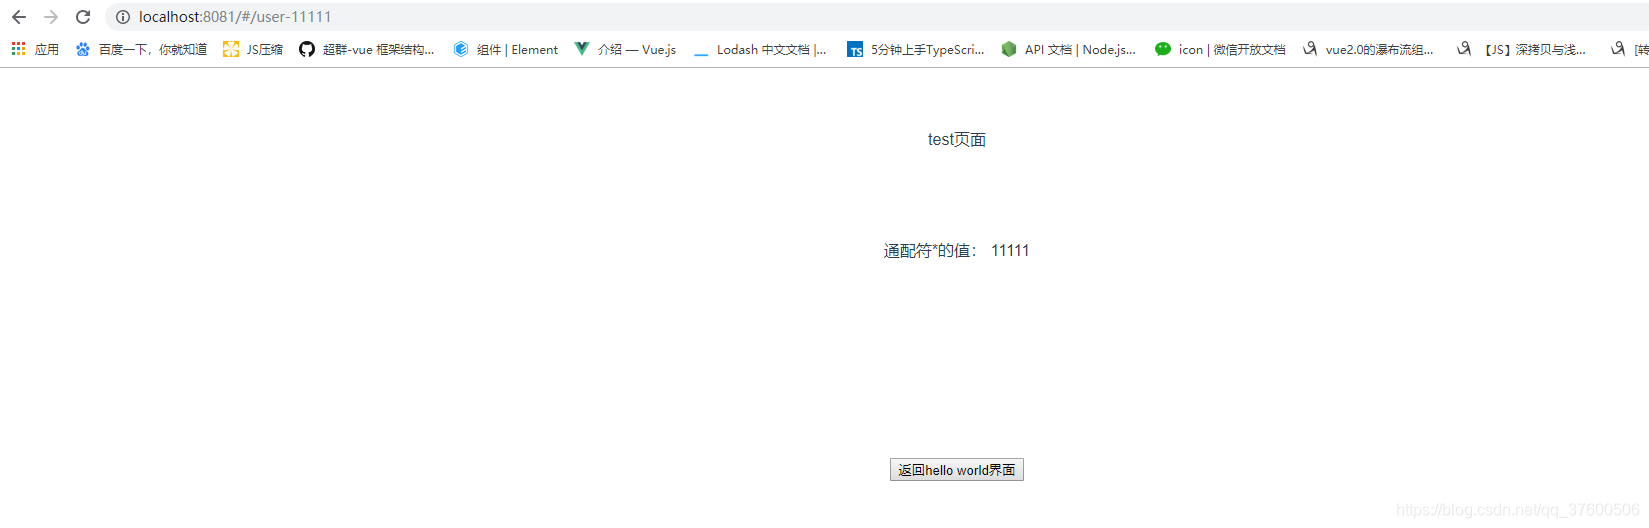
9、当修改浏览器中的test为user-11111时,页面内容如下:
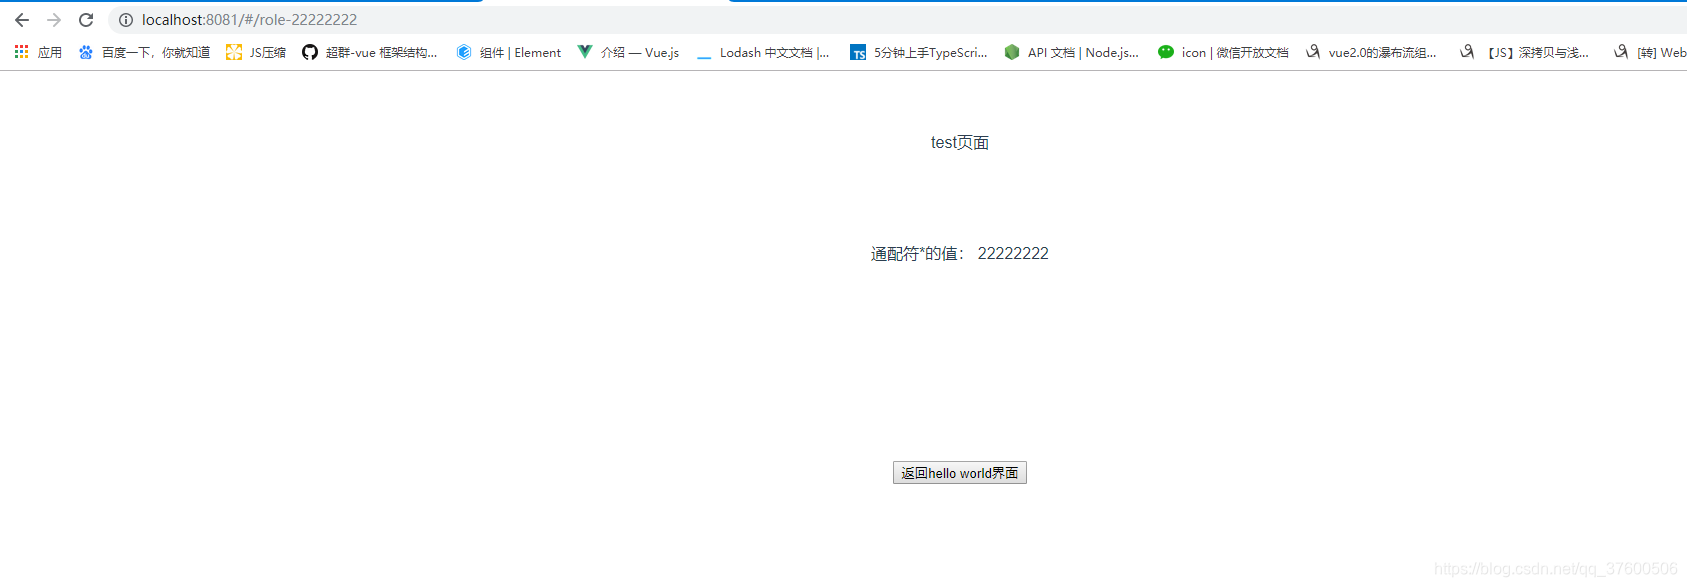
10、当修改浏览器中的test为role-22222222时,页面内容如下:
三、总结:
{path: '*'    // 会匹配所有路径
}{path: '/user-*'   // 会匹配以 `/user-` 开头的任意路径
}
本文来自互联网用户投稿,文章观点仅代表作者本人,不代表本站立场,不承担相关法律责任。如若转载,请注明出处。 如若内容造成侵权/违法违规/事实不符,请点击【内容举报】进行投诉反馈!