zabbix监控服务基本认识
1. zabbix介绍
zabbix是一个基于WEB界面的提供分布式系统监视以及网络监视功能的企业级的开源解决方案
zabbix能监视各种网络参数,保证服务器系统的安全运营;并提供灵活的通知机制以让系统管理员快速定位/解决存在的各种问题。
zabbix由2部分构成,zabbix
server与可选组件zabbix agent。
zabbix server可以通过SNMP,zabbix agent,ping,端口监视等方法提供对远程服务器/网络状态的监视,数据收集等功能,它可以运行在Linux,Ubuntu,Solaris,HP-UX,AIX,Free BSD,Open BSD,OS X等平台上。
zabbix agent需要安装在被监视的目标服务器上,它主要完成对硬件信息或与操作系统有关的内存,CPU等信息的收集。
zabbix server可以单独监视远程服务器的服务状态;同时也可以与zabbix agent配合,可以轮询zabbix agent主动接收监视数据(agent方式),同时还可被动接收zabbix agent发送的数据(trapping方式)。
另外zabbix server还支持SNMP (v1,v2),可以与SNMP软件(例如:net-snmp)等配合使用。
1.1监控的内容
基础监控(使用率)
磁盘
内存
CPU
网络监控
流量
硬件监控
电源(是否损坏)
CPU(温度)
业务监控
服务的端口号
进程
文件的改变(/etc/passwd)
日志
2. zabbix特点
安装与配置简单,学习成本低
支持多语言(包括中文)
免费开源
自动发现服务器与网络设备
分布式监视以及WEB集中管理功能
可以无agent监视
用户安全认证和柔软的授权方式
通过WEB界面设置或查看监视结果
email等通知功能
Zabbix主要功能:
CPU负荷
内存使用
磁盘使用
网络状况
端口监视
日志监视
3.zabbix组件
zabbix server:负责接收agent发送的报告信息的核心组件,所有配置,统计数据及操作数据均由其组织进行
zabbix database:用户存储所有配置信息,以及存储由zabbix server收集到的数据
zabbix web:zabbix的interface接口,通常与Server运行在同一台主机上
zabbix agent:部署在被监控主机上,负责收集本地数据发往server端或proxy端
zabbix proxy:常用于分布监控环境中,代理Server收集部分被监控的监控数据并统一发往Server端(通常大于500台主机才需要使用)
4.zabbix原理
zabbix agent安装在被监控的主机上,负责定期收集被监控端的本地各项数据,并发送至zabbix server端,zabbix server收到数据,将数据存储到数据库( zabbix database)中,用户基于zabbix web的可视化界面可以看到前端数据图像。当zabbix监控某个具体的项目时,该项目会设置一个触发器阈值,当被监控的指标超过该触发器设定的阈值,会进行一些必要的动作,动作包括:发送信息(邮件、微信、短信)、发送命令(SHELL 命令、Reboot、Restart、Install等)。
5. zabbix配置文件
zabbix配置文件有两种:
服务器端配置文件(/usr/local/etc/zabbix_server.conf)
客户端配置文件(/usr/local/etc/zabbix_agentd.conf)
zabbix代理配置文件(/usr/local/etc/zabbix_proxy.conf)
服务器端配置文件zabbix_server.conf常用配置参数:
参数 作用
LogFile 设置服务端日志文件存放路径
ListenIP 设置服务端监听IP
ListenPort 设置服务端监听的端口号
PidFile 设置服务端进程号文件存放路径
DBHost 指定zabbix的数据库服务器IP
DBName 指定zabbix使用的数据库库名
DBUser 指定zabbix数据库登录用户
DBPassword 指定zabbix数据库登录密码
DBPort 指定zabbix数据库端口号
User 设置zabbix以什么用户的身份运行
AlertScriptsPath 设置告警脚本存放路径
ExternalScripts 外部脚本存放路径
客户端配置文件zabbix_agentd.conf常用配置参数:
参数 作用
Server 指定zabbix服务器的IP或域名
ServerActive 指定zabbix服务器的IP或域名
Hostname 指定本机的主机名,此项必须与web界面配置项一致
UnsafeUserParameters 是否启用自定义监控项,可选值为{1
UserParameter 指定自定义监控脚本参数
LogFile 设置客户端日志文件存放路径
6.zabbix监控配置流程详情
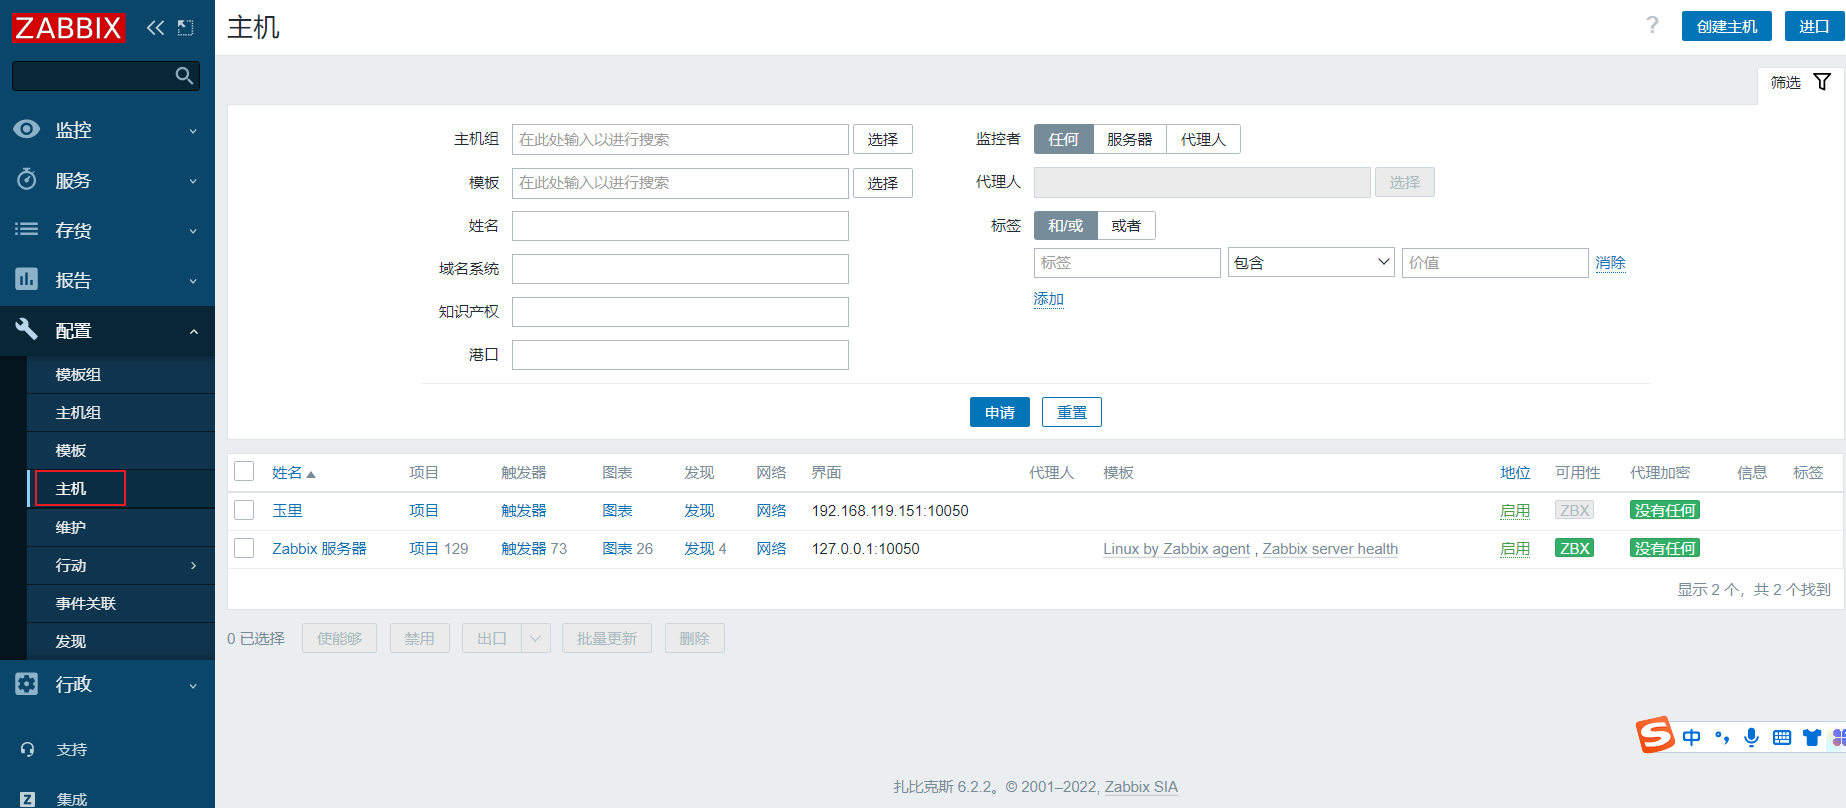
创建主机
创建主机组并加入主机
添加监控项
添加触发器
配置媒介
配置动作
手动触发告警
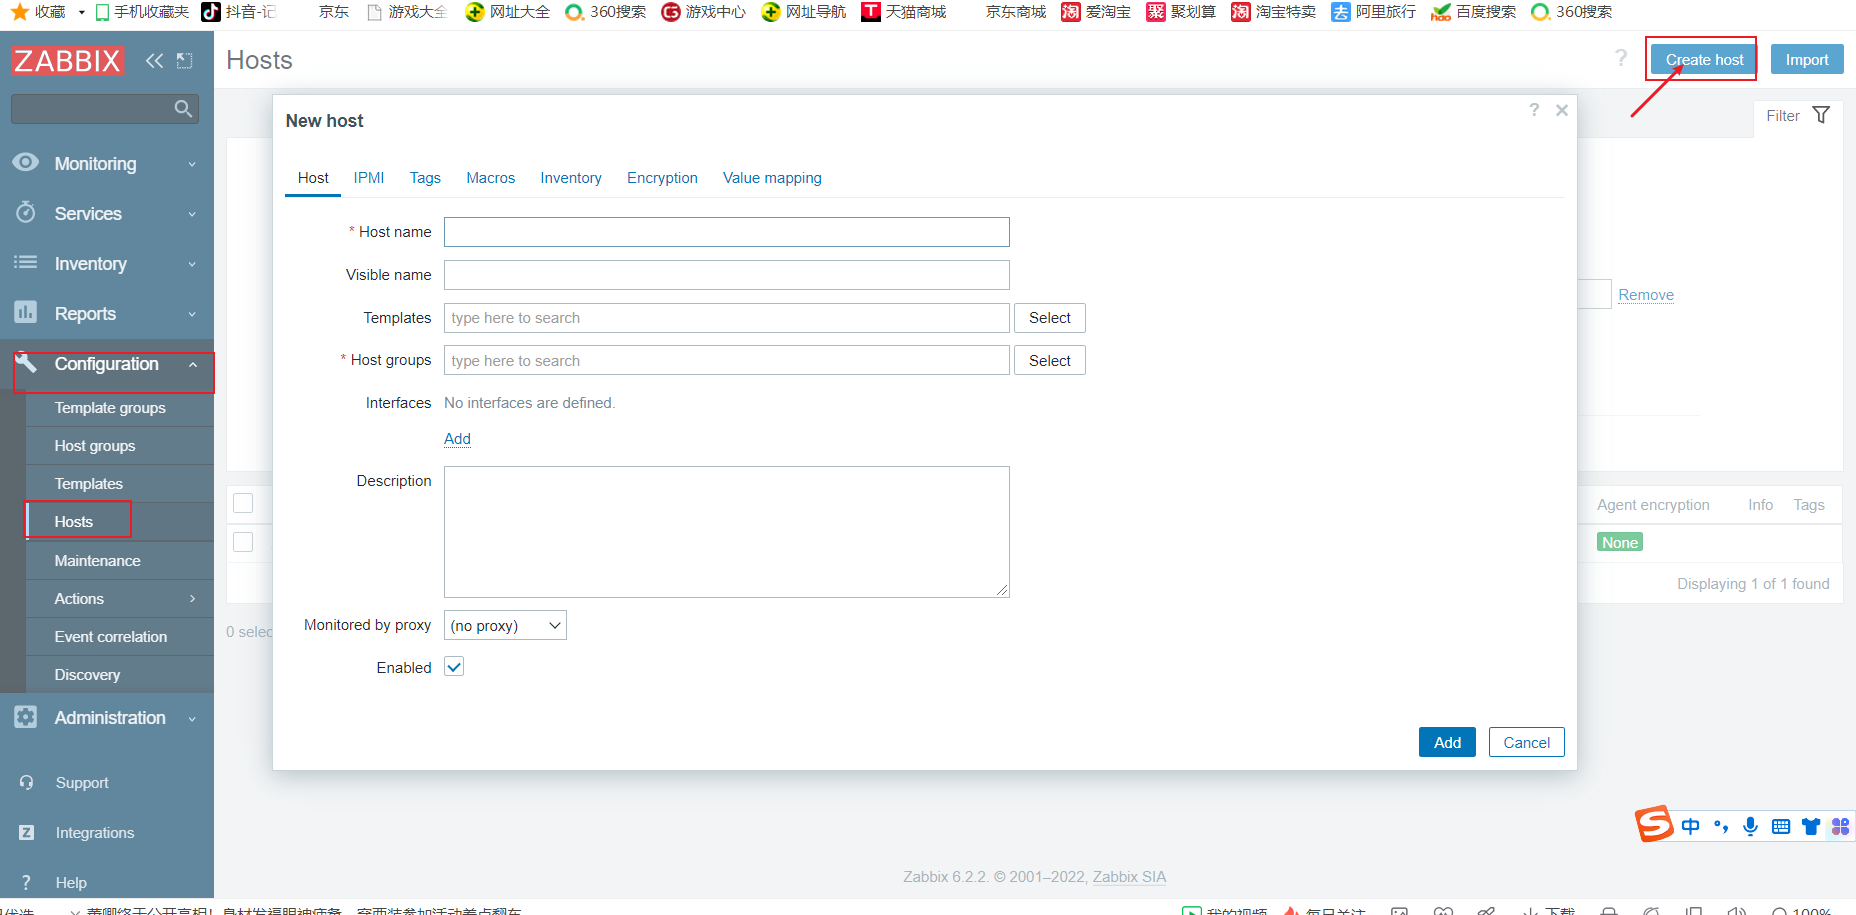
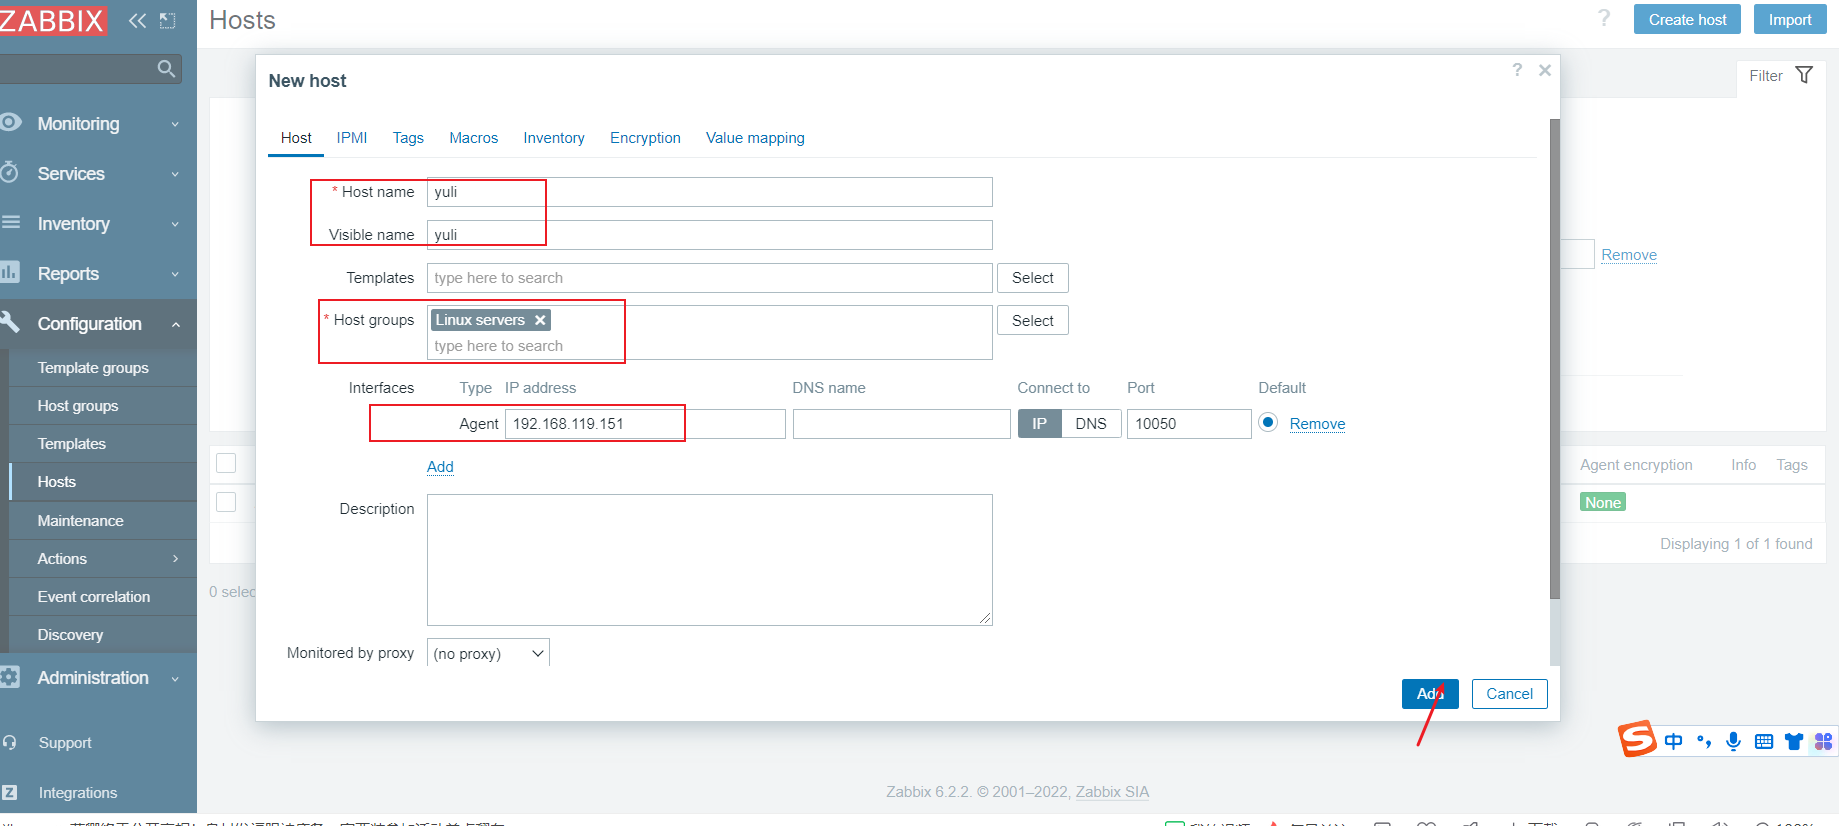
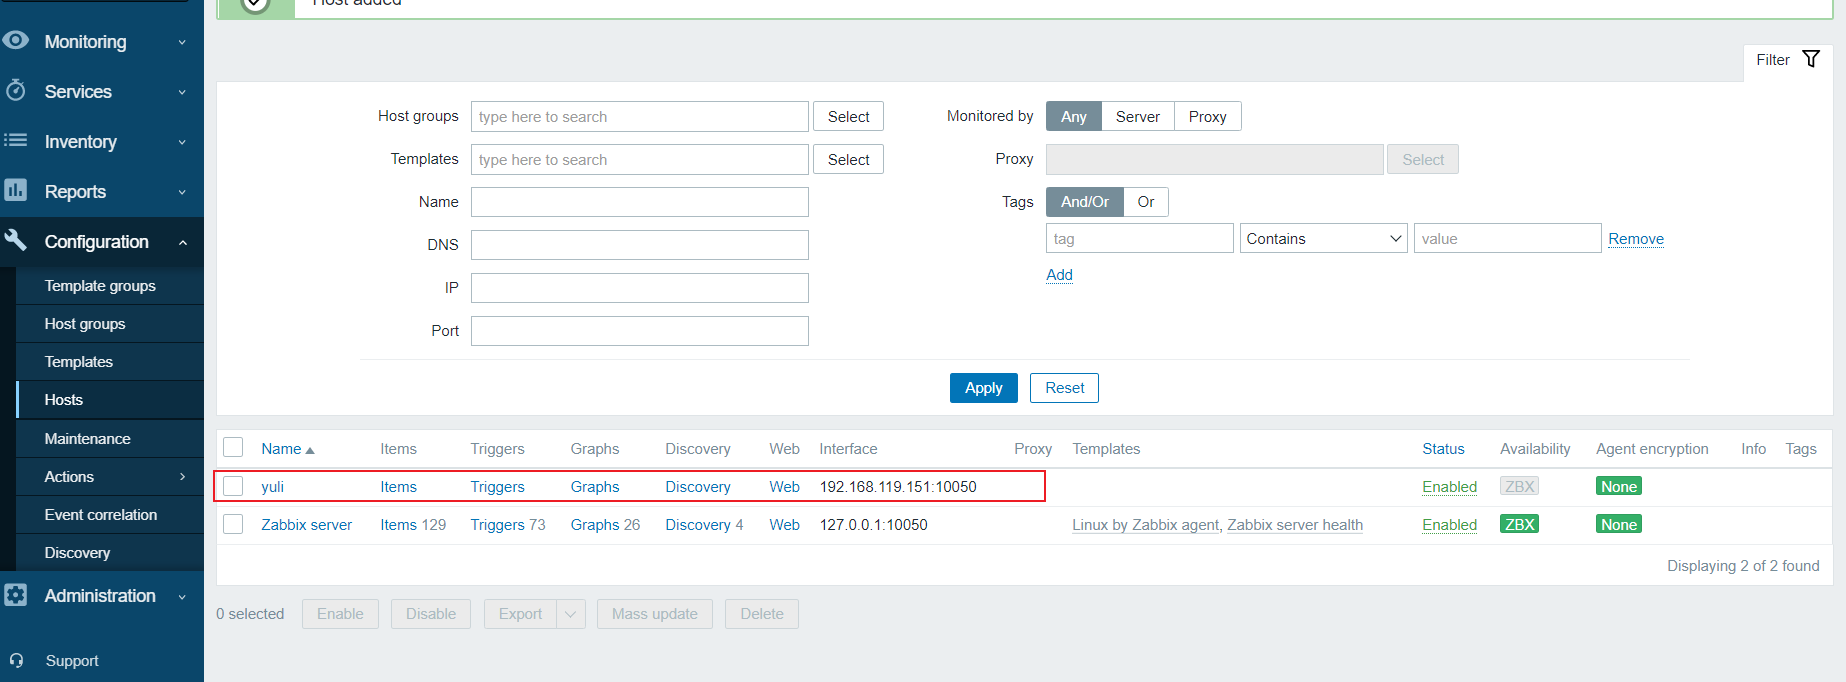
添加被监控的主机
在zabbix图形页面——配置——主机——创建主机(定义主机名称、添加群组、填写被监控端主机IP地址)——模板——选定要监控的模板(httpd sshd服务)——选择——添加(添加连接模板)——添加(添加主机)
配置zabbix监控服务开机自启
#原本服务没有开启
[root@localhost ~]# ss -anlt
State        Recv-Q       Send-Q             Local Address:Port             Peer Address:Port      Process
LISTEN       0            128                      0.0.0.0:9000                  0.0.0.0:*
LISTEN       0            128                      0.0.0.0:22                    0.0.0.0:*
LISTEN       0            80                             *:3306                        *:*
LISTEN       0            128                            *:80                          *:*
LISTEN       0            128                         [::]:22                       [::]:*                      #配置文件
[root@localhost ~]# vim /etc/rc.local
#!/bin/bash
zabbix_server
zabbix_agentd
# THIS FILE IS ADDED FOR COMPATIBILITY PURPOSES
#
# It is highly advisable to create own systemd services or udev rules
# to run scripts during boot instead of using this file.[root@localhost ~]# ll /etc/rc.local
lrwxrwxrwx. 1 root root 13 Dec  2  2020 /etc/rc.local -> rc.d/rc.local
[root@localhost ~]# ll /etc/rc.d/rc.local
-rw-r--r--. 1 root root 503 Sep  4 15:04 /etc/rc.d/rc.local
[root@localhost ~]# chmod +x /etc/rc.d/rc.local
[root@localhost ~]# ll /etc/rc.d/rc.local
-rwxr-xr-x. 1 root root 503 Sep  4 15:04 /etc/rc.d/rc.local
[root@localhost ~]# source /etc/rc.d/rc.local
[root@localhost ~]# ss -anlt
State       Recv-Q       Send-Q             Local Address:Port              Peer Address:Port      Process
LISTEN      0            128                      0.0.0.0:10050                  0.0.0.0:*
LISTEN      0            128                      0.0.0.0:10051                  0.0.0.0:*
LISTEN      0            128                      0.0.0.0:9000                   0.0.0.0:*
LISTEN      0            128                      0.0.0.0:22                     0.0.0.0:*
LISTEN      0            80                             *:3306                         *:*
LISTEN      0            128                            *:80                           *:*
LISTEN      0            128                         [::]:22                        [::]:*
[root@localhost ~]#
添加监控另外一台主机
[root@localhost ~]# cd /usr/src/
[root@localhost src]# ls
debug  kernels  zabbix-6.2.2  zabbix-6.2.2.tar.gz
[root@localhost src]# scp zabbix-6.2.2.tar.gz 192.168.119.151:/usr/src/
The authenticity of host '192.168.119.151 (192.168.119.151)' can't be established.
ECDSA key fingerprint is SHA256:8ZGjLoS/i5d6O03waHMjHvy0bwcXcFRLZ62y6Un2IQk.
Are you sure you want to continue connecting (yes/no/[fingerprint])? yes
Warning: Permanently added '192.168.119.151' (ECDSA) to the list of known hosts.
root@192.168.119.151's password:
zabbix-6.2.2.tar.gz                                                           100%   33MB  34.2MB/s   00:00
[root@localhost src]#
[root@localhost src]# [root@web ~]#
[root@web ~]# useradd -r -M -s /sbin/nologin zabbix
[root@web ~]# yum -y install gcc gcc-c++ make vim
[root@web ~]# cd /usr/src/
[root@web src]# ls
debug  kernels  zabbix-6.2.2.tar.gz
[root@web src]# tar xf zabbix-6.2.2.tar.gz
[root@web src]# cd zabbix-6.2.2/
[root@web zabbix-6.2.2]# ls
aclocal.m4  build      conf          configure     database  INSTALL     Makefile.am  misc     README  ui
AUTHORS     ChangeLog  config.guess  configure.ac  depcomp   install-sh  Makefile.in  missing  sass
bin         compile    config.sub    COPYING       include   m4          man          NEWS     src
[root@web zabbix-6.2.2]#
[root@web zabbix-6.2.2]# yum -y install pcre-devel  openssl  openssl-devel [root@web zabbix-6.2.2]# ./configure --help |grep agent--enable-agent          Turn on build of Zabbix agent and client utilities--enable-agent2         Turn on build of Zabbix agent 2
[root@web zabbix-6.2.2]# ./configure --enable-agent
[root@web zabbix-6.2.2]# cd
[root@web ~]# cd /usr/local/etc/
[root@web etc]# ls
zabbix_agentd.conf  zabbix_agentd.conf.d
[root@web etc]# vim zabbix_agentd.conf
[root@web etc]# # Mandatory: yes, if StartAgents is not explicitly set to 0
# Default:
# Server=Server=192.168.119.150### Option: ListenPort
#       Agent will listen on this port for connections from the server.
## Mandatory: no
# Default:
# ServerActive=ServerActive=192.168.119.150### Option: Hostname# Mandatory: no
# Default:
# Hostname=Hostname=yuli### Option: HostnameItem
#       Item used for generating Hostname if it is undefined. Ignored if Hostname is defined.
#       Does not support UserParameters or aliases.#开启客户端
[root@web etc]# zabbix_agentd
[root@web etc]# ss -anlt
State       Recv-Q       Send-Q             Local Address:Port              Peer Address:Port      Process
LISTEN      0            128                      0.0.0.0:22                     0.0.0.0:*
LISTEN      0            128                      0.0.0.0:10050                  0.0.0.0:*
LISTEN      0            128                         [::]:22                        [::]:*
[root@web etc]#
在zabbix网站是添加新主机
zabbix监控服务基本认识
Monitoring(监控)
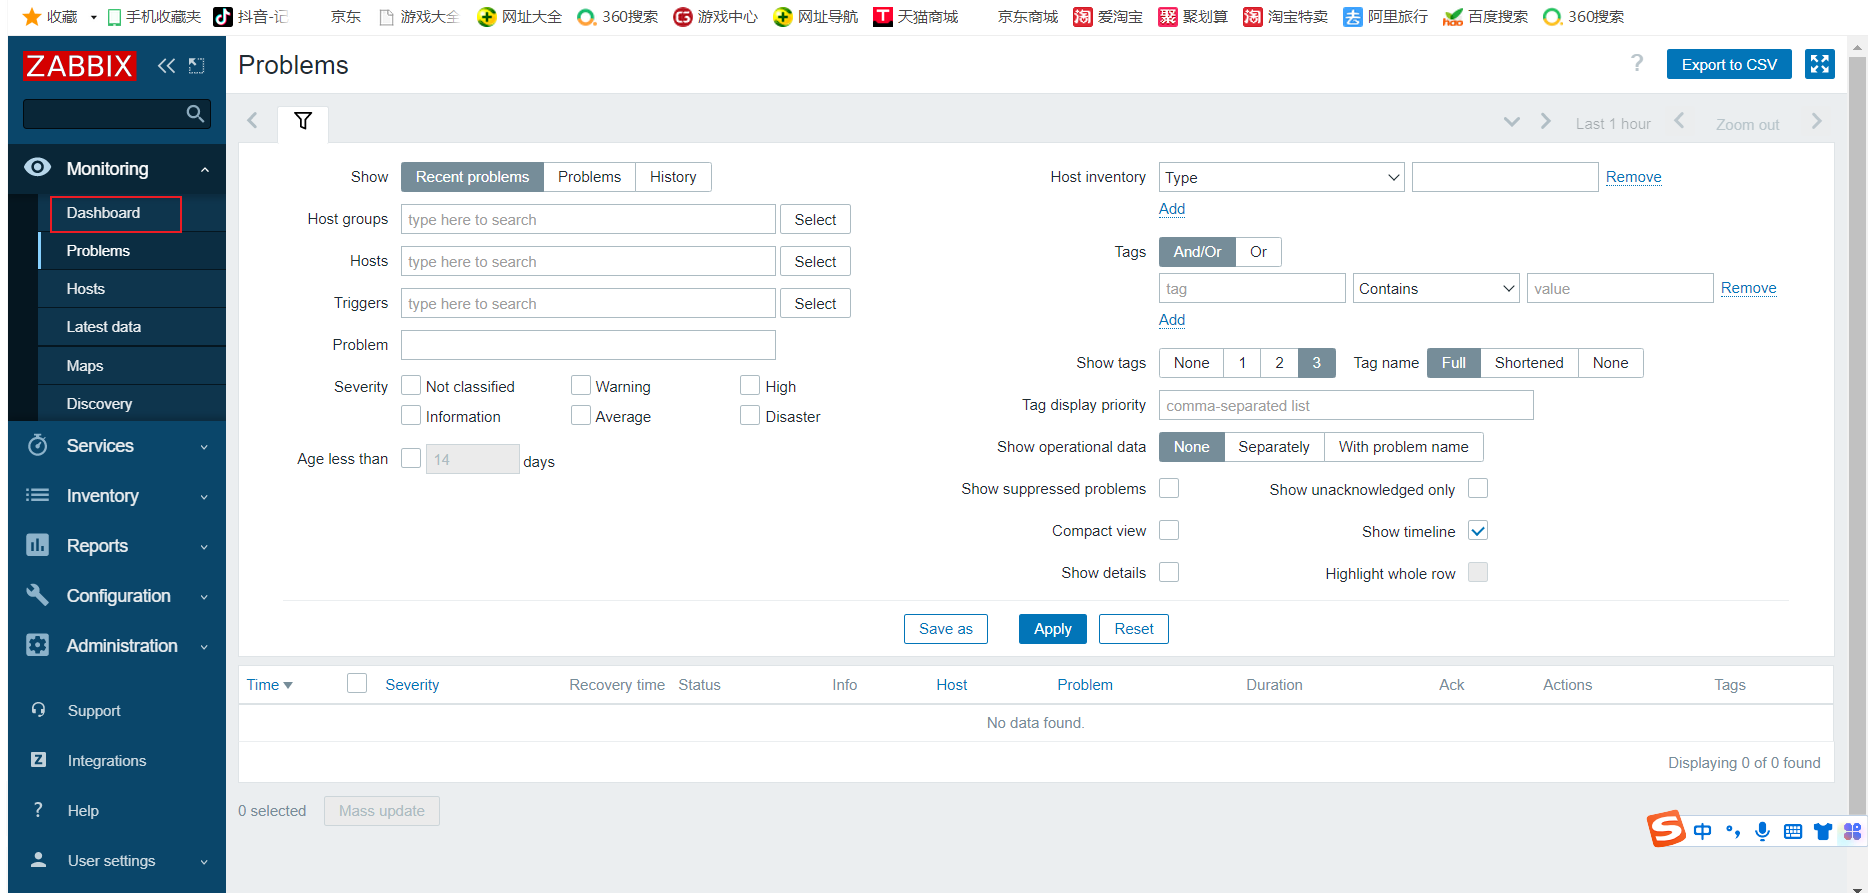
仪表盘随时发现问题
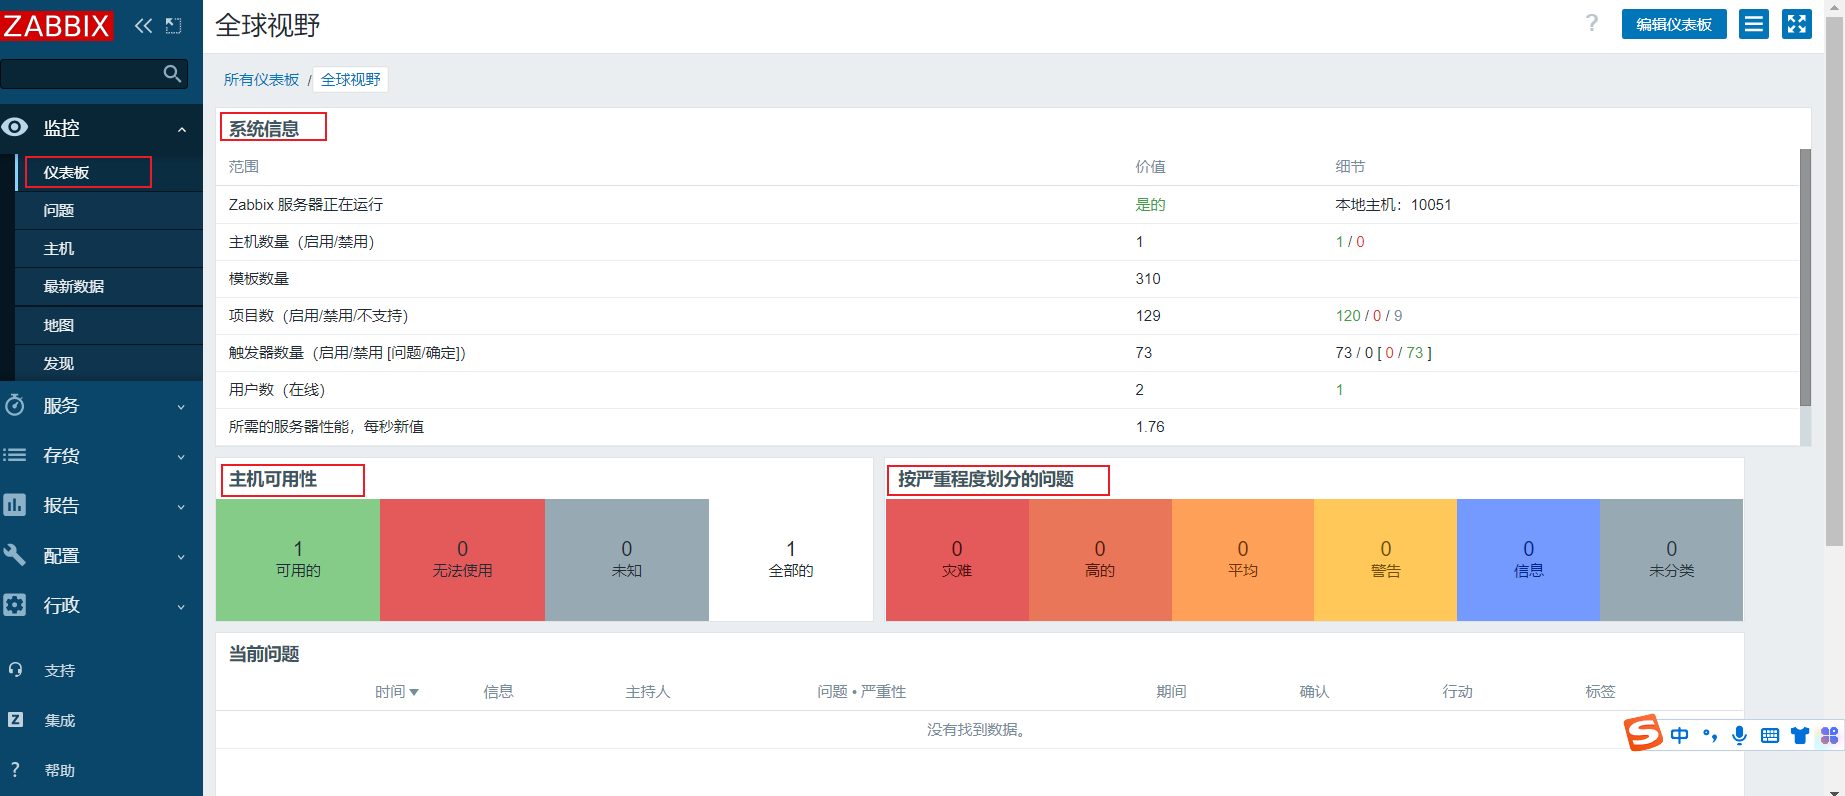
查看主机出现的问题
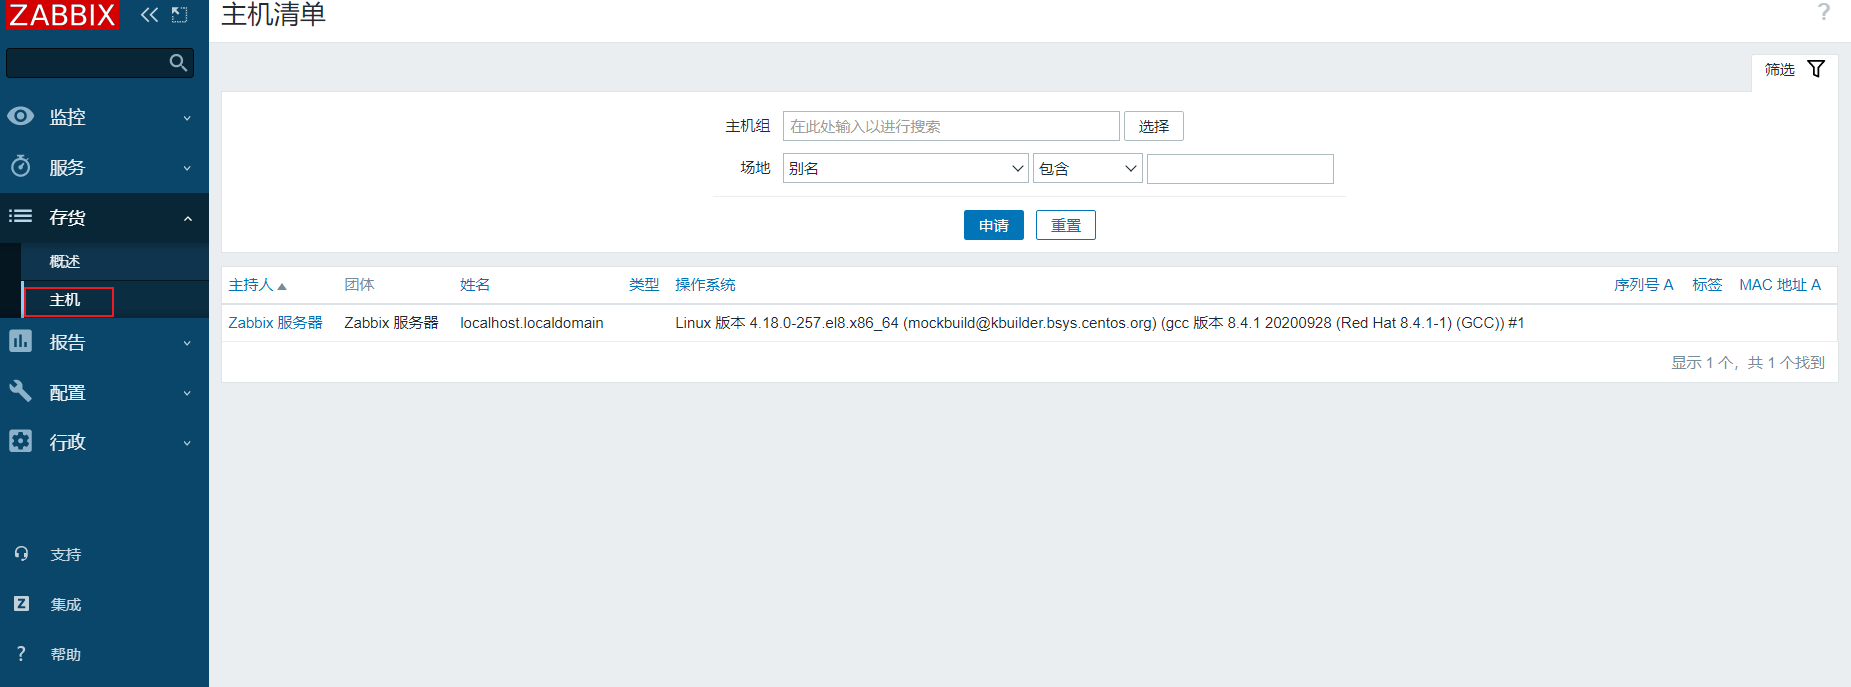
查看有哪些主机
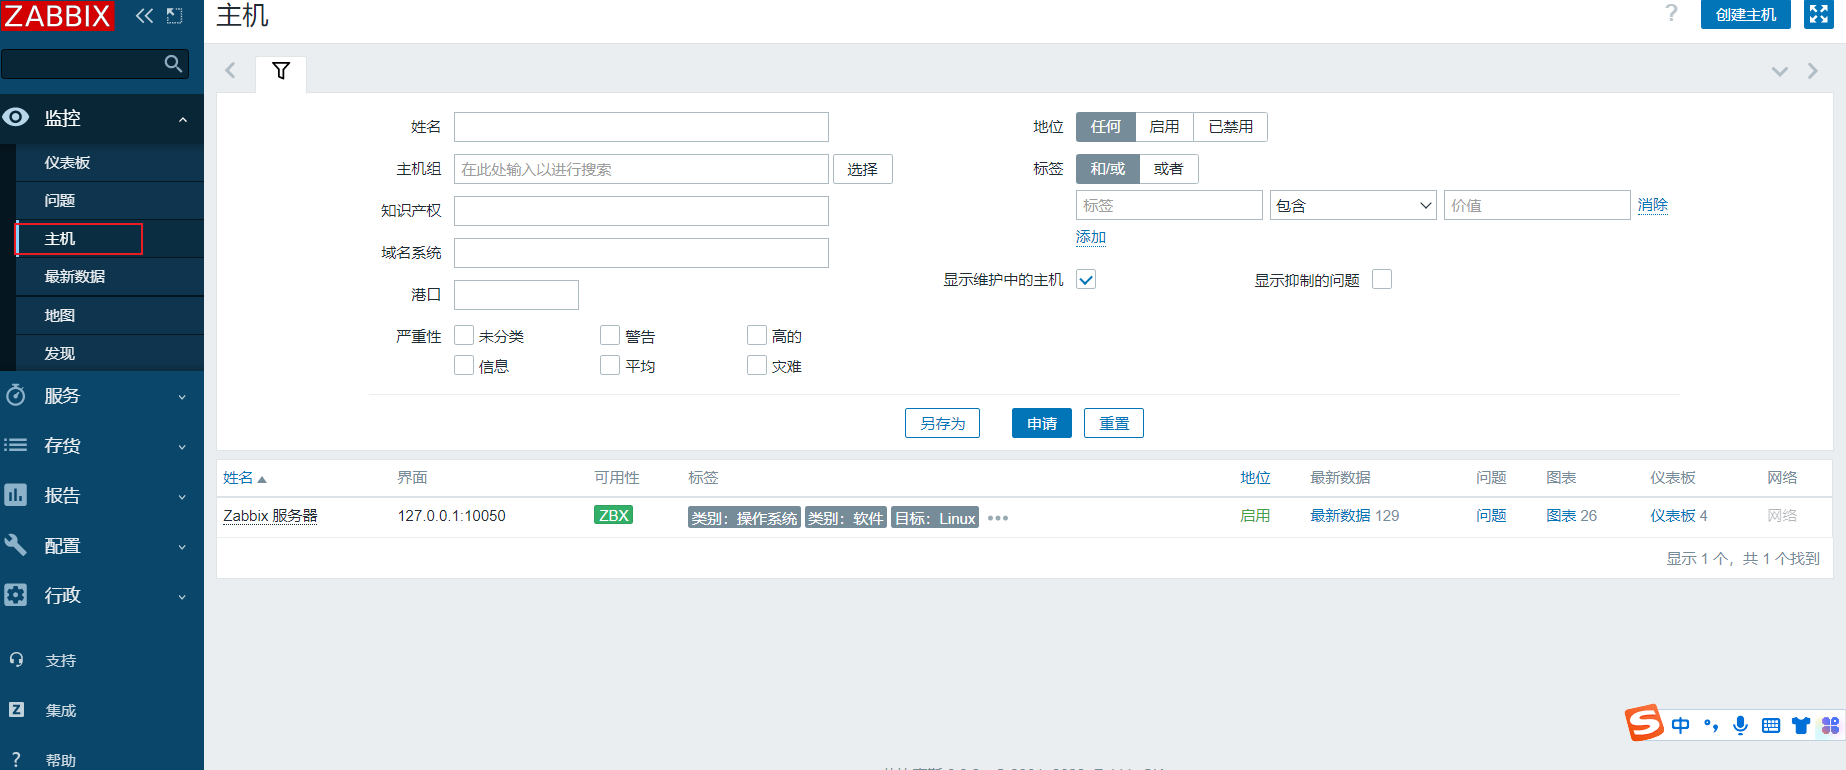
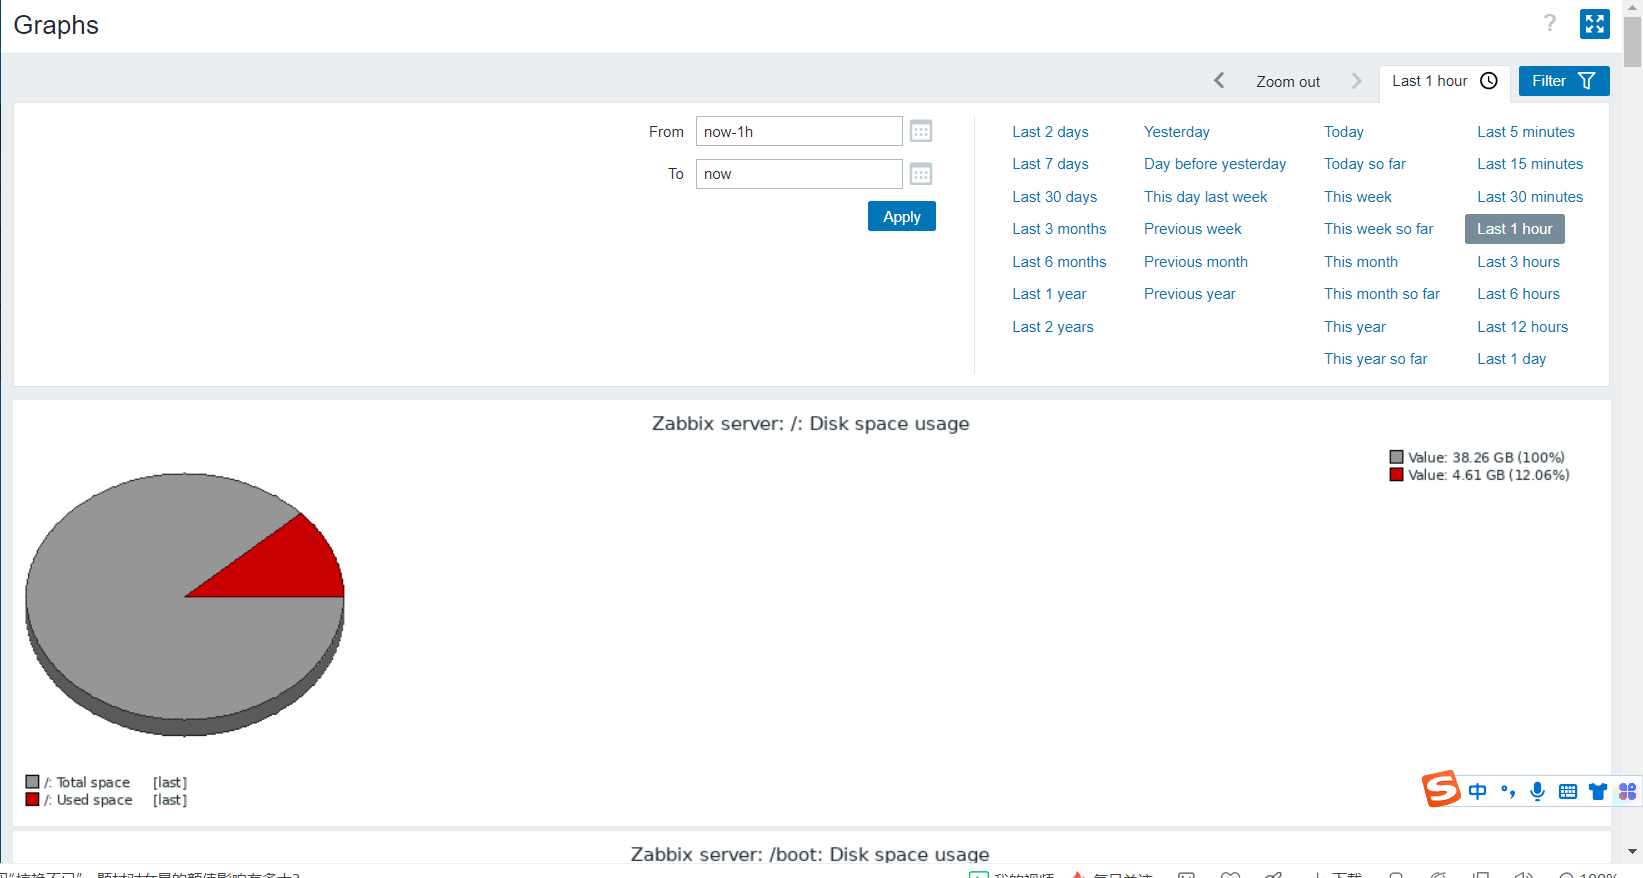
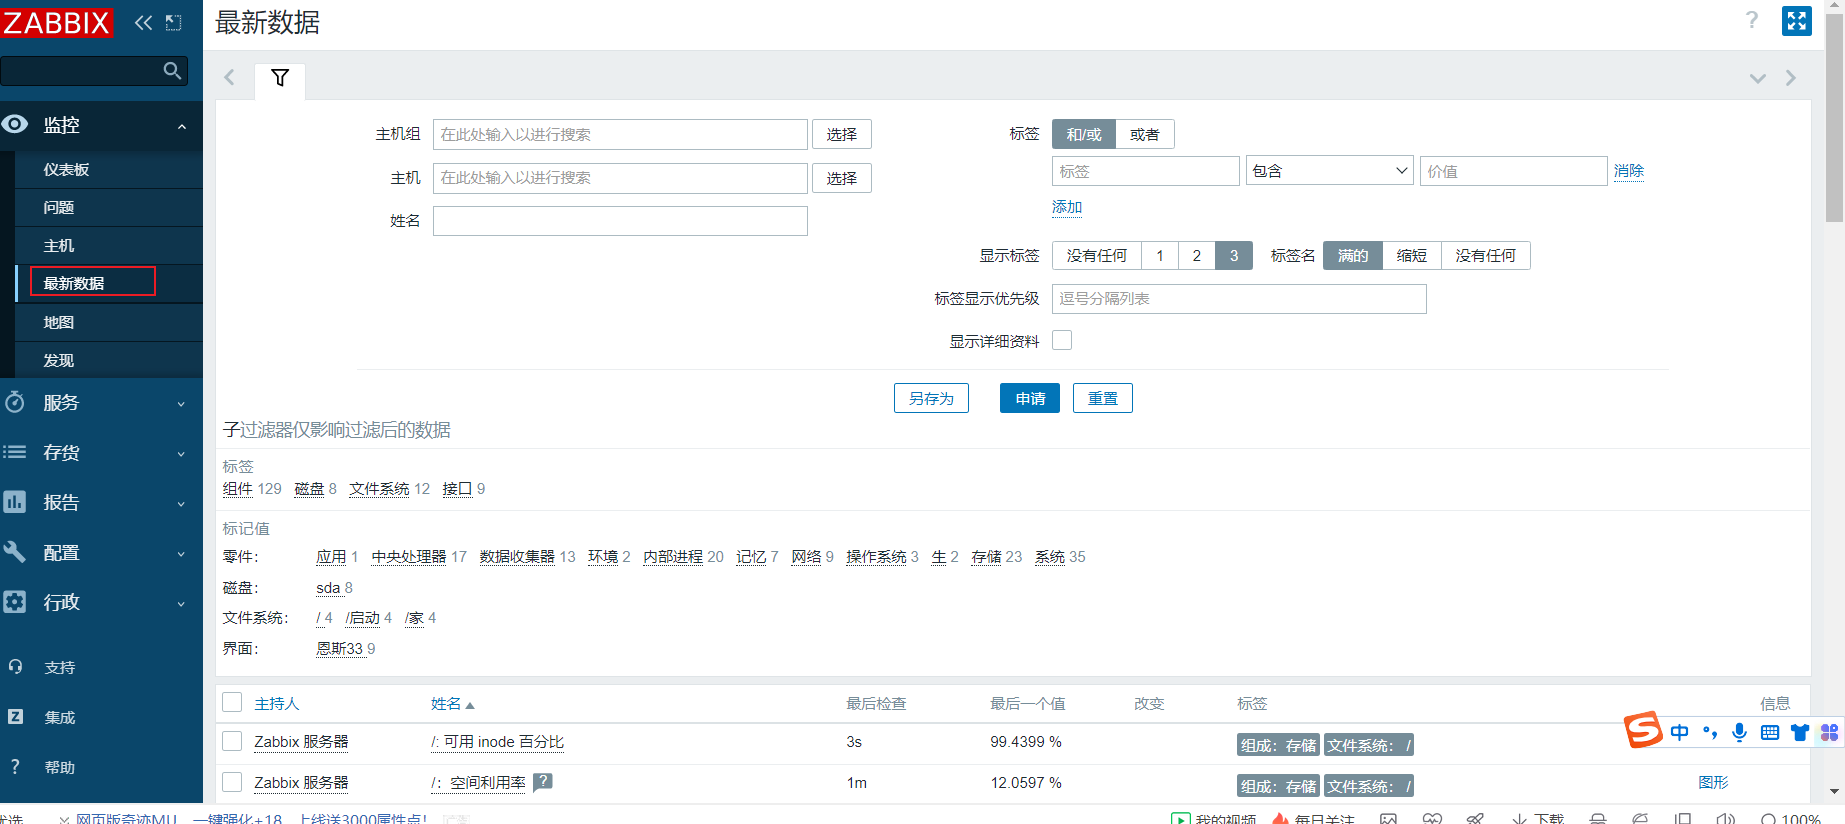
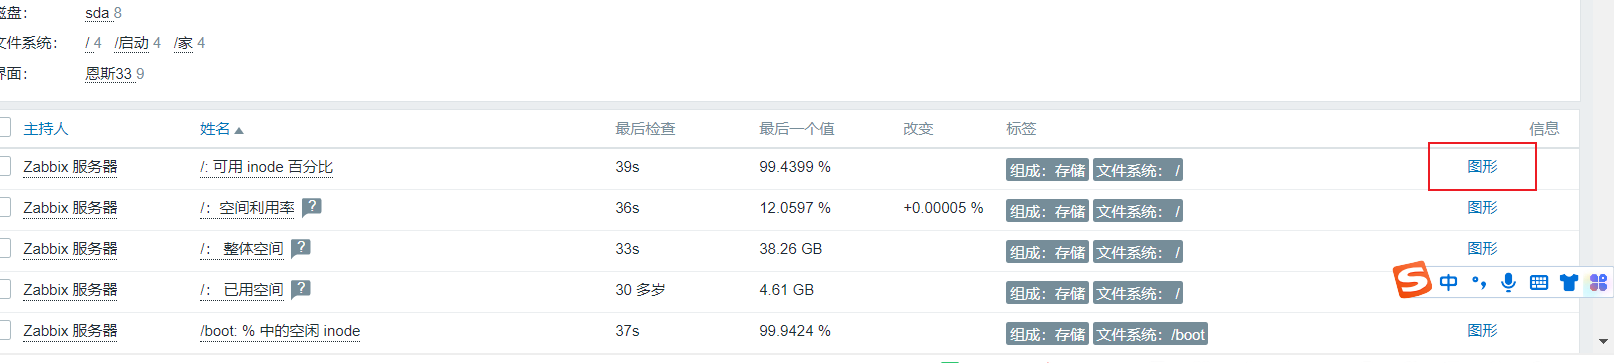
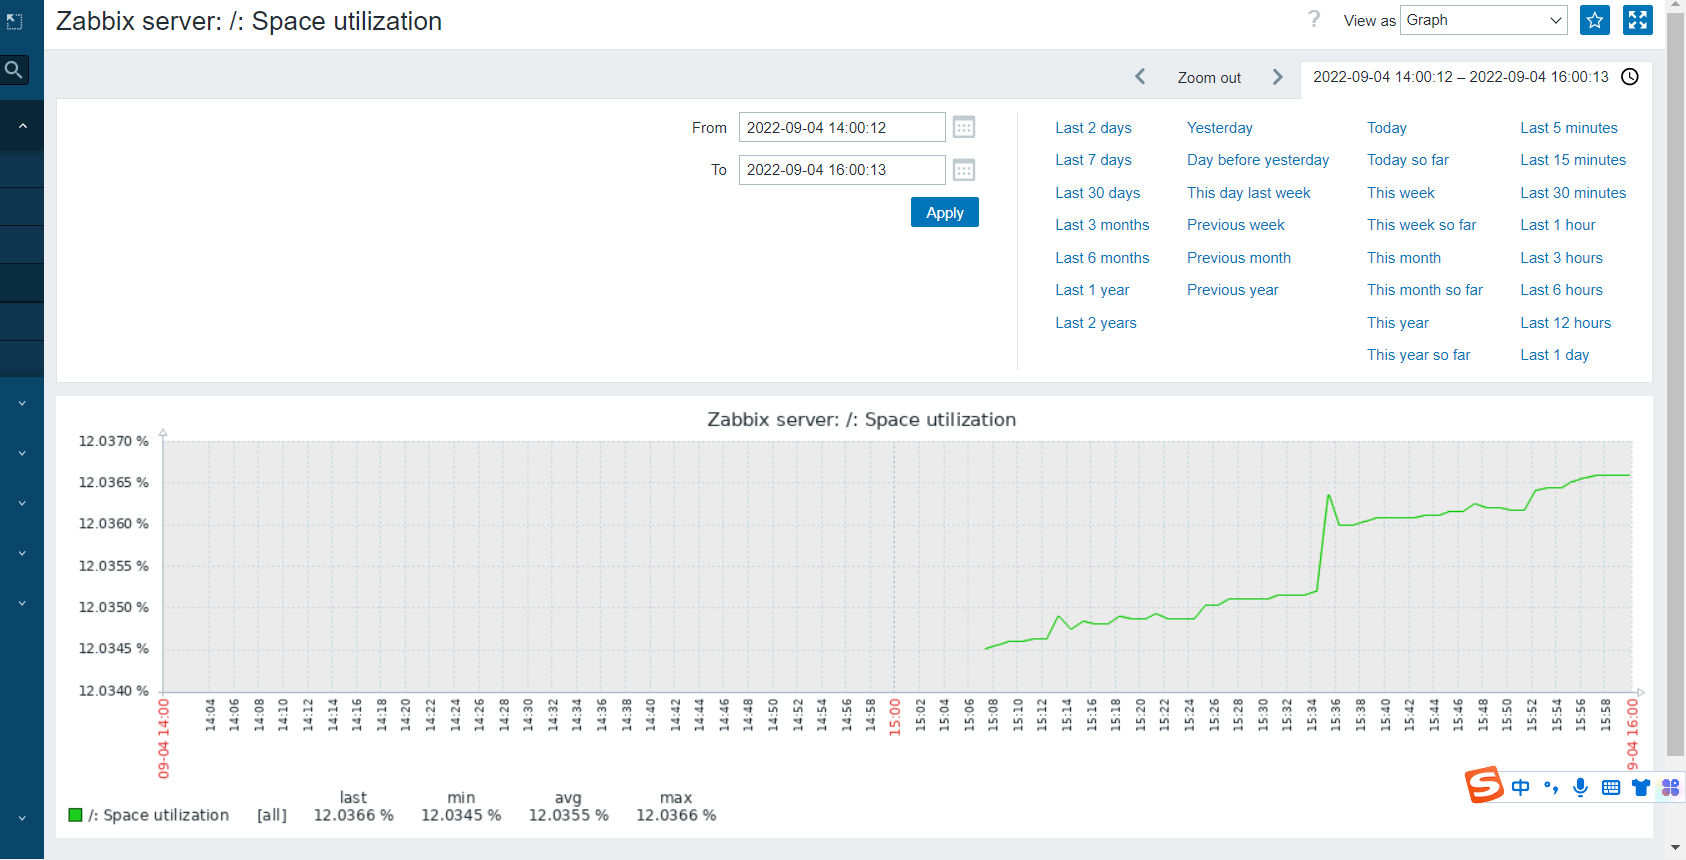
查看主机最新的数据
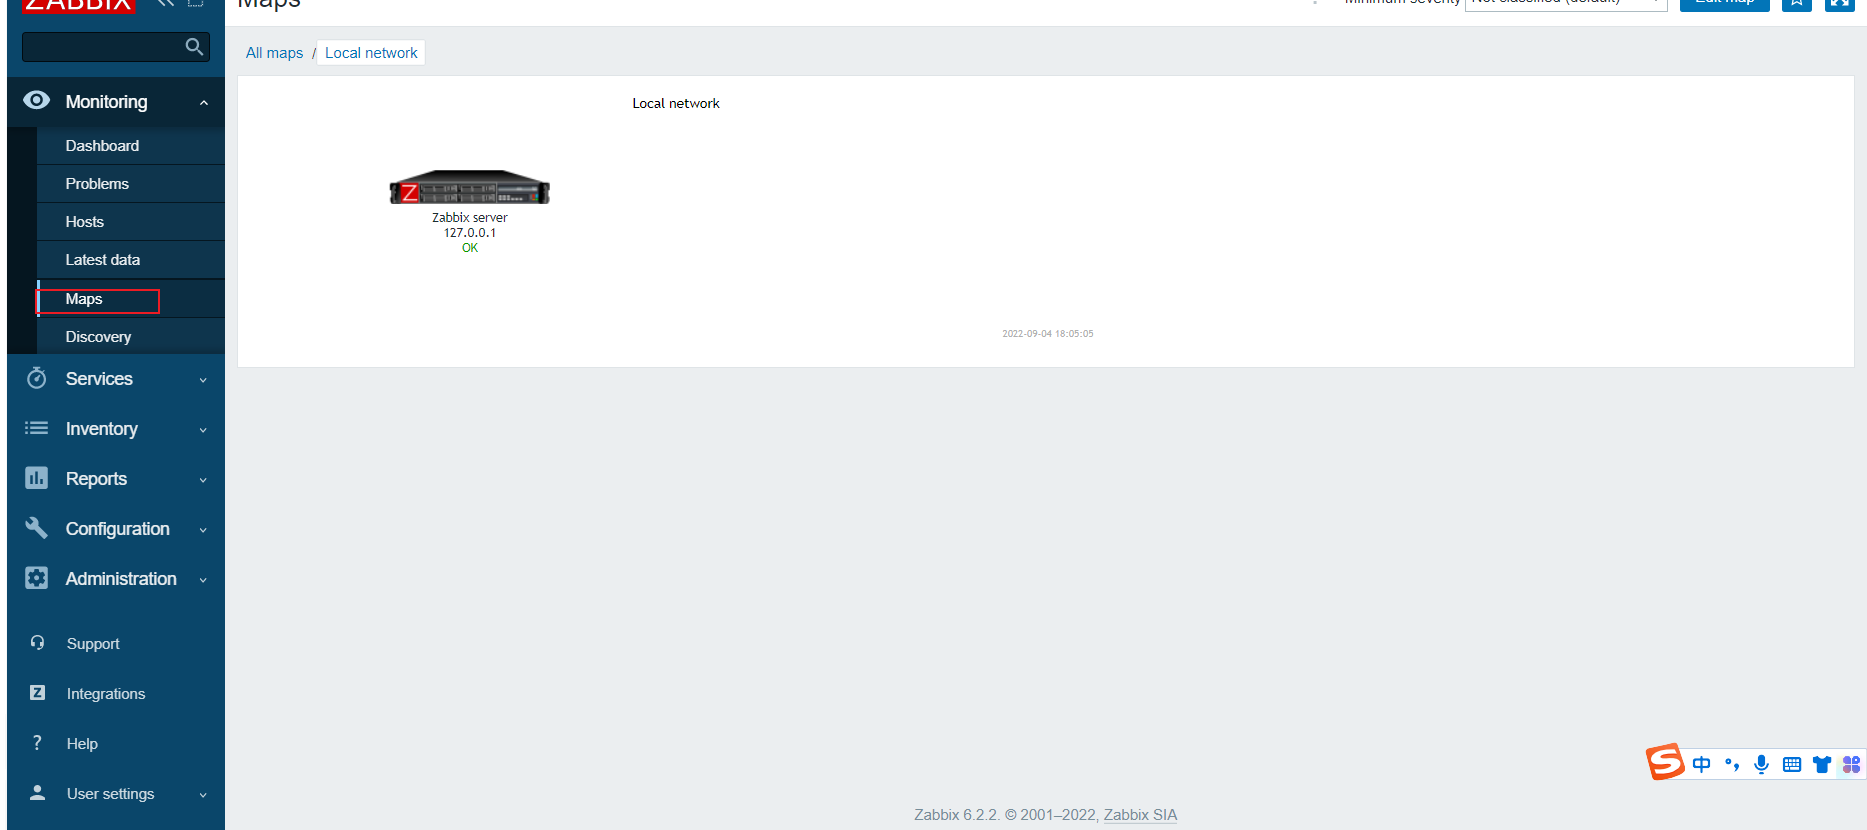
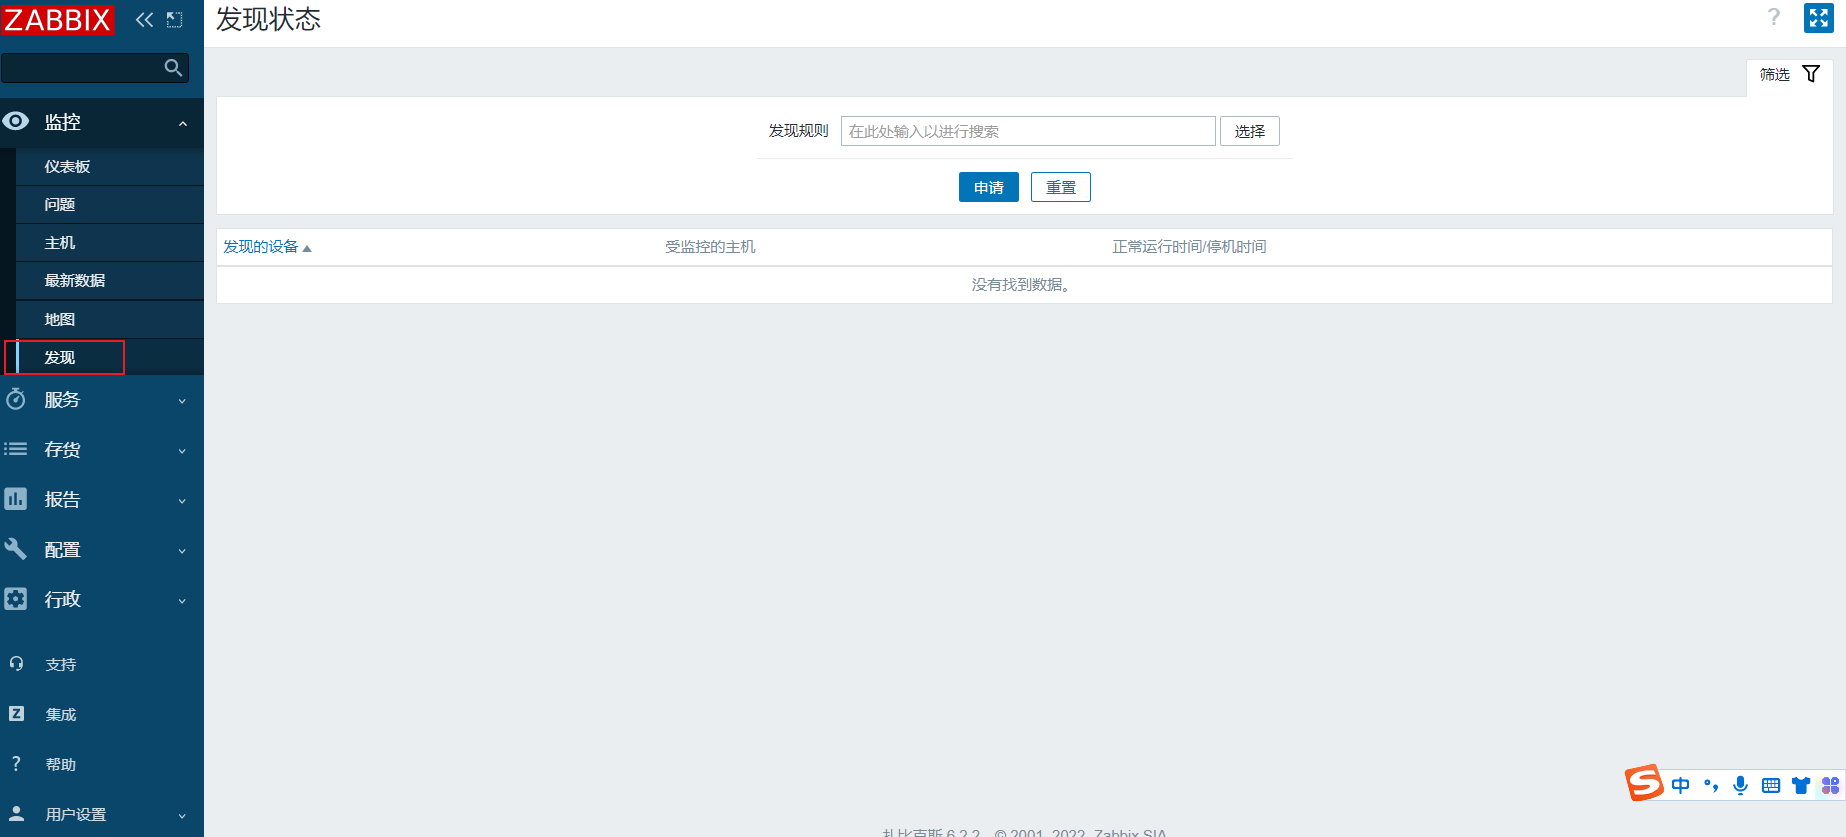
可以显示部署的主机有哪些,怎么连起来
查看主机什么时候监控删除之类的情况
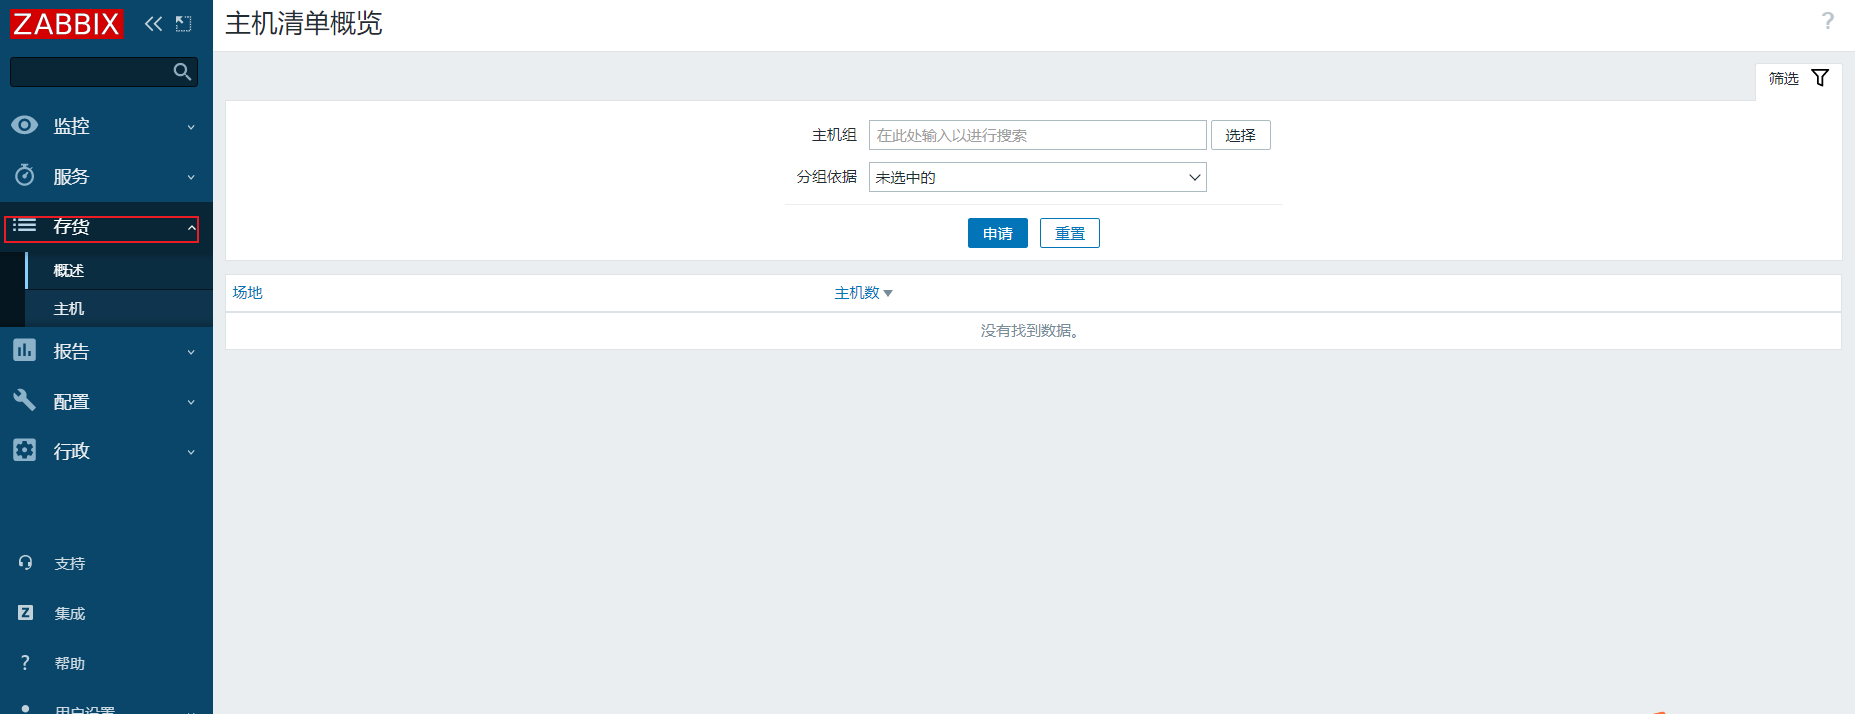
Inventory(存储)
资产管理
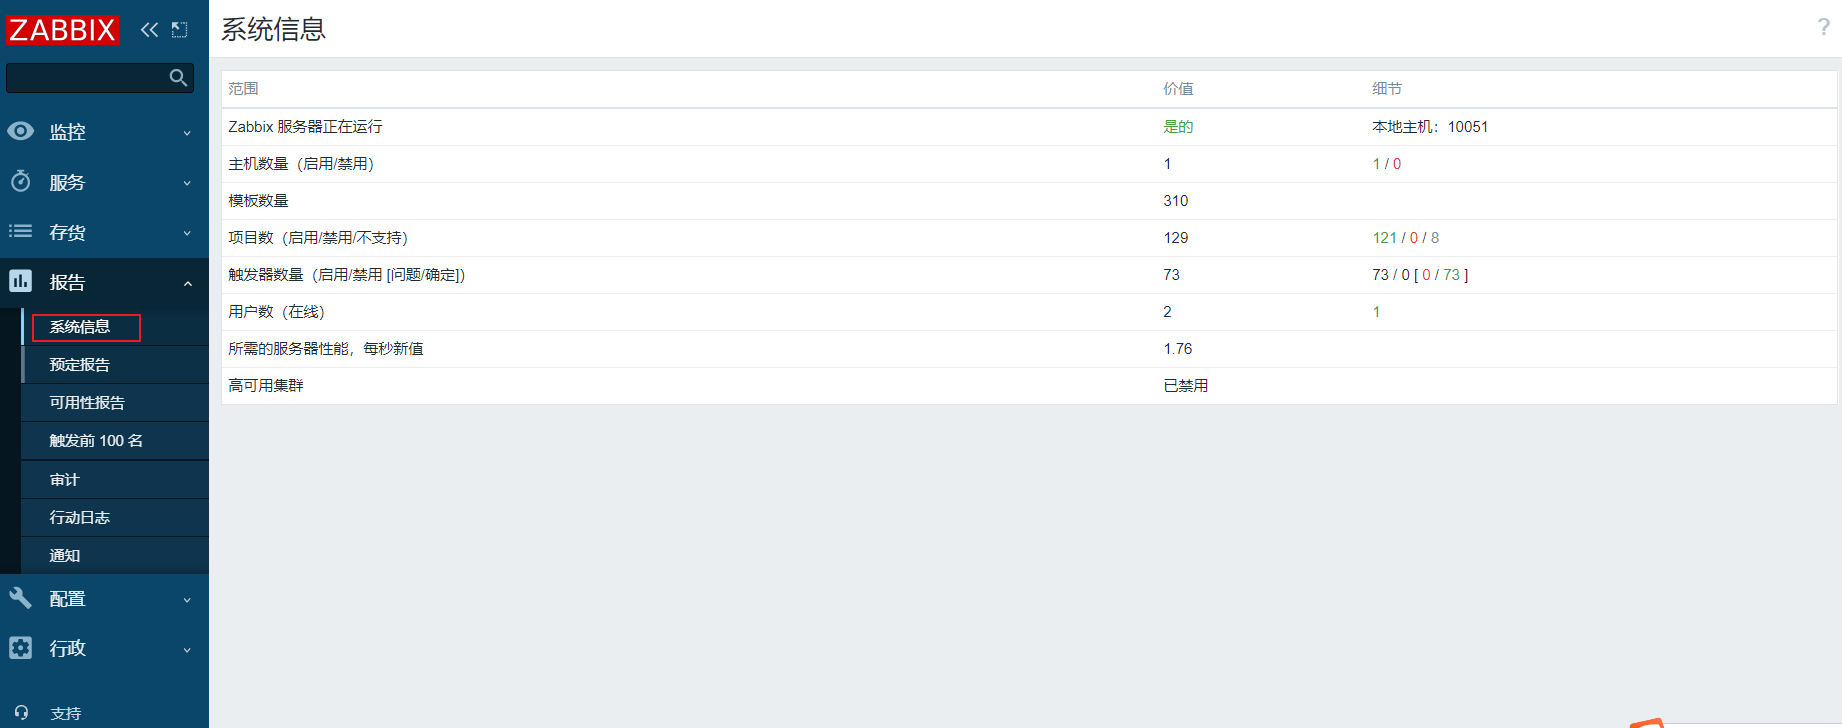
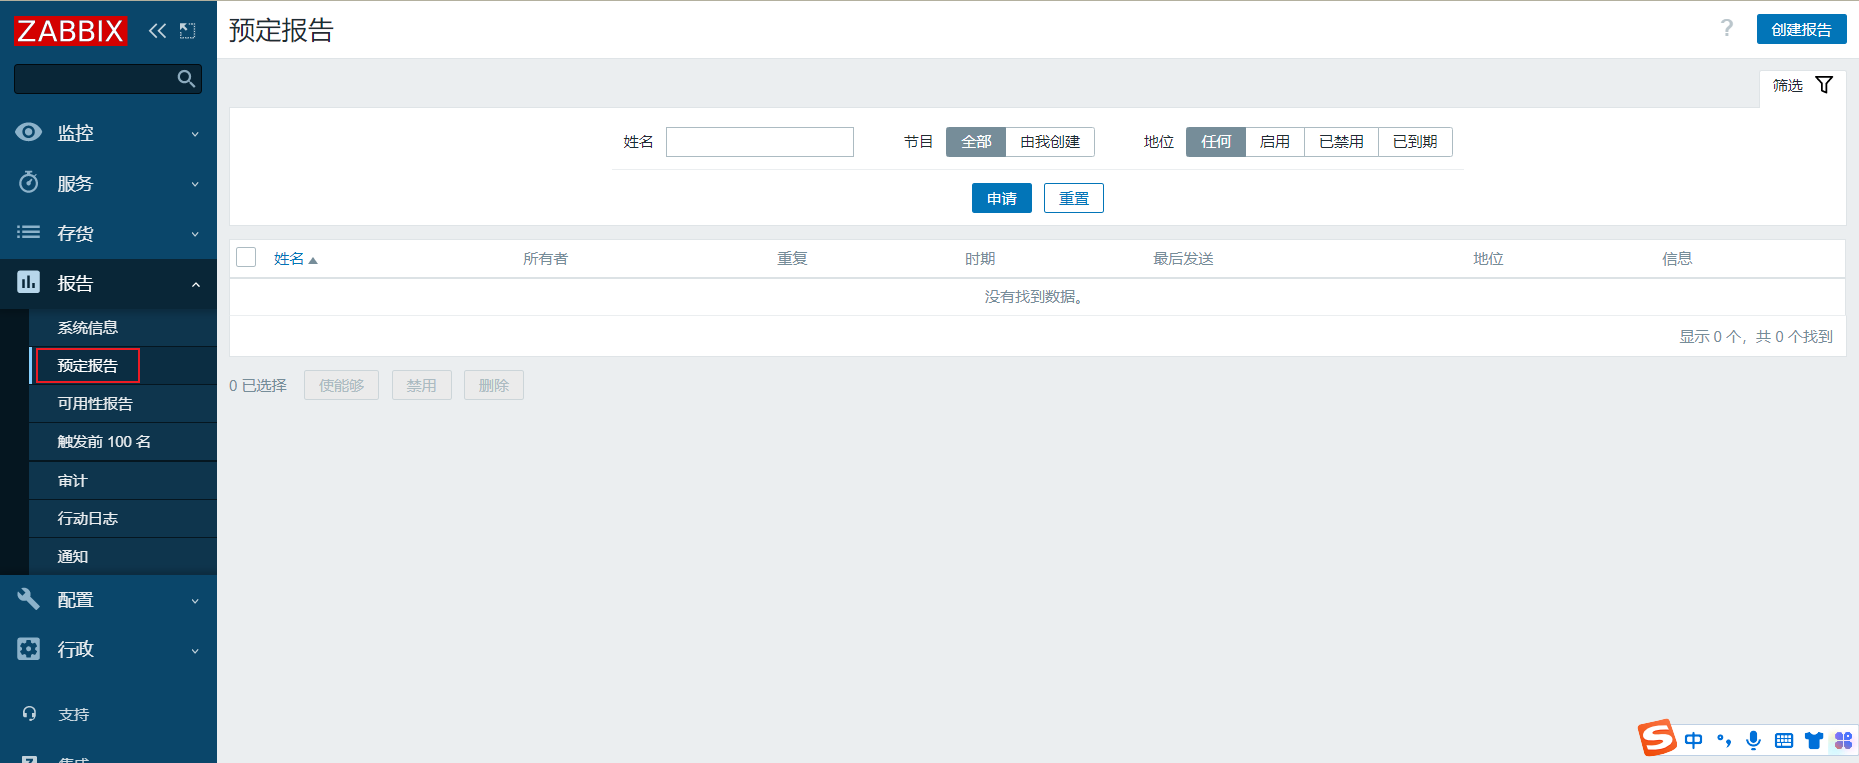
Reports(报告)

Configuration(配置)
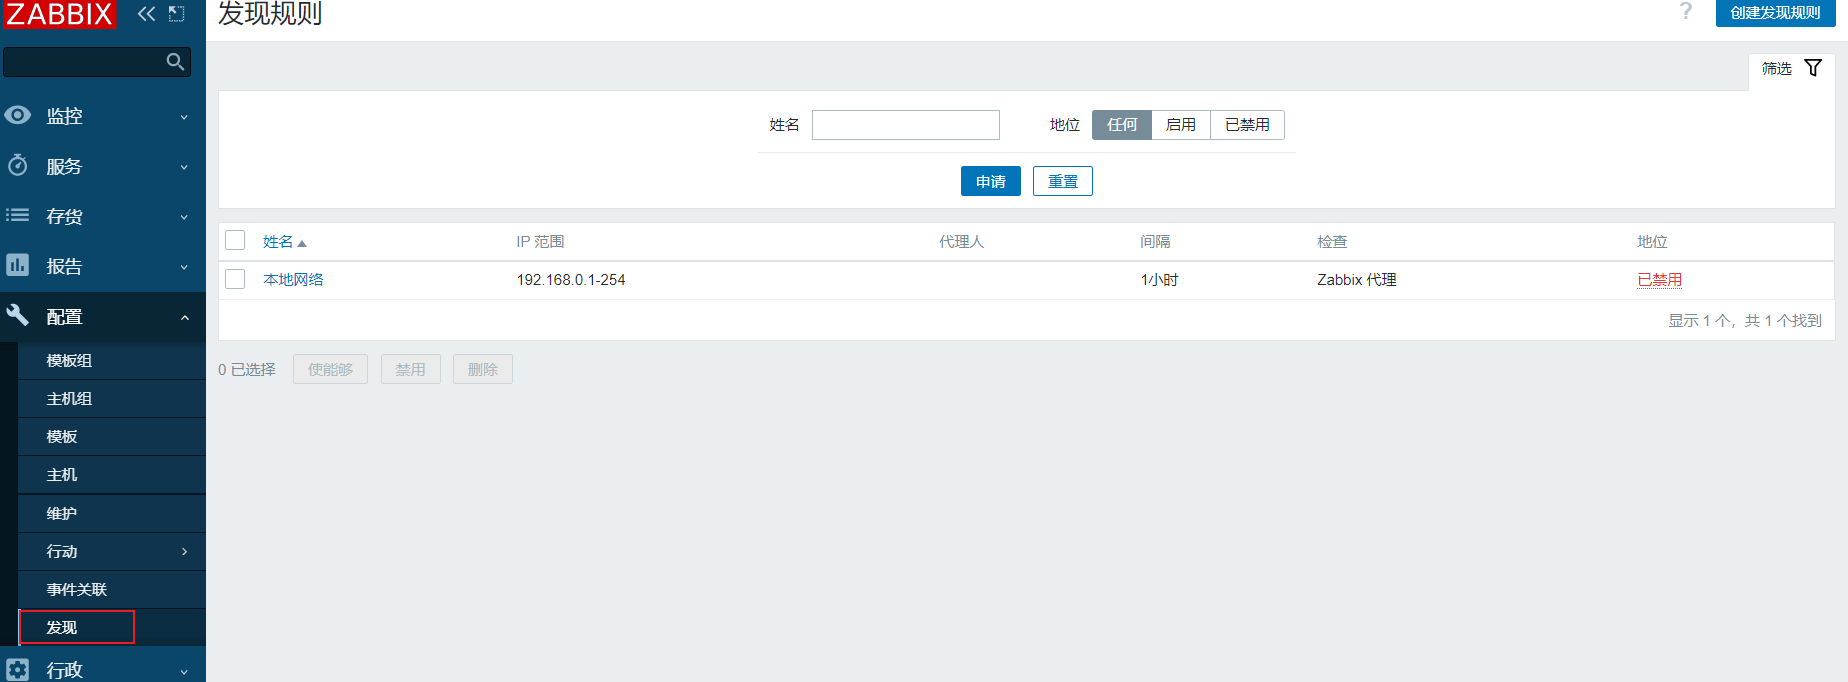
扫描网段当中的ip
Administration(管理)
管理多台服务器
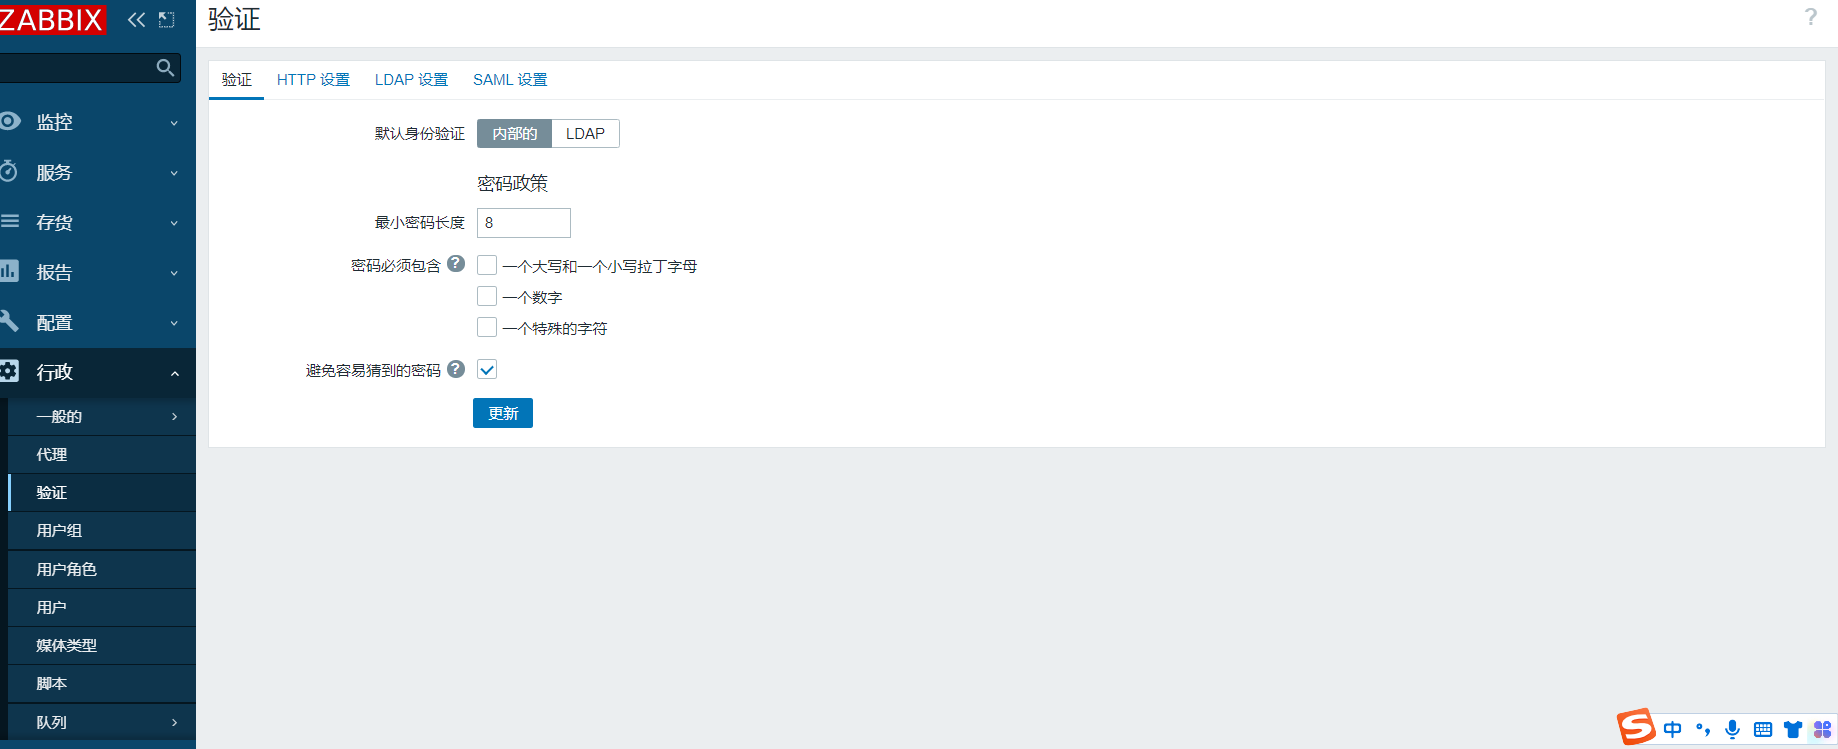
进行身份验证
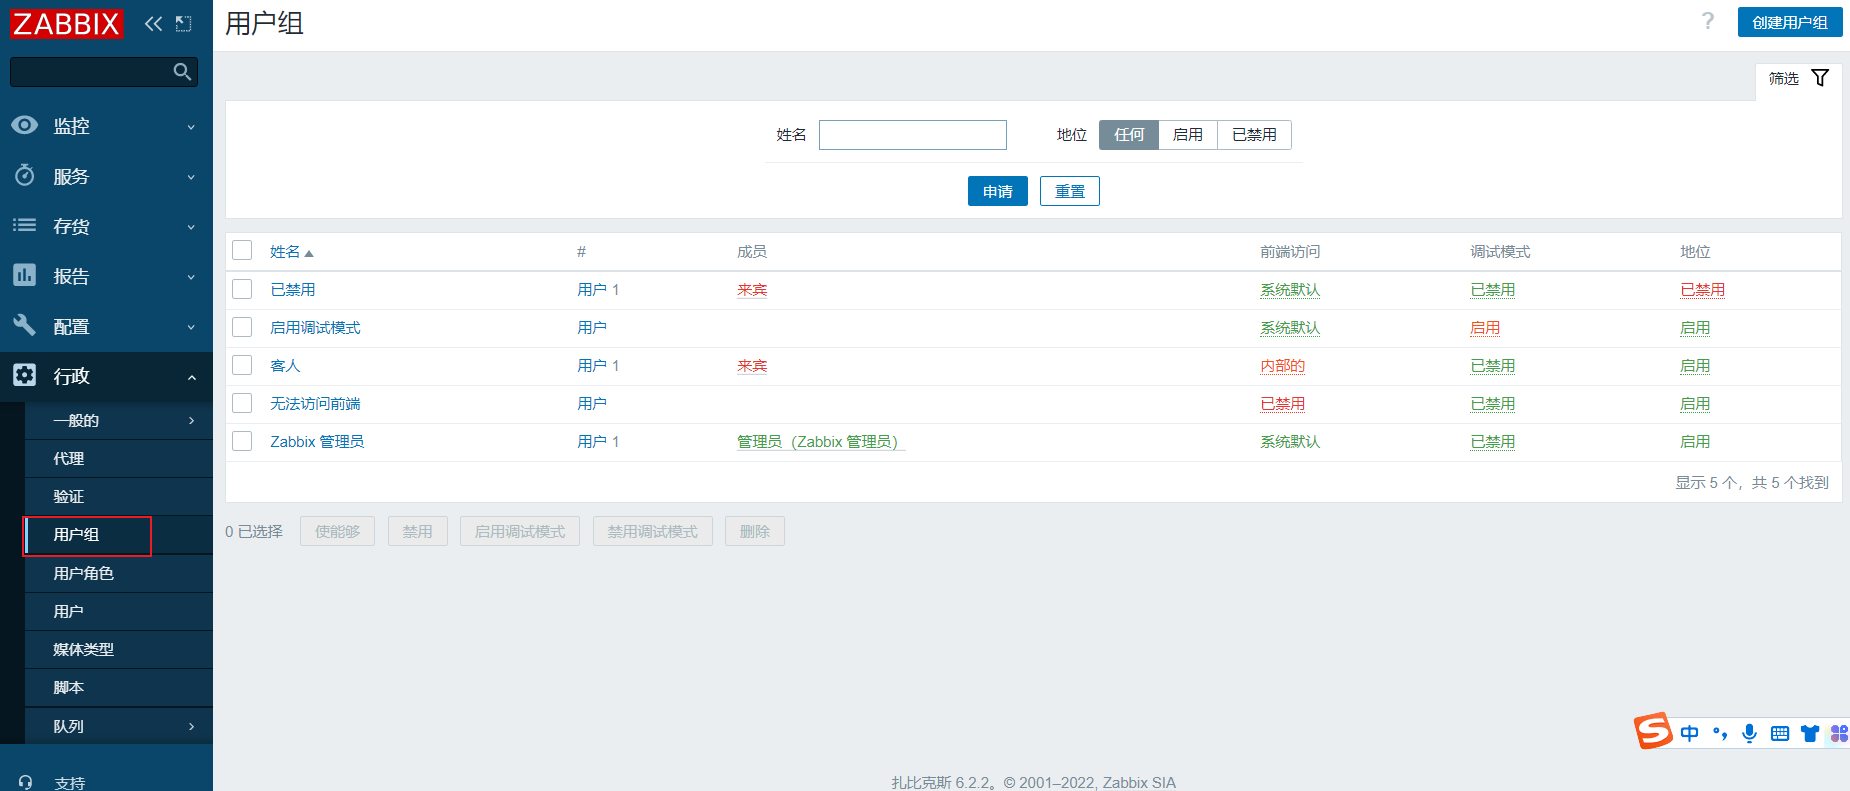
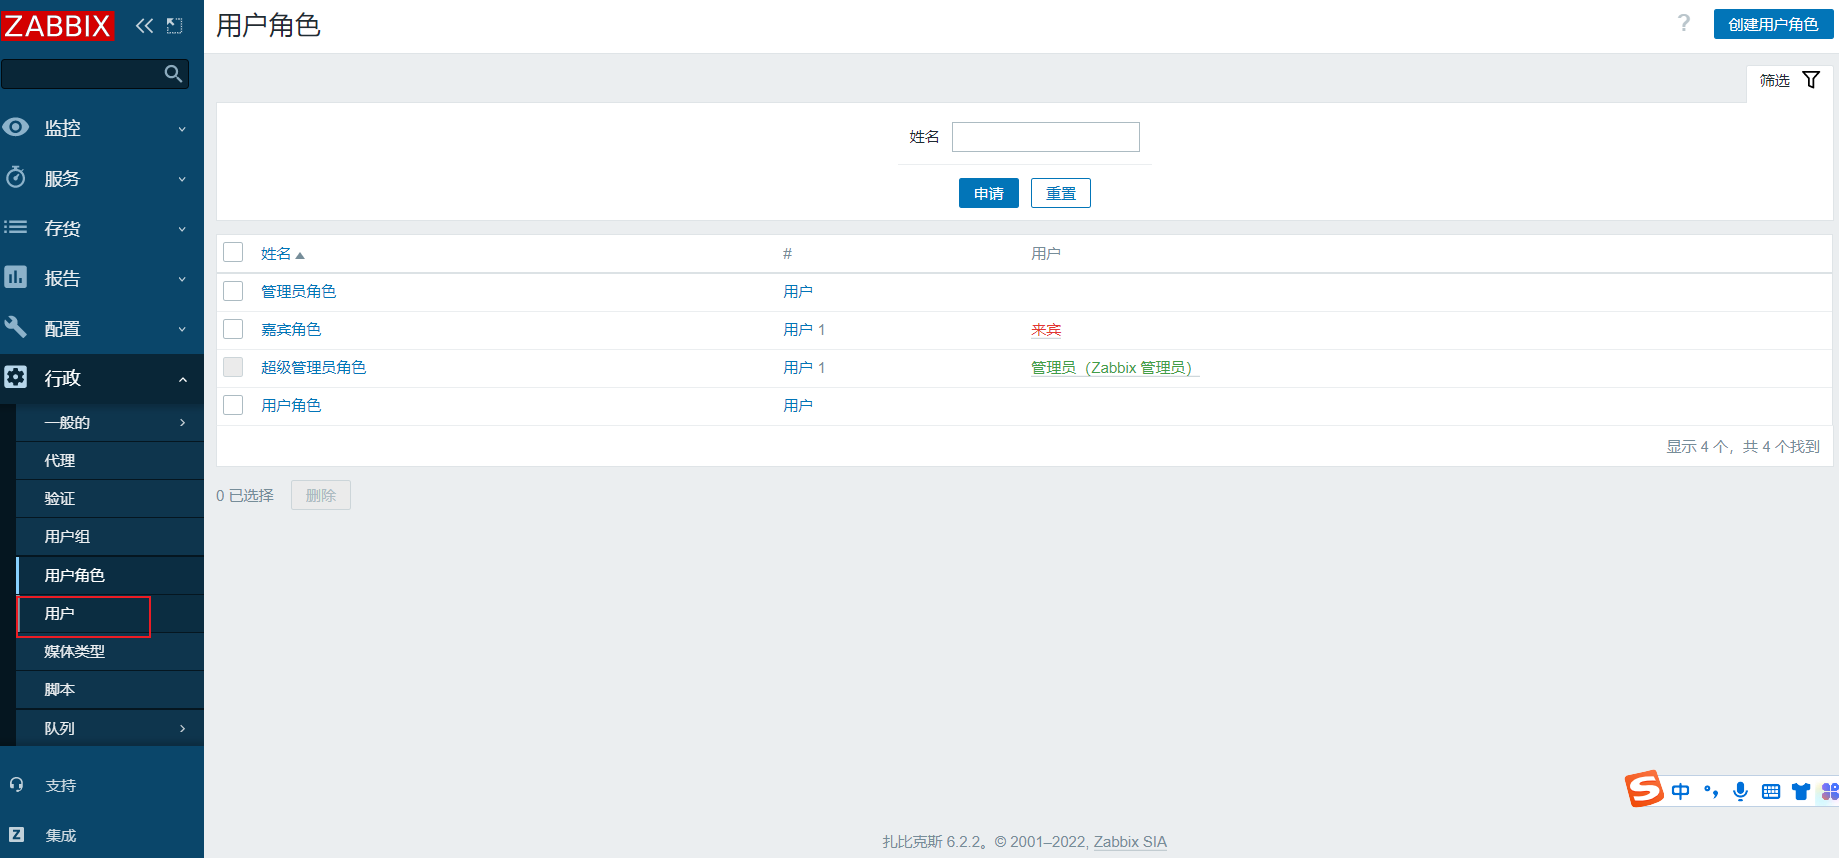
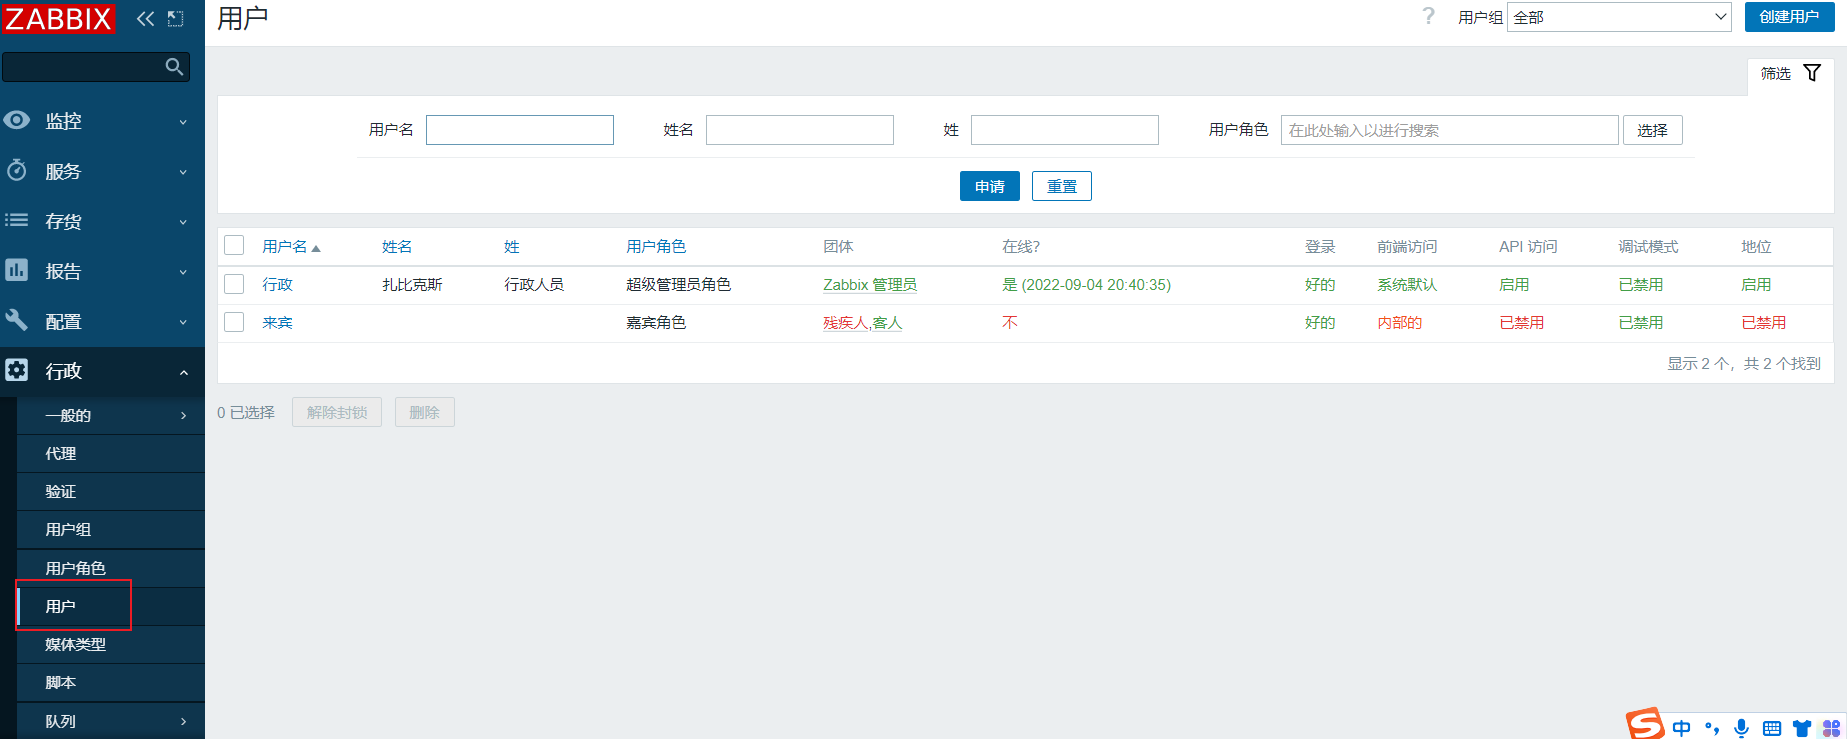
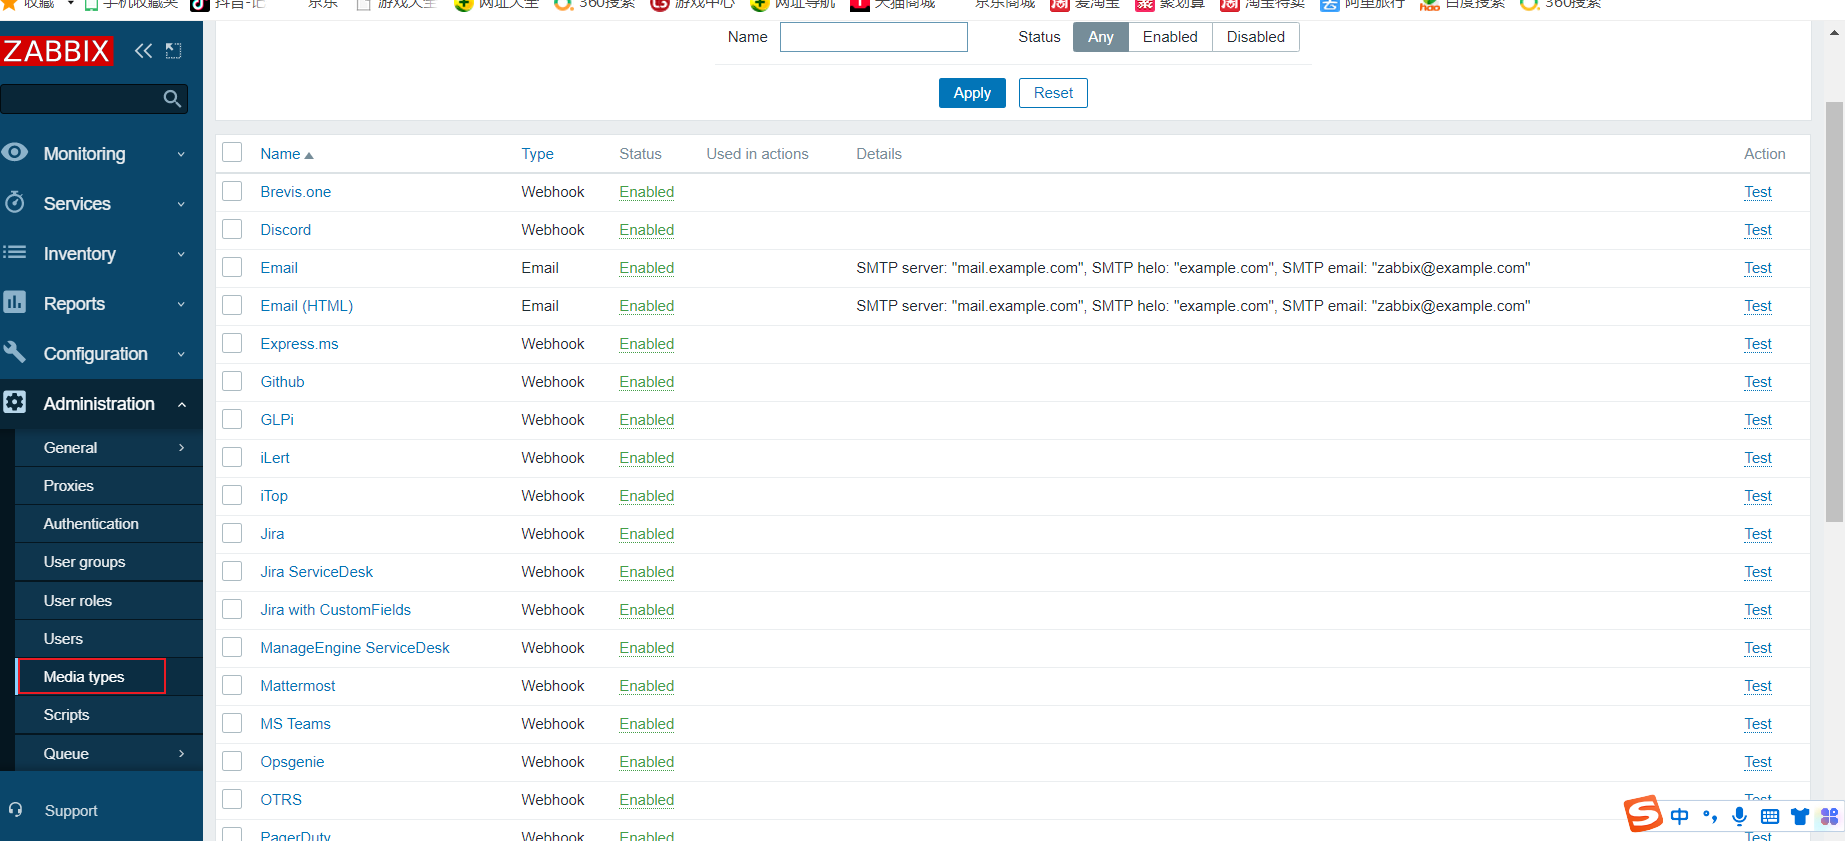
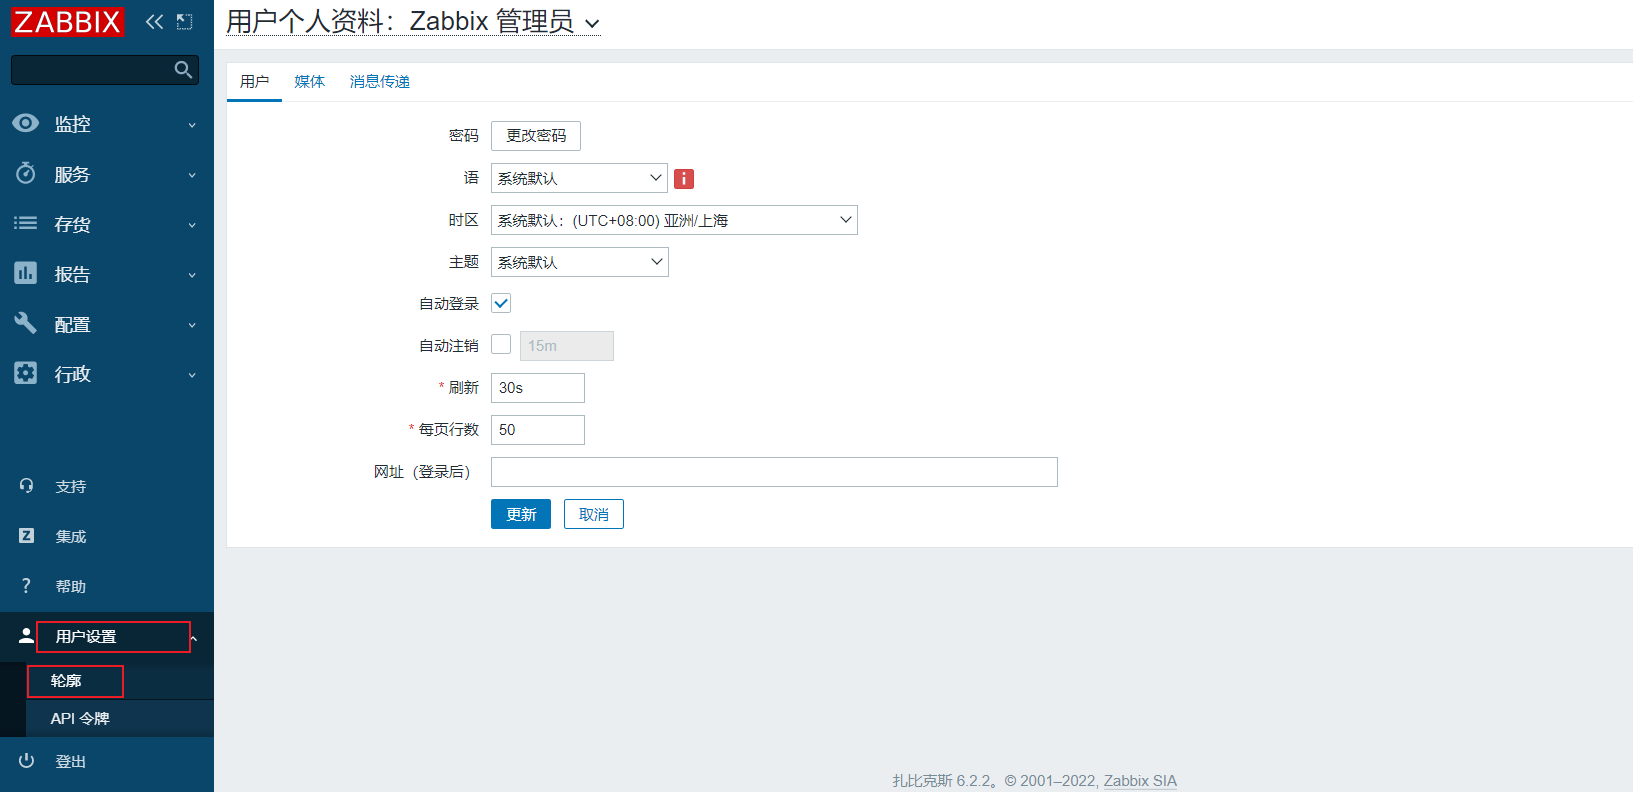
用户设置
信息传递
本文来自互联网用户投稿,文章观点仅代表作者本人,不代表本站立场,不承担相关法律责任。如若转载,请注明出处。 如若内容造成侵权/违法违规/事实不符,请点击【内容举报】进行投诉反馈!