Java学习(二)Java中存储数据的三种方法
Java学习(二)Java中存储数据的三种方法
一:Session存储
此方法多用于浏览器,当多方处理时不安全。具有一定的即时性。
1.HttpSession session = request.getSession();2. session.setAttribute("code", result);//存入数据3. String codetest = (String) session.getAttribute("code");//取出数据
二:Map存储数据
比较基础的方法
 1. Map<String, String> maps = new HashMap<String, String>();//设置成全局变量
2.maps.put("emailaddress", result);//map存储数据
3.String oldcode = (String) maps.get("emailaddress");//取出数据
三:Redis存储数据
前期配置
下载redis压缩包
下载结束以后打开
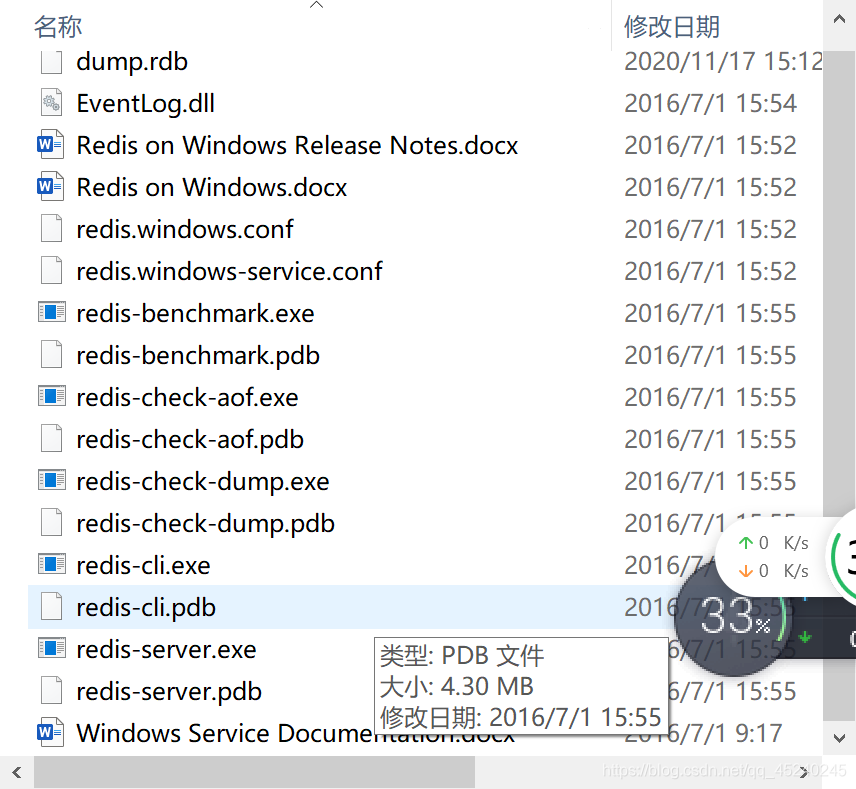
第一,打开redis-server.exe,如下图所示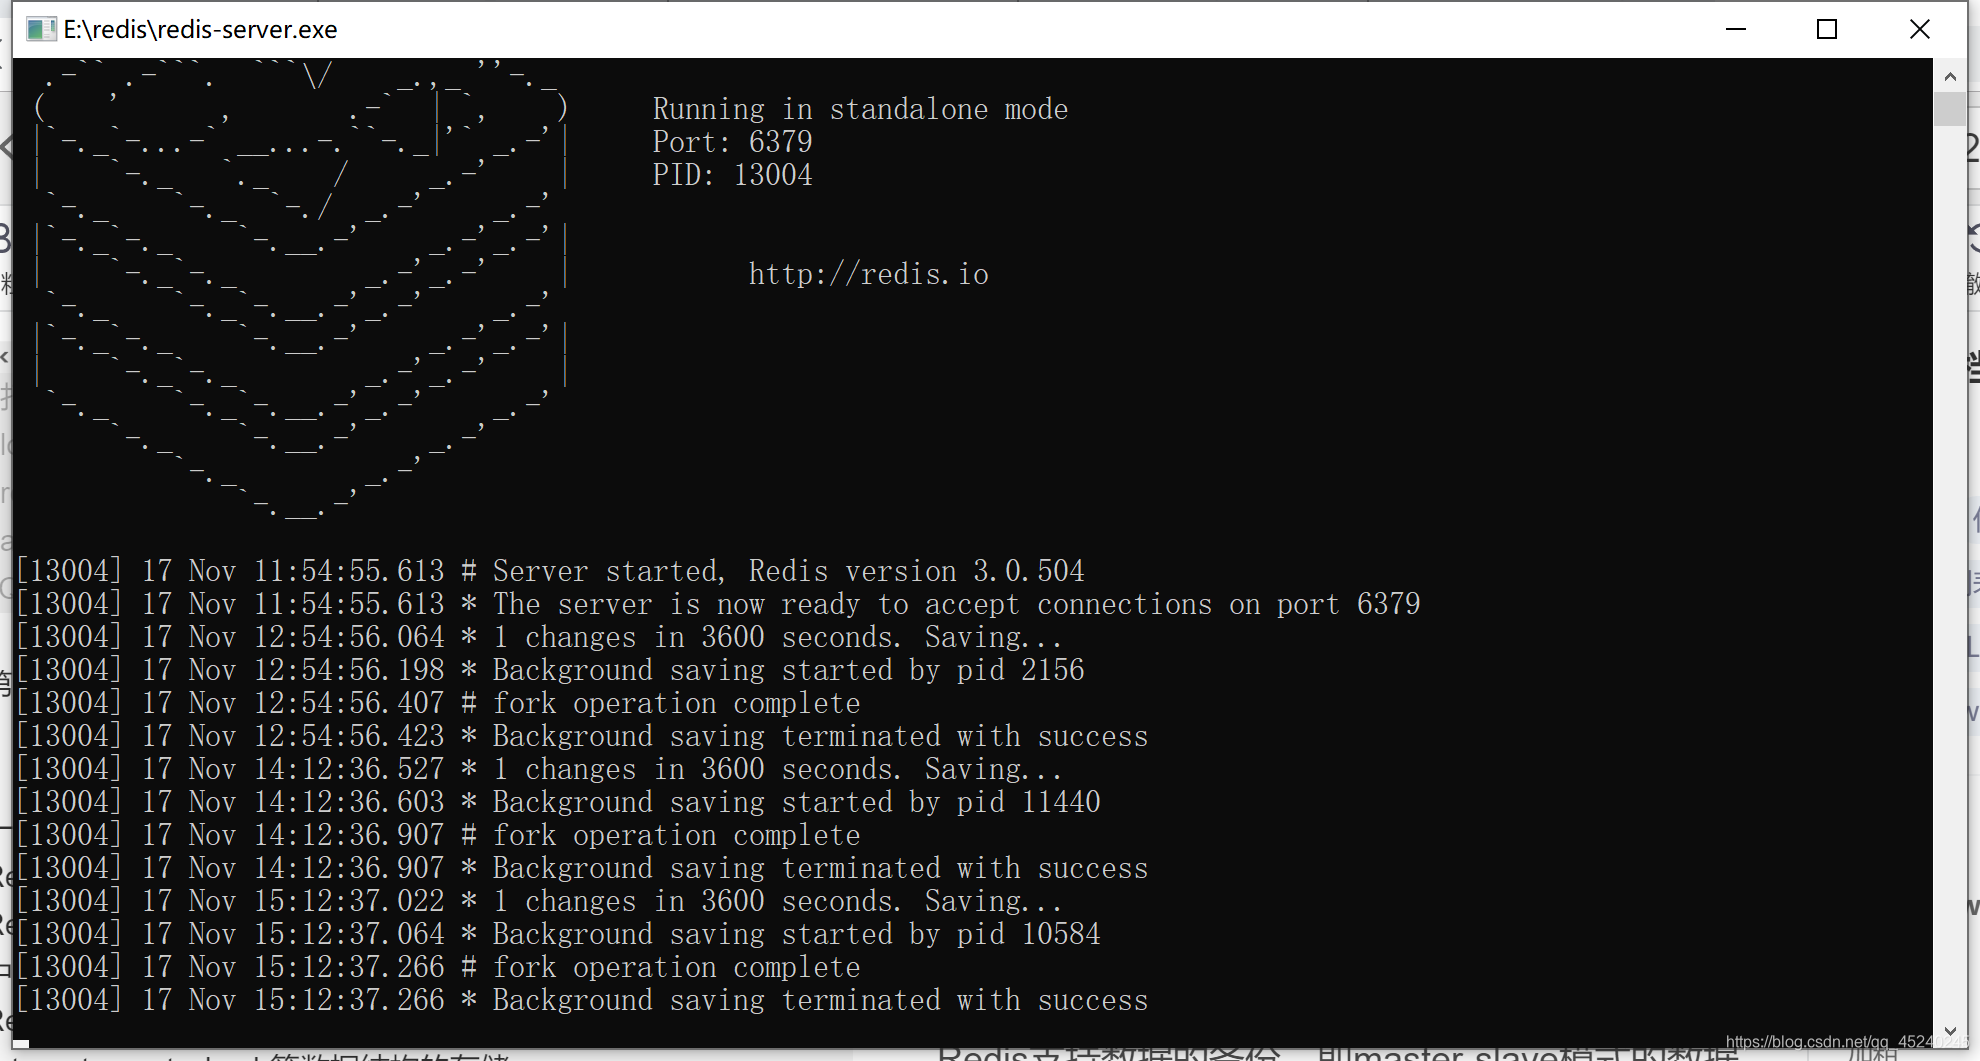
第二,如在命令行中执行存储数据的一些命令,那么可在安装包所在目录打开cmd,输入相应的命令行,具体redis的命令及学习在redis学习当中
一个高性能的 key-value 数据库。
Redis 与其他 key - value 缓存产品有以下三个特点:
Redis支持数据的持久化,可以将内存中的数据保存在磁盘中,重启的时候可以再次加载进行使用。
Redis不仅仅支持简单的key-value类型的数据,同时还提供list,set,zset,hash等数据结构的存储。
Redis支持数据的备份,即master-slave模式的数据备份。
Maven引入配置依赖
<dependency><groupId>org.springframework.boot</groupId><artifactId>spring-boot-starter-data-redis</artifactId><!-- 1.5的版本默认采用的连接池技术是jedis,2.0以上版本默认连接池是lettuce, 因为此次是采用jedis,所以需要排除lettuce的jar --><exclusions><exclusion><groupId>redis.clients</groupId><artifactId>jedis</artifactId></exclusion><exclusion><groupId>io.lettuce</groupId><artifactId>lettuce-core</artifactId></exclusion></exclusions></dependency><!-- jedis客户端 --><dependency><groupId>redis.clients</groupId><artifactId>jedis</artifactId></dependency><!-- spring2.X集成redis所需common-pool2,使用jedis必须依赖它--><dependency><groupId>org.apache.commons</groupId><artifactId>commons-pool2</artifactId><version>2.5.0</version></dependency>Application.properties
 Redis数据库索引(默认为0)
spring.redis.database=0
#Redis服务器地址
spring.redis.host=*****Redis服务器连接端口
spring.redis.port=6379
spring.redis.password=******连接池最大连接数(使用负值表示没有限制)   2.0区别    1.0+使用的是 spring.redis.pool.max-acitive
spring.redis.jedis.pool.max-active=8连接池最大阻塞等待时间(使用负值表示没有限制) 2.0区别
spring.redis.jedis.pool.max-wait=-1
#连接池中的最大空闲连接                       2.0区别
spring.redis.jedis.pool.max-idle=8连接池中的最小空闲连接                       2.0区别
spring.redisjedis..pool.min-idle=0
配置redisConfig
这里的区别在于springboot2.x的RedisCacheManager的构造方法产生了变化,所以在此做了修改.
CacheManage的配置是为了配合注解使用redis而配置的,然而在我的开发使用中不太习惯使用注解,
首先注解确实可以更方便,但是复杂的操作和异常无法处理,这就使的灵活性有所下降,本人还是更喜欢使用RedisTemplate,当然一些简单的处理就完全可以配合使用注解了.在下面的测试中,我将使用RedisTemplate进行操作
package com.novacloud.information.common.config;import com.fasterxml.jackson.annotation.JsonAutoDetect;
import com.fasterxml.jackson.annotation.PropertyAccessor;
import com.fasterxml.jackson.databind.ObjectMapper;
import org.springframework.cache.CacheManager;
import org.springframework.cache.annotation.EnableCaching;
import org.springframework.context.annotation.Bean;
import org.springframework.context.annotation.Configuration;
import org.springframework.data.redis.cache.RedisCacheConfiguration;
import org.springframework.data.redis.cache.RedisCacheManager;
import org.springframework.data.redis.cache.RedisCacheWriter;
import org.springframework.data.redis.connection.RedisConnectionFactory;
import org.springframework.data.redis.core.RedisTemplate;
import org.springframework.data.redis.core.StringRedisTemplate;
import org.springframework.data.redis.serializer.Jackson2JsonRedisSerializer;
import org.springframework.data.redis.serializer.StringRedisSerializer;import java.time.Duration;/*** redis配置类** @author zcc ON 2018/3/19**/
@Configuration
@EnableCaching//开启注解
public class RedisConfig {@Bean//如使用注解的话需要配置cacheManagerCacheManager cacheManager(RedisConnectionFactory connectionFactory) {//初始化一个RedisCacheWriterRedisCacheWriter redisCacheWriter = RedisCacheWriter.nonLockingRedisCacheWriter(connectionFactory);RedisCacheConfiguration defaultCacheConfig = RedisCacheConfiguration.defaultCacheConfig();//设置默认超过期时间是1天defaultCacheConfig.entryTtl(Duration.ofDays(1));//初始化RedisCacheManagerRedisCacheManager cacheManager = new RedisCacheManager(redisCacheWriter, defaultCacheConfig);return cacheManager;}// 以下两种redisTemplate自由根据场景选择@Beanpublic RedisTemplate<Object, Object> redisTemplate(RedisConnectionFactory connectionFactory) {RedisTemplate<Object, Object> template = new RedisTemplate<>();template.setConnectionFactory(connectionFactory);//使用Jackson2JsonRedisSerializer来序列化和反序列化redis的value值(默认使用JDK的序列化方式)Jackson2JsonRedisSerializer serializer = new Jackson2JsonRedisSerializer(Object.class);ObjectMapper mapper = new ObjectMapper();mapper.setVisibility(PropertyAccessor.ALL, JsonAutoDetect.Visibility.ANY);mapper.enableDefaultTyping(ObjectMapper.DefaultTyping.NON_FINAL);serializer.setObjectMapper(mapper);template.setValueSerializer(serializer);//使用StringRedisSerializer来序列化和反序列化redis的key值template.setKeySerializer(new StringRedisSerializer());template.afterPropertiesSet();return template;}@Beanpublic StringRedisTemplate stringRedisTemplate(RedisConnectionFactory factory) {StringRedisTemplate stringRedisTemplate = new StringRedisTemplate();stringRedisTemplate.setConnectionFactory(factory);return stringRedisTemplate;}
}
测试
package com.neopte;import org.junit.Test;
import org.junit.runner.RunWith;
import org.springframework.beans.factory.annotation.Autowired;
import org.springframework.boot.test.context.SpringBootTest;
import org.springframework.data.redis.core.RedisTemplate;
import org.springframework.test.context.junit4.SpringRunner;@RunWith(SpringRunner.class)
@SpringBootTest
public class NeopteApplicationTests {@AutowiredRedisTemplate redisTemplate;@Testpublic void contextLoads() {//这里相当于redis对String类型的set操作redisTemplate.opsForValue().set("test","helloworld");//这里相当于redis对String类型的get操作String test = (String)redisTemplate.opsForValue().get("test");System.out.println(test);}}//设置值且设置超时时间/stringRedisTemplate.opsForValue().set("Middle", "Yu", 3, TimeUnit.MINUTES);//该处为三分钟//TimeUnit.DAYS 日的工具类//TimeUnit.HOURS 时的工具类//TimeUnit.MINUTES 分的工具类// TimeUnit.SECONDS 秒的工具类//TimeUnit.MILLISECONDS 毫秒的工具类
这里只是对redis进行了简单的String类型的set和get操作,如果需要后续可以写一篇使用redisTemplate操作redis各种数据类型的方法
上面是一个需要配置文件的方法,下面说一个不需要配置文件,稍微简洁一点的方法
1.首先只用引进一个redis的maven依赖
org.springframework.boot spring-boot-starter-data-redis 2.3.5.RELEASE 2.所有代码在测试类中
package org.sang.sendmail.controller;import org.springframework.data.redis.core.StringRedisTemplate;
import org.springframework.data.redis.core.ValueOperations;
import org.springframework.web.bind.annotation.RequestMapping;
import org.springframework.web.bind.annotation.RestController;@RestController
@RequestMapping("/MyTest")
public class RedisController {private StringRedisTemplate template;ValueOperations<String,String> redisOperations;RedisController(StringRedisTemplate template){this.template=template;redisOperations=template.opsForValue();}@RequestMapping("/set")public String set(){redisOperations.set("namexyx","xyx");return "success";}@RequestMapping("/get")public String get(){return redisOperations.get("namexyx");}@RequestMapping("/hasKey")public String hasKey(){return template.hasKey("namexyx").toString();}
}
本文参照链接1
本文参照链接2
文中部分代码借鉴其他博主,在此感谢,如有侵权,请联系
本文来自互联网用户投稿,文章观点仅代表作者本人,不代表本站立场,不承担相关法律责任。如若转载,请注明出处。 如若内容造成侵权/违法违规/事实不符,请点击【内容举报】进行投诉反馈!