vue脚手架的搭建2.0和3.0
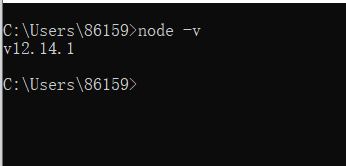
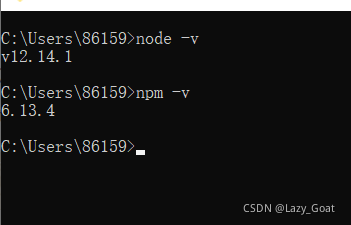
1.首先安装nodejs,查看node版本。
安装npm,查看npm版本
全局安装webpack。先安装3.0版本,vuecli2依赖3.0版本。

局部安装,先进入项目目录,执行

初始化项目之后,执行

只需要安装一次
vue-cli2
2.安装vue-cli2
切换淘宝镜像:
npm install cnpm -g --registry=https://registry.npm.taobao.org
创建项目:Vue init webpack 项目名
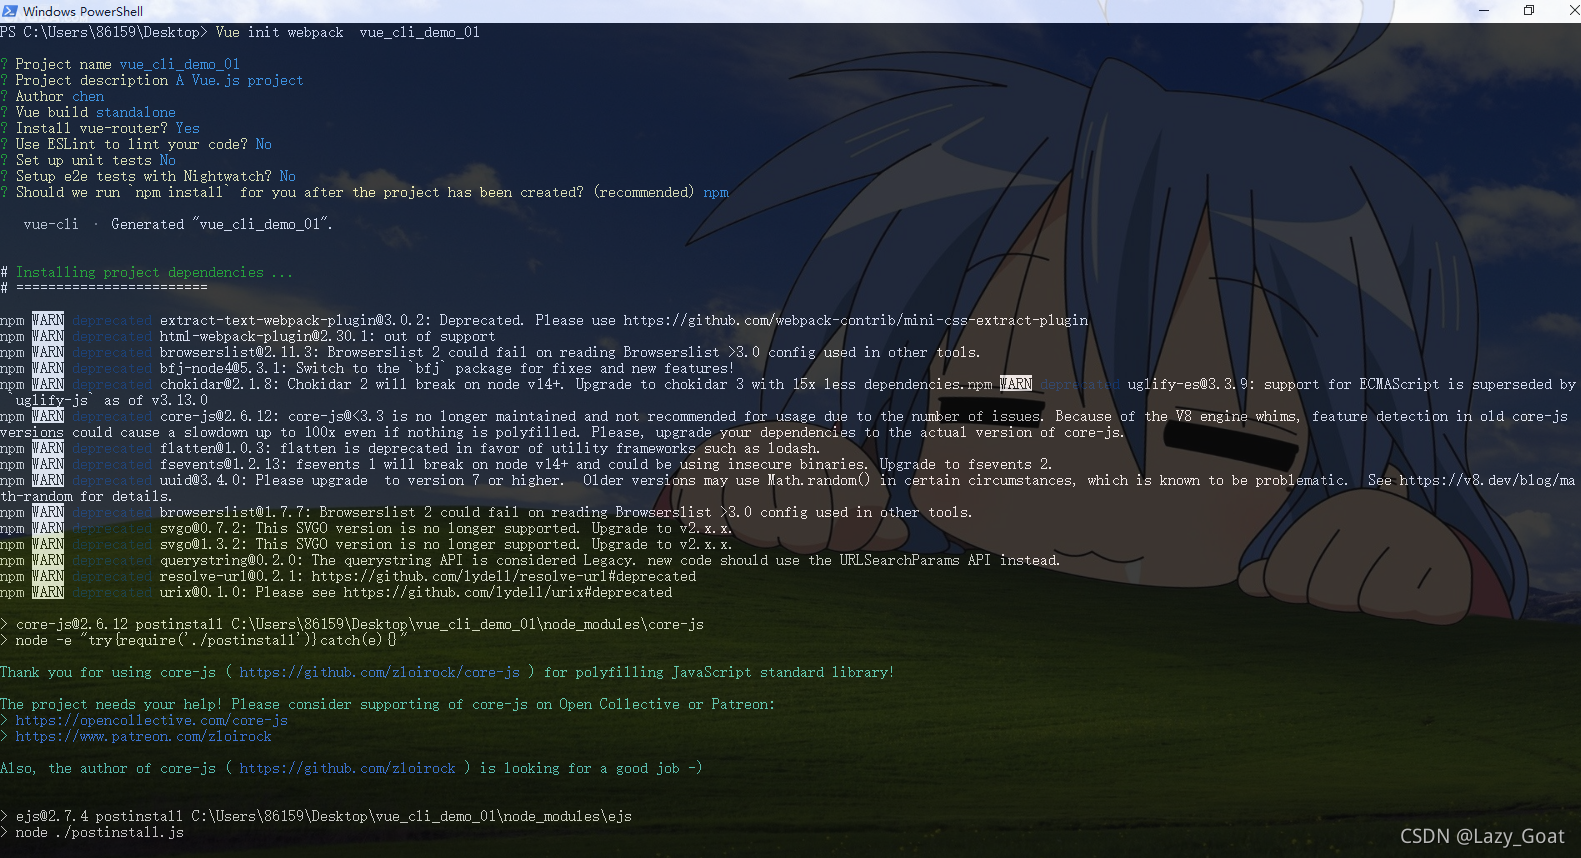
选项使用这里的选项:

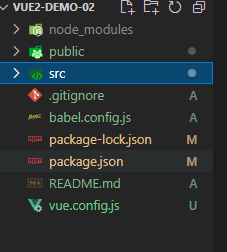
使用vscode打开以后,项目结构如下:

在项目的根目录中创建vue.config.js的配置文件
'use strict'
const path = require('path')
const webpack = require('webpack');
function resolve(dir) {return path.join(__dirname, dir)
}const port = 8084module.exports = {publicPath: '/',outputDir: 'dist',assetsDir: 'static',productionSourceMap: false, // 改为false可一定程度上解决浏览器f12查看到源码的问题devServer: {disableHostCheck: true,port: port,overlay: {warnings: false,errors: true},proxy: {'/api': {target: `http://localhost:8081/`,changeOrigin: true,pathRewrite: {'^/api': ''}}}},chainWebpack(config) {config.plugins.delete('preload') // TODO: need testconfig.plugins.delete('prefetch') // TODO: need test// set svg-sprite-loaderconfig.module.rule('svg').exclude.add(resolve('src/icons')).end()config.module.rule('icons').test(/\.svg$/).include.add(resolve('src/icons')).end().use('svg-sprite-loader').loader('svg-sprite-loader').options({symbolId: 'icon-[name]'}).end()// set preserveWhitespaceconfig.plugin('provide').use(webpack.ProvidePlugin, [{$: 'jquery',jquery: 'jquery',jQuery: 'jquery','window.jQuery': 'jquery',semantic: 'semantic-ui-css',Semantic: 'semantic-ui-css','semantic-ui': 'semantic-ui-css'}]);
// 解决 cli3 热更新失效 https://github.com/vuejs/vue-cli/issues/1559
// 只要在chainwebpack的配置项下加一行config.resolve.symlinks(true)这样我们修改保存.vue文件以及js代码就会自动刷新,
config.resolve.symlinks(true);// 创建 import 或 require 的别名,来确保模块引入变得更简单。
config.resolve.alias.set('@', resolve('src')).set('vue$', 'vue/dist/vue.esm.js').set('@api', resolve('src/api')).set('@assets', resolve('src/assets')).set('@scss', resolve('src/assets/scss')).set('@components', resolve('src/components')).set('@plugins', resolve('src/plugins')).set('@views', resolve('src/views')).set('@router', resolve('src/router')).set('@store', resolve('src/store')).set('@layout', resolve('src/layout')).set('@static', resolve('src/static')).set('@images', resolve('src/static/images')).set('@css', resolve('src/static/css')).set('vendor',resolve('src/vendor'));config.module.rule('vue').use('vue-loader').loader('vue-loader').tap(options => {options.compilerOptions.preserveWhitespace = truereturn options}).end()config// https://webpack.js.org/configuration/devtool/#development.when(process.env.NODE_ENV === 'development',config => config.devtool('cheap-source-map'))config.when(process.env.NODE_ENV !== 'development',config => {config.plugin('ScriptExtHtmlWebpackPlugin').after('html').use('script-ext-html-webpack-plugin', [{// `runtime` must same as runtimeChunk name. default is `runtime`inline: /runtime\..*\.js$/}]).end()config.optimization.splitChunks({chunks: 'all',cacheGroups: {libs: {name: 'chunk-libs',test: /[\\/]node_modules[\\/]/,priority: 10,chunks: 'initial' // only package third parties that are initially dependent},elementUI: {name: 'chunk-elementUI', // split elementUI into a single packagepriority: 20, // the weight needs to be larger than libs and app or it will be packaged into libs or apptest: /[\\/]node_modules[\\/]_?element-ui(.*)/ // in order to adapt to cnpm},commons: {name: 'chunk-commons',test: resolve('src/components'), // can customize your rulesminChunks: 3, //  minimum common numberpriority: 5,reuseExistingChunk: true}}})config.optimization.runtimeChunk('single')})}
}
文件描述:
-
node_modules存放下载下来的模块,如jQuery,router等等
-
babel的配置文件,ES6→ES5的配置文件
- package.json和package-lock.josn都是符合npm包的说明书,用来配置包的版本和依赖(package-lock.josn控制包版本、下载地址)
-
serve和dev分别对应npm run dev和npm run serve,运行哪一个看package.json的script是dev还是serve
-
build是最后一次编译,也就是打包了(.html、.css、.js、.vue)
-
lint几乎不用,就是把你写的js和vue进行一次全面大检查,看哪里写的不对,写的不好
-
.gitignore是git的忽略文件,哪些文件或文件夹不想接受git的管理在这里配好
-
main.js当执行npm run dev/serve之后第一个执行,是一切的开端
-
template放结构 script放交互 style放样式 assets静态资源
vue-cli3
创建vue脚手架3.0版本
1.命令行创建: Vue create 项目名

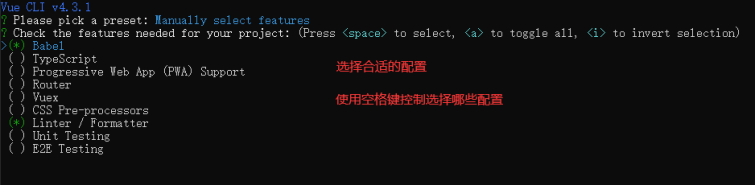


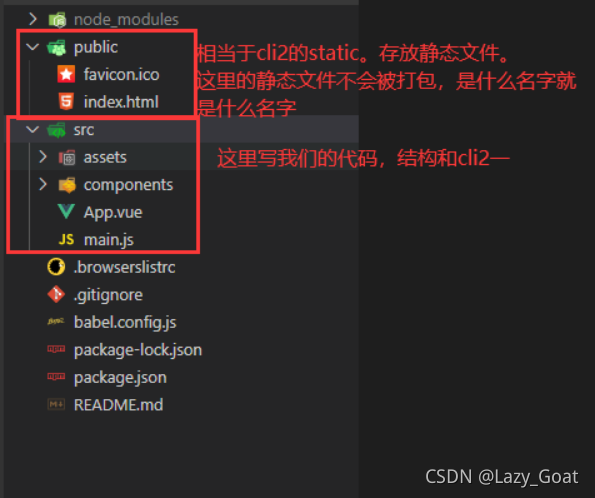
目录结构:
在项目的根目录下创建配置文件vue.config.js文件 和2版本的一样;
配置选项:publicPath:默认是 /
部署应用时的基本url,用法和webpack的output.publicPath一致。这个配置也可以设置成空字符串或者./
outputDir:默认是dist
输出文件目录。我们执行npm run build时会将代码打包到对应的目录。
assetsDir:默认是空字符串
放置生成的静态资源目录
indexPath:默认是index.html
指定生成的index.html的输出路径,也可以是一个绝对路径
lintOnSave:默认是true是否在保存的时候使用eslint-loader进行语法检查,可以设置为true、false、error。设置为error时,检查出语法不规范的地方会直接编译失败。
productionSourceMap:默认是true
如果你不需要生产环境的source map,可以设置为false。以加速生产构建
devServer:设置开发的服务器配置
可以设为open、host、port、https、hotOnly、proxy
vue 的2和3版本main.js有所区别,在3版本中引入的不再是Vue的构造函数(构造函数需要使用new去调用),引入的是一个createapp的工厂函数(无需通过new,直接调用就也可以)。
import { createApp } from 'vue'
import App from './App.vue'
import router from './router'let app = createApp(App)//创建Vue实例app.use(router)app.mount('#app')
在2版本中main.js是这样的:
import Vue from 'vue'
import App from './App'
import router from './router'Vue.config.productionTip = false/* eslint-disable no-new */
new Vue({el: '#app',router,render: h => h(App)
})
本文来自互联网用户投稿,文章观点仅代表作者本人,不代表本站立场,不承担相关法律责任。如若转载,请注明出处。 如若内容造成侵权/违法违规/事实不符,请点击【内容举报】进行投诉反馈!