Web Services 基于Apache Axis2 生成客户端代码示例
webservice 一种古老的技术,现在基本上已经弃用,但也有许多古董项目在用,整理并记录下自己的使用过程,避免更多的人踩坑。
Web Services 生成客户端代码步骤
- 1 Apache Axis2下载安装
- 1.1 认识Apache Axis2
- 1.2 下载Apache Axis2
- 2 通过CMD生成客户端代码
- 3 实现服务端访问
- 3.1 Apache Axis2 手工访问
- 3.2 通过生成的代码访问
1 Apache Axis2下载安装
1.1 认识Apache Axis2
Apache Axis2™ 是一个 Web Services JSON / SOAP / WSDL 引擎,是广泛使用的Apache Axis SOAP 堆栈。
Apache Axis2™ 是一个开源的 Web Services 框架,支持SOAP和RESTful Web Services。使用Maven来构建Axis2项目可以使项目更加规范,方便管理和部署。
Axis2 具有许多新功能、增强功能和行业特性 规范实现。提供的主要功能如下: 遵循:
- 速度 - 轴 2 使用 它自己的对象模型和 StAX(XML 流 API)解析为 实现比早期版本的 Apache 更高的速度 轴。
- 低内存足迹 - Axis2在设计时始终考虑到低内存足迹。
- AXIOM - Axis2提供了自己的轻量级对象模型AXIOM,用于消息处理,该模型可扩展、高性能并且方便开发人员。
- 热部署 - Axis2配备了在系统启动和运行时部署Web服务和处理程序的功能。换句话说,新的服务可以添加到系统中,而不必关闭服务器。只需将所需的Web服务存档放入存储库中的services目录中,部署模型就会自动部署该服务并使其可供使用。
- 异步Web服务 - Axis2现在支持使用非阻塞客户机和传输的异步Web服务和异步Web服务调用。
- MEP支持 - Axis2现在可以灵活地支持消息交换模式(MEP),并内置对WSDL 2.0中定义的基本MEP的支持。
- 灵活性 - Axis2体系结构为开发人员提供了完全的自由,可以将扩展插入到引擎中,以进行自定义报头处理、系统管理和任何您能想到的事情。
- 稳定性 - Axis2定义了一组已发布的接口,与Axis的其他部分相比,这些接口的变化相对缓慢。
- 面向组件的部署 - 您可以轻松地定义handler的可重用网络,以实现应用程序的公共处理模式,或者将其分发给合作伙伴。
- 传输框架 - 对于集成和使用传输,我们有一个干净简单的抽象(例如,在各种协议(如SMTP、FTP、面向消息的中间件等)上的SOAP的发送方和侦听器),并且引擎的核心是完全独立于传输的。
- WSDL支持 - Axis2支持Web服务描述语言(1.1和2.0版本),这允许您轻松构建存根以访问远程服务,还可以从Axis2自动导出已部署服务的机器可读描述。
- JSON支持 - Axis2支持使用JavaScript对象表示法以及GSON和Moshi创建Web服务,这允许您轻松构建基于POJO的接收和返回JSON的服务。
- 组合和可扩展性 - 模块和阶段改进了对组合性和可扩展性的支持。模块支持可组合性,还可以以简单干净的方式支持新的WS-*规范。但是它们不能热部署,因为它们会改变系统的整体行为。
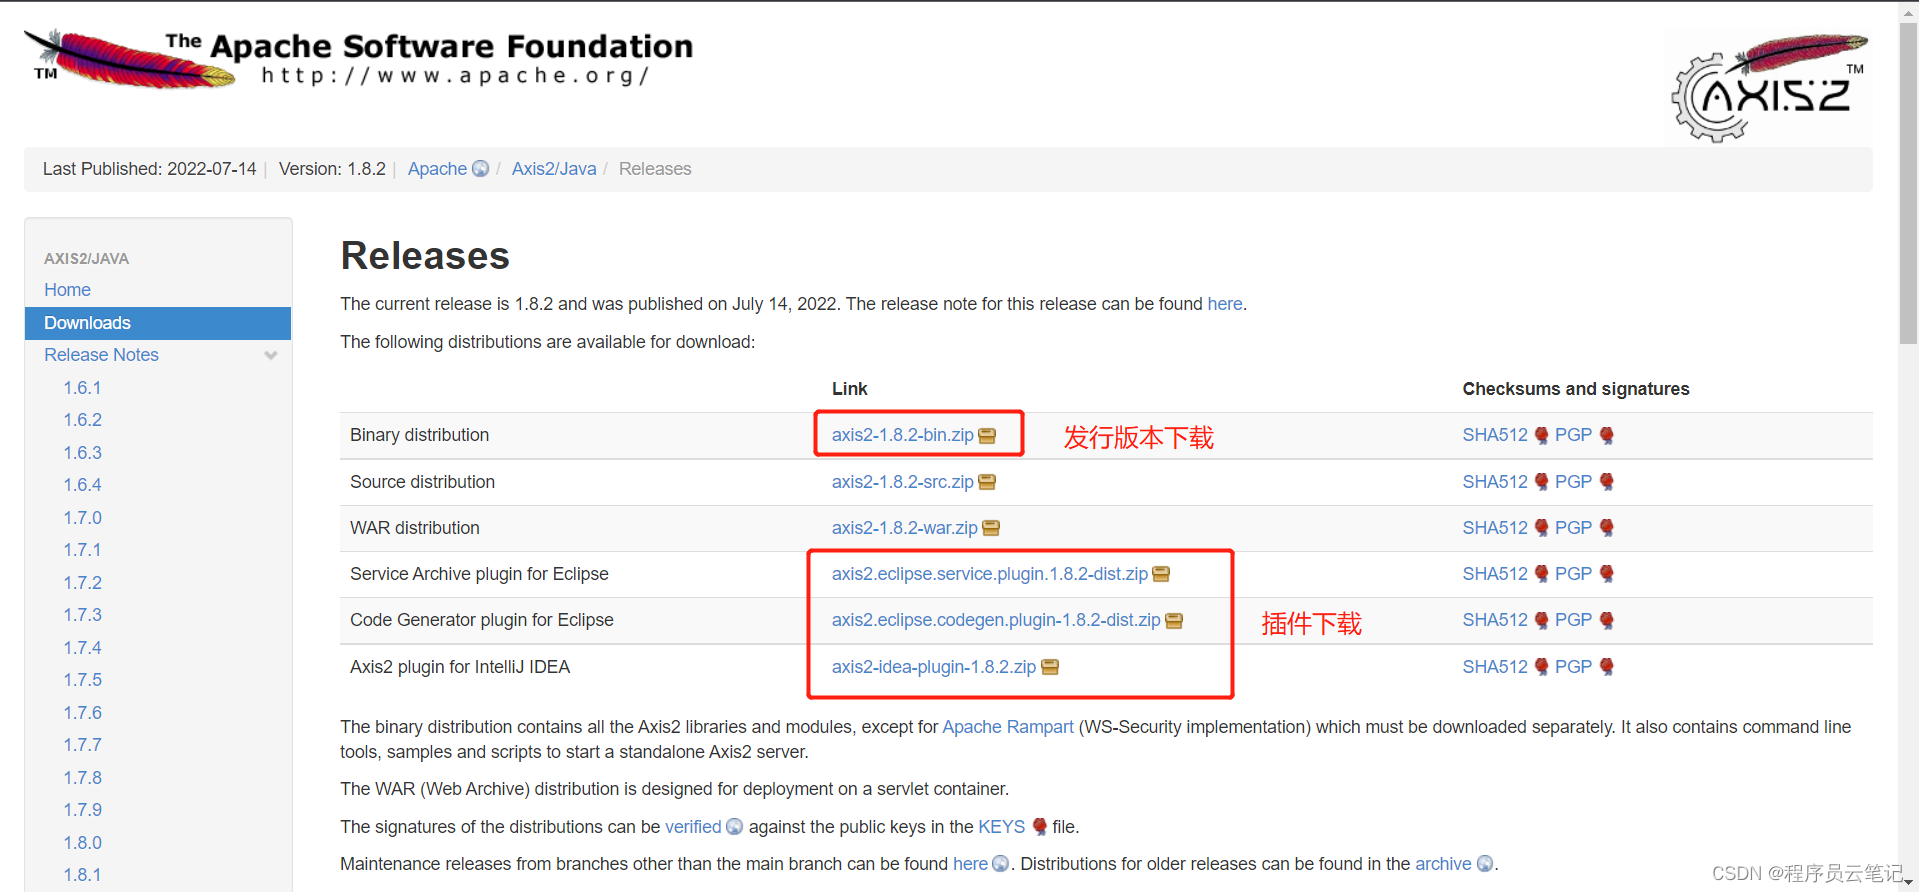
1.2 下载Apache Axis2
Apache Axis2 Download
2 通过CMD生成客户端代码
我们以常用的天气预报 Web 服务中的getWeatherbyCityName1方法为示例,生成对应的客户端代码。
天气预报WSDL文档地址:http://www.webxml.com.cn/WebServices/WeatherWebService.asmx?WSDL
(1)将下载的axis2-1.8.2-bin.zip进行解压缩。
(2)通过cmd命令,进入到 axis2-1.8.2\bin 目录下。
(3)通过 wsdl2java 命令生成客户端代码 ,命令如下:
wsdl2java -uri http://www.webxml.com.cn/WebServices/WeatherWebService.asmx?WSDL -p com.cloud.note.client -d adb -s
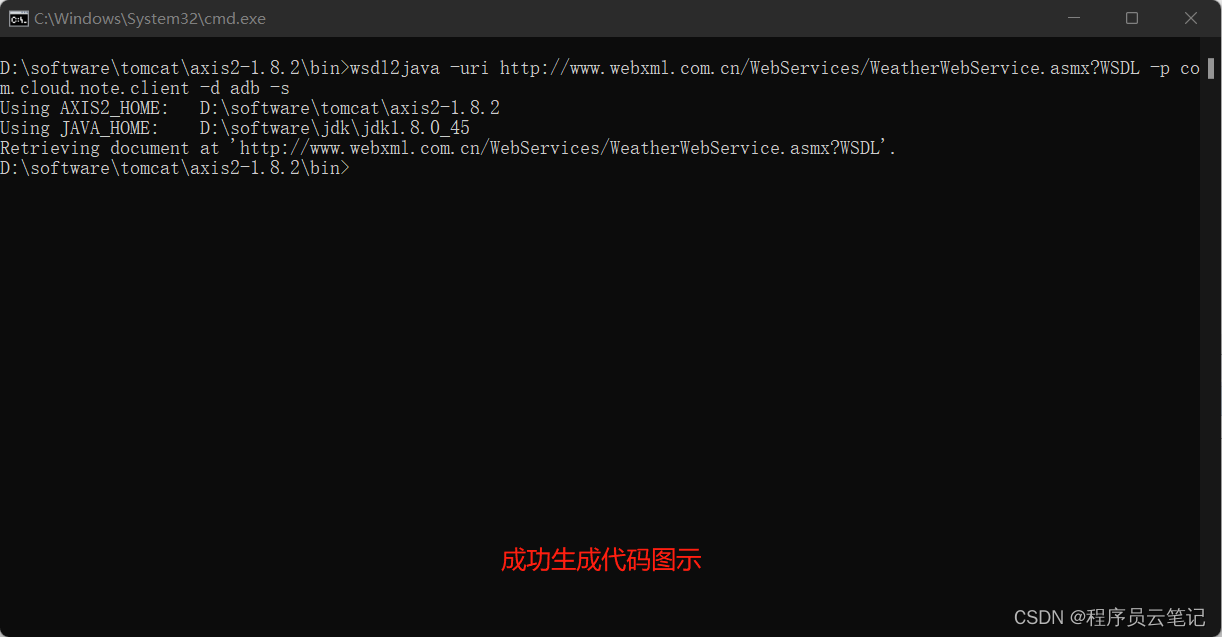
(4)生成成功后,代码在bin/src文件夹内,如图所示
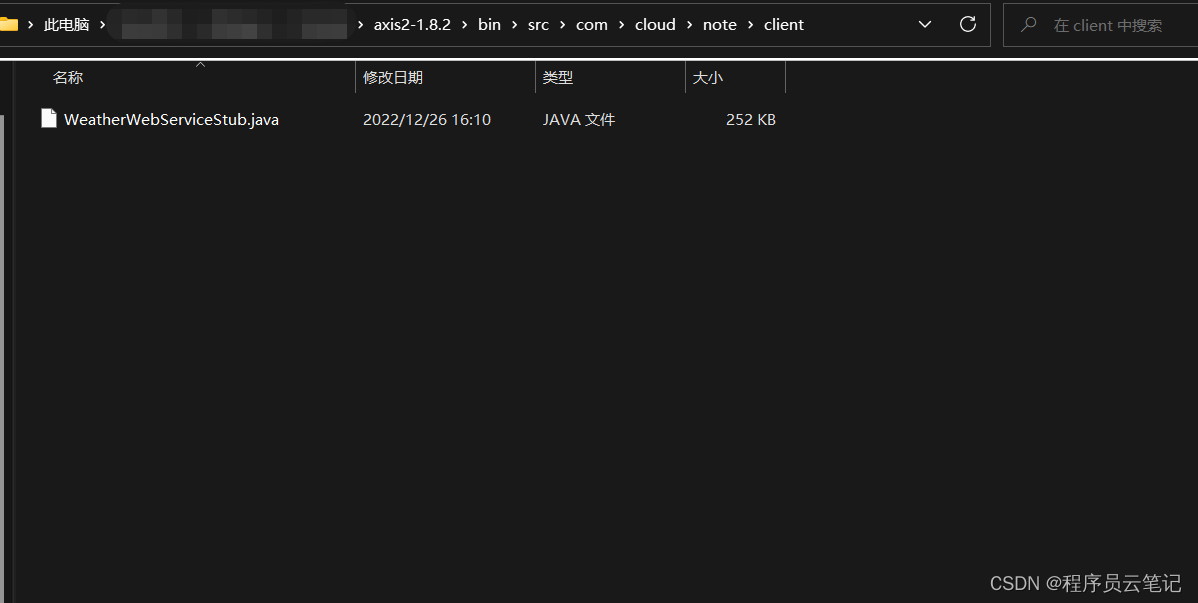
(5)将上述生成的Java文件拷贝到自己的项目中,同时引入pom.xml文件
<dependencies><dependency><groupId>dom4jgroupId><artifactId>dom4jartifactId><version>1.6.1version>dependency><dependency><groupId>org.apache.axis2groupId><artifactId>axis2-kernelartifactId><version>1.8.2version>dependency><dependency><groupId>org.apache.axis2groupId><artifactId>axis2-adbartifactId><version>1.8.2version>dependency><dependency><groupId>org.apache.axis2groupId><artifactId>axis2-transport-localartifactId><version>1.8.2version>dependency><dependency><groupId>org.apache.axis2groupId><artifactId>axis2-transport-httpartifactId><version>1.8.2version>dependency>
dependencies>
3 实现服务端访问
3.1 Apache Axis2 手工访问
package com.cloud.note.client;import java.util.Iterator;import javax.xml.namespace.QName;import org.apache.axiom.om.OMAbstractFactory;
import org.apache.axiom.om.OMAttribute;
import org.apache.axiom.om.OMElement;
import org.apache.axiom.om.OMFactory;
import org.apache.axiom.om.OMNamespace;
import org.apache.axis2.AxisFault;
import org.apache.axis2.addressing.EndpointReference;
import org.apache.axis2.client.Options;
import org.apache.axis2.client.ServiceClient;
import org.apache.axis2.rpc.client.RPCServiceClient;public class ClientMain {public static void main(String[] args) throws AxisFault {// 创建 ServiceClient 对象ServiceClient serviceClient = new ServiceClient();// 设置服务端点 URLEndpointReference targetEPR = new EndpointReference("http://www.webxml.com.cn/WebServices/WeatherWebService.asmx?wsdl");Options options = serviceClient.getOptions();options.setTo(targetEPR);// 设置 Action 和操作名称options.setAction("http://WebXml.com.cn/getWeatherbyCityName");OMFactory factory = OMAbstractFactory.getOMFactory();OMNamespace ns = factory.createOMNamespace("http://WebXml.com.cn/", "ns");OMElement operation = factory.createOMElement("getWeatherbyCityName", ns);// 设置请求参数OMElement cityName = factory.createOMElement("theCityName", ns);cityName.setText("北京");operation.addChild(cityName);// 发送请求并接收响应OMElement response = serviceClient.sendReceive(operation);// 处理响应OMElement result = response.getFirstElement();String weather = result.getText();System.out.println("北京的天气: " + weather);// 遍历子元素OMElement child = result.getFirstElement();while (child != null) {String childName = child.getLocalName();String childValue = child.getText();System.out.println(childName + ": " + childValue);child = (OMElement) child.getNextOMSibling();}// 遍历属性Iterator<OMAttribute> attributes = result.getAllAttributes();while (attributes.hasNext()) {OMAttribute attribute = attributes.next();String attributeName = attribute.getLocalName();String attributeValue = attribute.getAttributeValue();System.out.println(attributeName + ": " + attributeValue);}}private void moreWays() throws AxisFault {// 1创建RPCServiceClient---此方法不适用天气查询RPCServiceClient serviceClient = new RPCServiceClient();// 配置服务地址(此处http://www.webxml.com.cn/WebServices/WeatherWebService.asmx为WSDL文件末尾的service location)Options options = serviceClient.getOptions();EndpointReference targetEPR = new EndpointReference("http://www.webxml.com.cn/WebServices/WeatherWebService.asmx?wsdl");options.setTo(targetEPR);// 如果服务端由.NET编写完成,则需要设置Action,否则会出现  org.apache.axis2.AxisFault: 服务器未能识别 HTTP头 SOAPAction的值  异常//设置Actionoptions.setAction("http://WebXml.com.cn/getWeatherbyCityName");// 设置要请求的方法名称和参数(此处http://WebXml.com.cn/为WSDL文件中的targetNamespace属性值)QName opAddEntry = new QName("http://WebXml.com.cn/", "getWeatherbyCityName");Object[] opAddEntryArgs = new Object[] { "杭州" };Class[] returnTypes = new Class[] { String.class };// 访问服务Object[] response = serviceClient.invokeBlocking(opAddEntry, opAddEntryArgs, returnTypes);// 处理响应System.out.println("杭州的天气:" + response[0]);}
}
3.2 通过生成的代码访问
package com.cloud.note.client;import com.cloud.note.client.WeatherWebServiceStub.ArrayOfString;
import com.cloud.note.client.WeatherWebServiceStub.GetWeatherbyCityNameResponse;public class ClientMain {public static void main(String[] args) throws Exception {WeatherWebServiceStub stub = new WeatherWebServiceStub();WeatherWebServiceStub.GetWeatherbyCityName getWeatherbyCityName = new WeatherWebServiceStub.GetWeatherbyCityName();getWeatherbyCityName.setTheCityName("杭州");GetWeatherbyCityNameResponse weatherbyCityName = stub.getWeatherbyCityName(getWeatherbyCityName);ArrayOfString getWeatherbyCityNameResult = weatherbyCityName.getGetWeatherbyCityNameResult();String[] strings = getWeatherbyCityNameResult.getString();for (int i = 0; i < strings.length; i++) {System.out.println(strings[i]);}}
}
根据城市或地区名称查询获得未来三天内天气情况、现在的天气实况、天气和生活指数 ↩︎
本文来自互联网用户投稿,文章观点仅代表作者本人,不代表本站立场,不承担相关法律责任。如若转载,请注明出处。 如若内容造成侵权/违法违规/事实不符,请点击【内容举报】进行投诉反馈!