ROS下移动机器人导航仿真
作者:杭州电子科技大学智能机器人实验室
环境:ROS+Kinetic16.04
参考:<
实验步骤
- 准备工作
- 搭建仿真环境
- 使用gazebo搭建仿真环境
- 建图
- 导航
准备工作
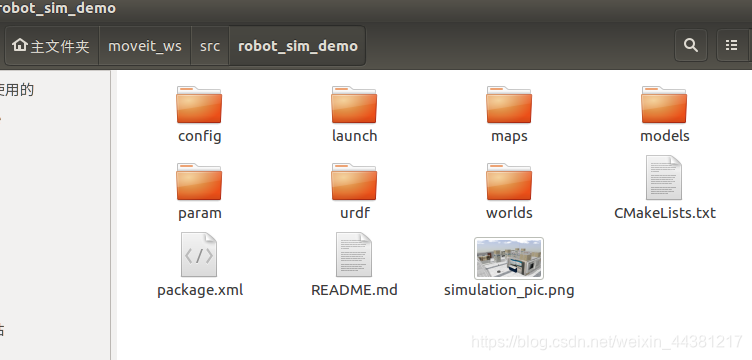
新建一个工作空间(或者已有的workspace),然后在src目录下导入中科大ROS-Academy-for-Beginners包中的robot_sim_demopackage,本实验将采用该模型中的移动机器人作为仿真对象.
搭建仿真环境
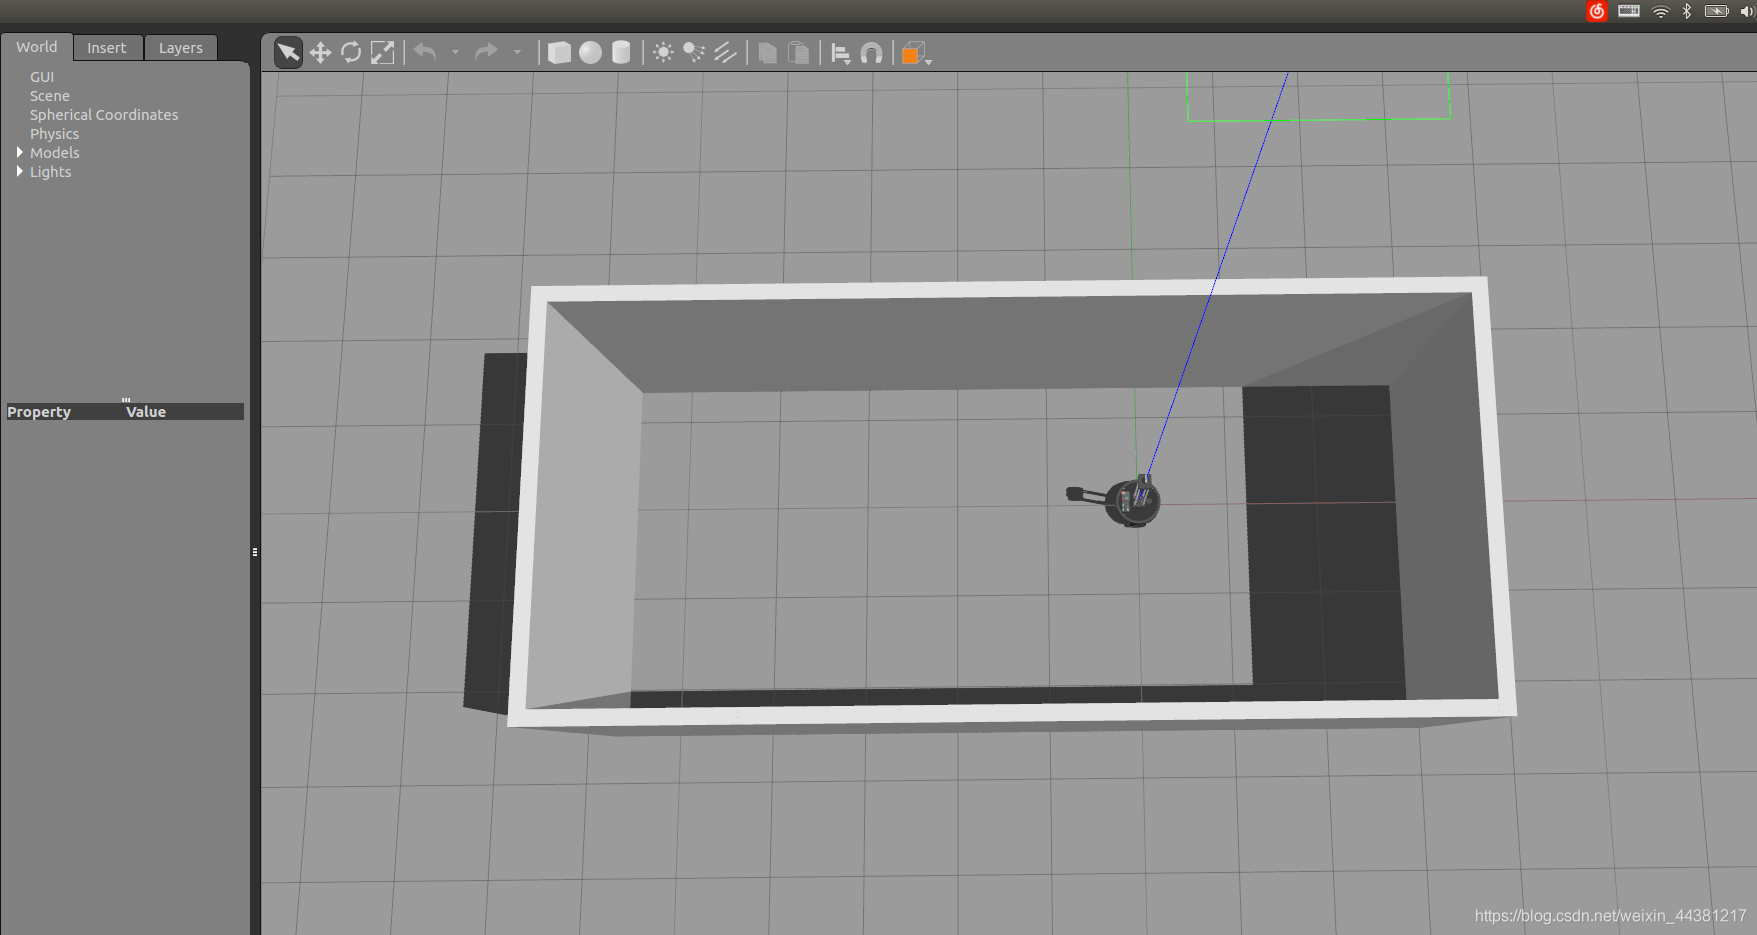
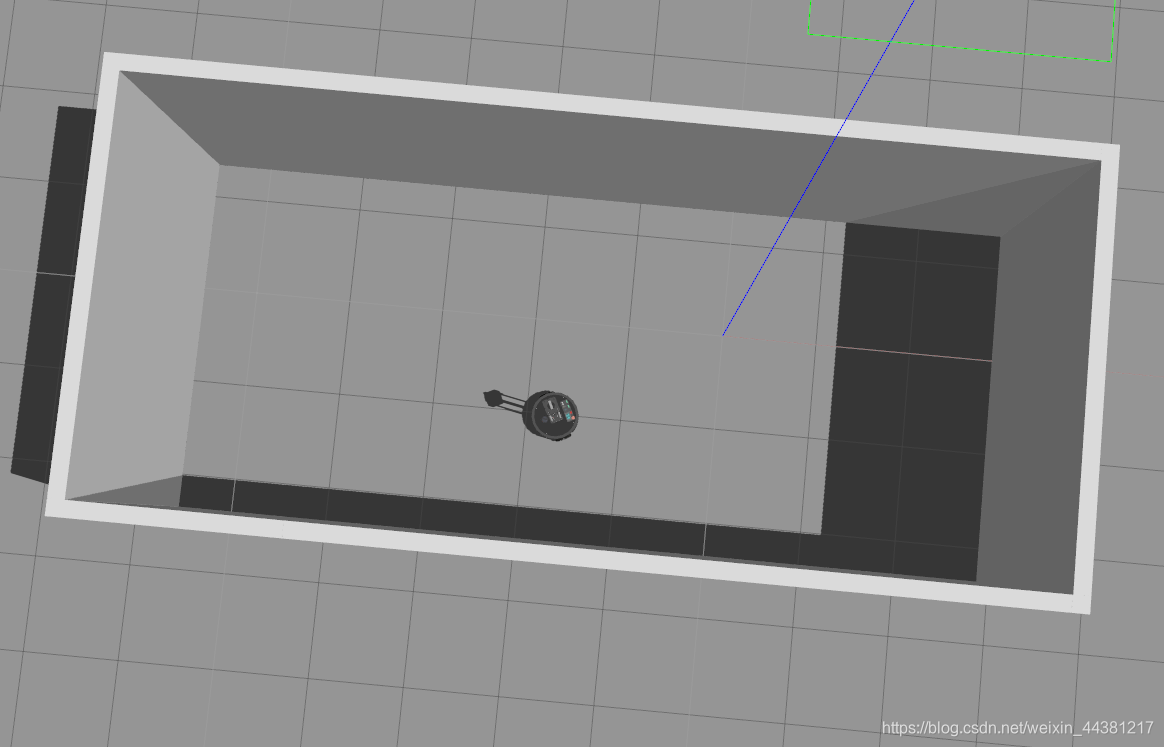
使用gazebo搭建仿真环境
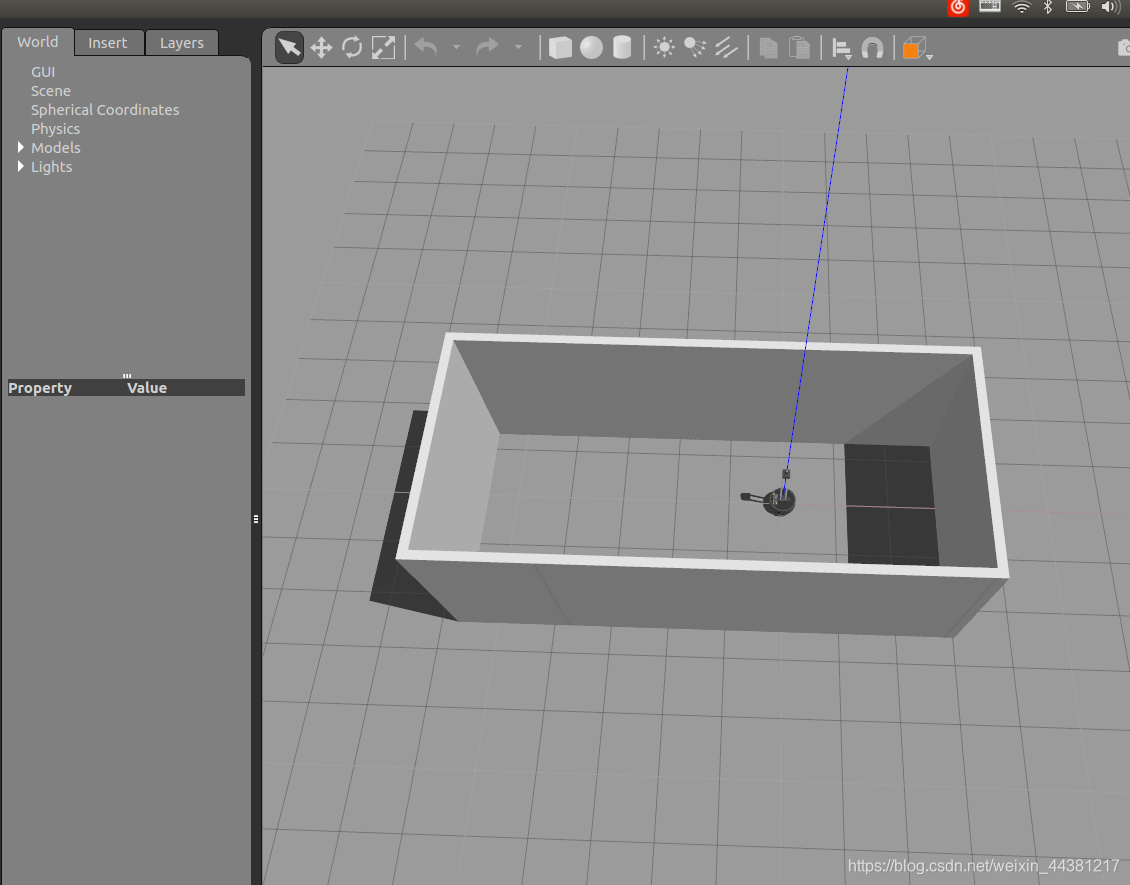
gazebo如何进行搭建这里不再赘述,本文参考这篇博客进行了一个简单的地图构建,如下图所示:
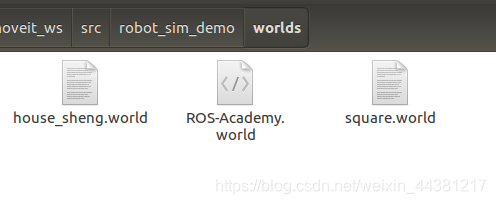
构建地图生成的world文件保存在robot_sim_demo下的worlds文件夹下面,如下图第三个文件.
然后对部分文件进行修改:
(1)修改launch文件夹下的robot_spawn.launch文件,主要用我们自己仿真的world环境替换原仿真环境;

(2)修改robot_sim_demo/launch/include/xbot-u.launch.xml文件,主要是修改机器人的初始坐标,让其在环境范围之内,我的修改内容如下:
小技巧:建图时可以围绕原点建,这样可直接设置初始点为(0, 0, 0);

建图
(1)安装gmapping
sudo apt-get install ros-kinetic-gmapping
(2)在launch文件夹下新建一个 gmapping.launch文件,具体内容如下:
(3)为了控制机器人移动,分别在robot_sim_demo下的launch文件夹下新建mbot_teleop.launch文件以及在robot_sim_demo下面新建一个scripts文件夹,具体内容如下:
launch文件:mbot_teleop.launch
scripts文件:mbot_teleop.py
#!/usr/bin/env python
# -*- coding: utf-8 -*-import rospy
from geometry_msgs.msg import Twist
import sys, select, termios, ttymsg = """
Control mbot!
---------------------------
Moving around:u    i    oj    k    lm    ,    .q/z : increase/decrease max speeds by 10%
w/x : increase/decrease only linear speed by 10%
e/c : increase/decrease only angular speed by 10%
space key, k : force stop
anything else : stop smoothlyCTRL-C to quit
"""moveBindings = {'i':(1,0),'o':(1,-1),'j':(0,1),'l':(0,-1),'u':(1,1),',':(-1,0),'.':(-1,1),'m':(-1,-1),}speedBindings={'q':(1.1,1.1),'z':(.9,.9),'w':(1.1,1),'x':(.9,1),'e':(1,1.1),'c':(1,.9),}def getKey():tty.setraw(sys.stdin.fileno())rlist, _, _ = select.select([sys.stdin], [], [], 0.1)if rlist:key = sys.stdin.read(1)else:key = ''termios.tcsetattr(sys.stdin, termios.TCSADRAIN, settings)return keyspeed = .2
turn = 1def vels(speed,turn):return "currently:\tspeed %s\tturn %s " % (speed,turn)if __name__=="__main__":settings = termios.tcgetattr(sys.stdin)rospy.init_node('mbot_teleop')pub = rospy.Publisher('/cmd_vel', Twist, queue_size=5)x = 0th = 0status = 0count = 0acc = 0.1target_speed = 0target_turn = 0control_speed = 0control_turn = 0try:print msgprint vels(speed,turn)while(1):key = getKey()# 运动控制方向键(1:正方向,-1负方向)if key in moveBindings.keys():x = moveBindings[key][0]th = moveBindings[key][1]count = 0# 速度修改键elif key in speedBindings.keys():speed = speed * speedBindings[key][0]  # 线速度增加0.1倍turn = turn * speedBindings[key][1]    # 角速度增加0.1倍count = 0print vels(speed,turn)if (status == 14):print msgstatus = (status + 1) % 15# 停止键elif key == ' ' or key == 'k' :x = 0th = 0control_speed = 0control_turn = 0else:count = count + 1if count > 4:x = 0th = 0if (key == '\x03'):break# 目标速度=速度值*方向值target_speed = speed * xtarget_turn = turn * th# 速度限位,防止速度增减过快if target_speed > control_speed:control_speed = min( target_speed, control_speed + 0.02 )elif target_speed < control_speed:control_speed = max( target_speed, control_speed - 0.02 )else:control_speed = target_speedif target_turn > control_turn:control_turn = min( target_turn, control_turn + 0.1 )elif target_turn < control_turn:control_turn = max( target_turn, control_turn - 0.1 )else:control_turn = target_turn# 创建并发布twist消息twist = Twist()twist.linear.x = control_speed; twist.linear.y = 0; twist.linear.z = 0twist.angular.x = 0; twist.angular.y = 0; twist.angular.z = control_turnpub.publish(twist)except:print efinally:twist = Twist()twist.linear.x = 0; twist.linear.y = 0; twist.linear.z = 0twist.angular.x = 0; twist.angular.y = 0; twist.angular.z = 0pub.publish(twist)termios.tcsetattr(sys.stdin, termios.TCSADRAIN, settings)
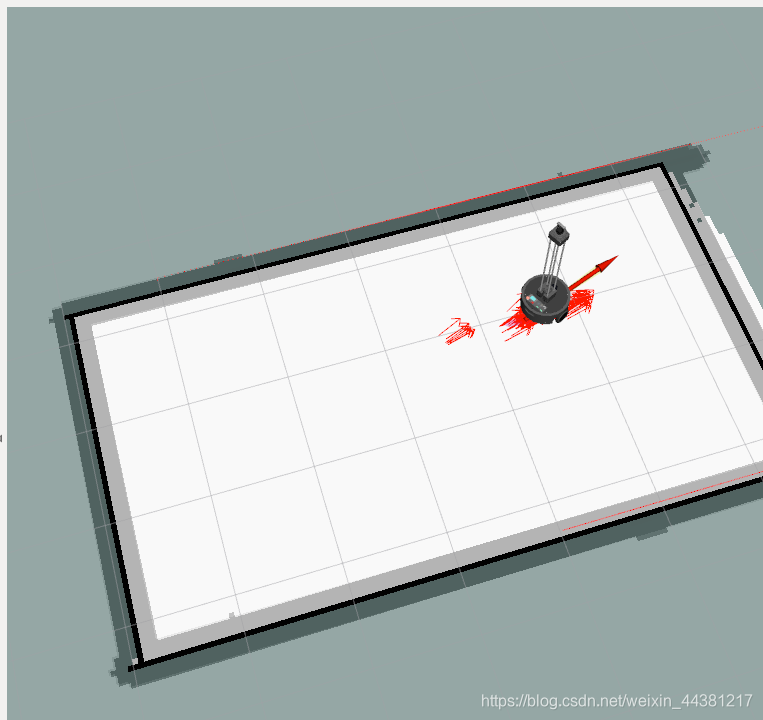
至此,建图准备工作完成:
分别运行下述命令:
roslaunch robot_sim_demo robot_spawn.launch//启动仿真环境
roslaunch robot_sim_demo gmapping.launch//启动gmapping
rviz//启动rviz,添加map话题
roslaunch robot_sim_demo mbot_teleop.launch//启动控制机器人节点
开始控制机器人移动进行建图,将建好的地图使用如下命令进行保存:
rosrun map_server map_saver -f map
保存会产生两个文件,以map名字命名:
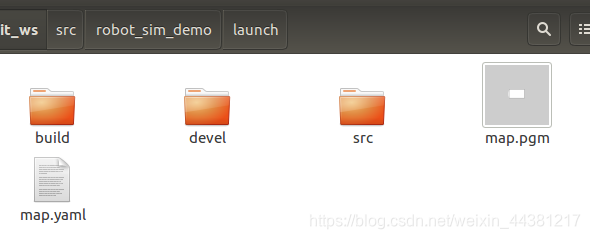
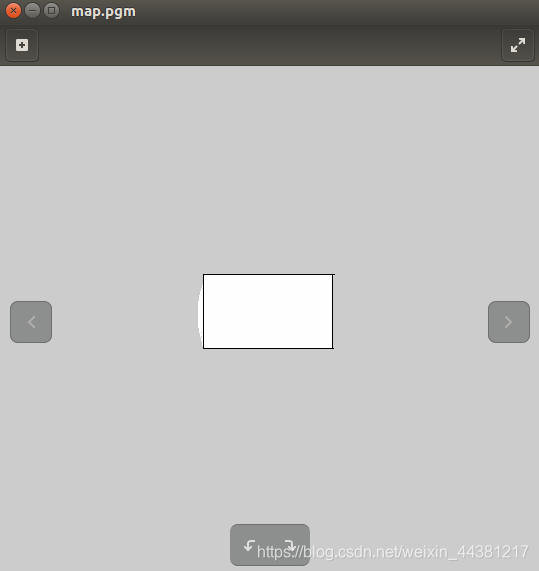
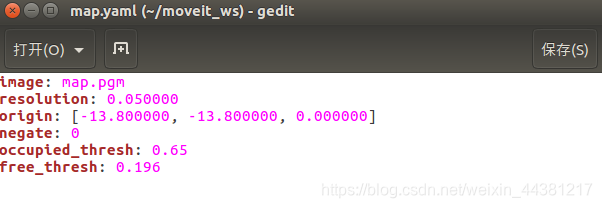
然后将这两个文件copy到robot_sim_demo文件夹下面的maps下面,建图完成.
导航
(1)安装导航功能包:
sudo apt-get install ros-kinetic-navigation
(2)配置代价地图文件
在config文件夹下新建mbot文件夹,同时新建下图5个文件:
base_local_planner_params.yaml :
controller_frequency: 3.0
recovery_behavior_enabled: false
clearing_rotation_allowed: falseTrajectoryPlannerROS:max_vel_x: 0.5min_vel_x: 0.1max_vel_y: 0.0  # zero for a differential drive robotmin_vel_y: 0.0max_vel_theta: 1.0min_vel_theta: -1.0min_in_place_vel_theta: 0.5escape_vel: -0.1acc_lim_x: 1.5acc_lim_y: 0.0 # zero for a differential drive robotacc_lim_theta: 1.2holonomic_robot: falseyaw_goal_tolerance: 0.1 # about 6 degreesxy_goal_tolerance: 0.1  # 10 cmlatch_xy_goal_tolerance: falsepdist_scale: 0.9gdist_scale: 0.6meter_scoring: trueheading_lookahead: 0.325heading_scoring: falseheading_scoring_timestep: 0.8occdist_scale: 0.1oscillation_reset_dist: 0.05publish_cost_grid_pc: falseprune_plan: truesim_time: 1.0sim_granularity: 0.025angular_sim_granularity: 0.025vx_samples: 8vy_samples: 0 # zero for a differential drive robotvtheta_samples: 20dwa: truesimple_attractor: false
costmap_common_params.yaml:
obstacle_range: 2.5
raytrace_range: 3.0
footprint: [[0.175, 0.175], [0.175, -0.175], [-0.175, -0.175], [-0.175, 0.175]]
footprint_inflation: 0.01
robot_radius: 0.175
inflation_radius: 0.15
max_obstacle_height: 0.6
min_obstacle_height: 0.0
observation_sources: scan
scan: {data_type: LaserScan, topic: /scan, marking: true, clearing: true, expected_update_rate: 0}
global_costmap_params.yaml:
global_costmap:global_frame: maprobot_base_frame: base_footprintupdate_frequency: 1.0publish_frequency: 1.0static_map: truerolling_window: falseresolution: 0.01transform_tolerance: 1.0map_type: costmap
local_costmap_params.yaml:
local_costmap:global_frame: odomrobot_base_frame: base_footprintupdate_frequency: 3.0publish_frequency: 1.0static_map: truerolling_window: falsewidth: 6.0height: 6.0resolution: 0.01transform_tolerance: 1.0
move_base_params.yaml:
shutdown_costmaps: false
controller_frequency: 10.0
planner_patience: 5.0
controller_patience: 15.0
conservative_reset_dist: 3.0
planner_frequency: 5.0
oscillation_timeout: 10.0
oscillation_distance: 0.2
(3)launch文件夹下分别添加 move_base.launch amcl.launch nav_cloister_demo.launch三个文件:具体内容如下:
move_base.launch:
注意,文件路径要结合自己的文件放置位置
amcl.launch:
nav_cloister_demo.launch:
注意:该文件下面的map配置信息yaml文件替换成自己建好的地图.,launch文件路径也要换成自己的.
文件配置完成,开始进行导航仿真:
依次输入以下命令:
roslaunch robot_sim_demo robot_spawn.launch//启动仿真环境
roslaunch robot_sim_demo nav_cloister_demo.launch//启动导航节点
如下图:
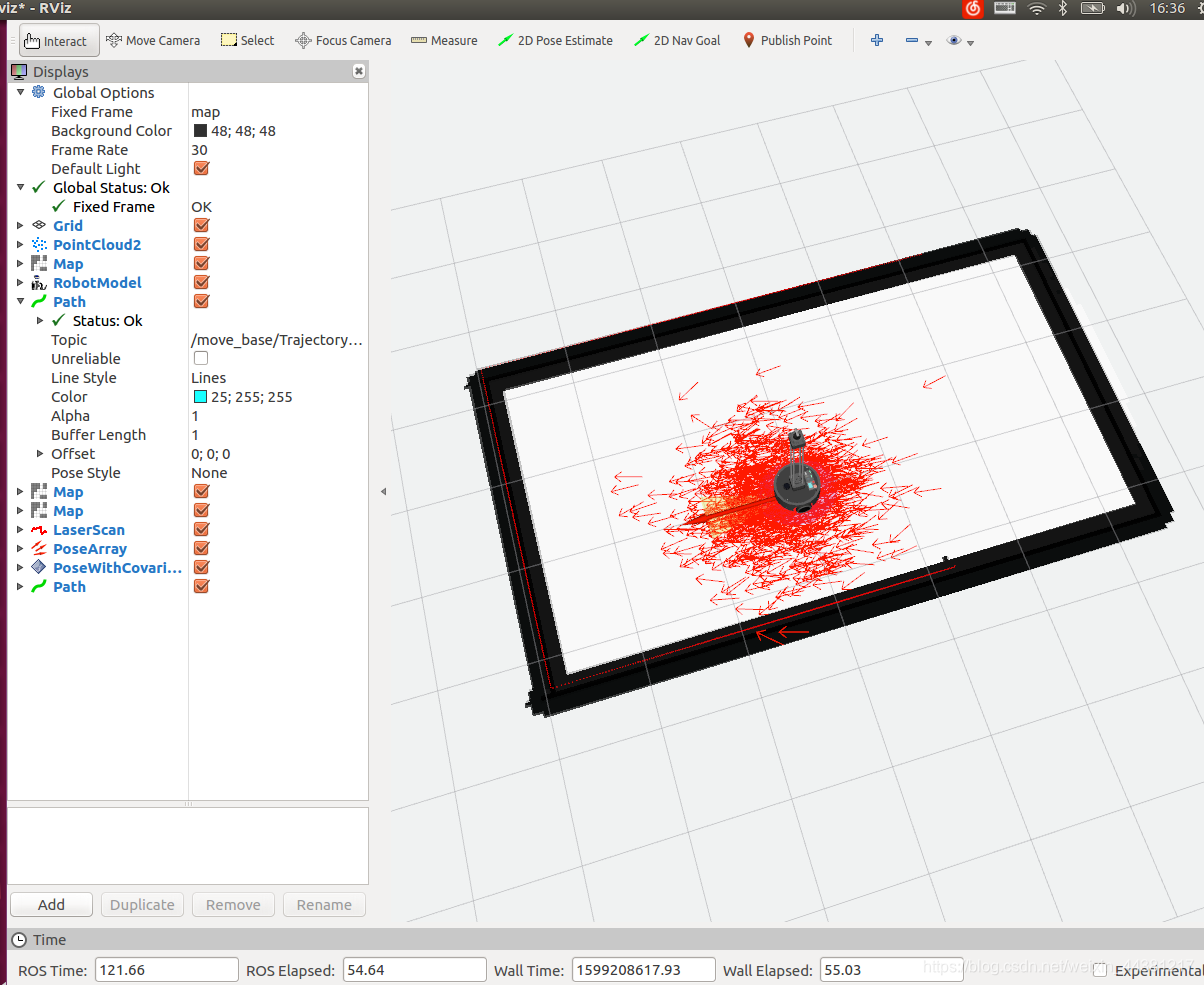
然后在rviz上方的2D Nav Goal 控制,让机器人朝着某个方向移动
避障
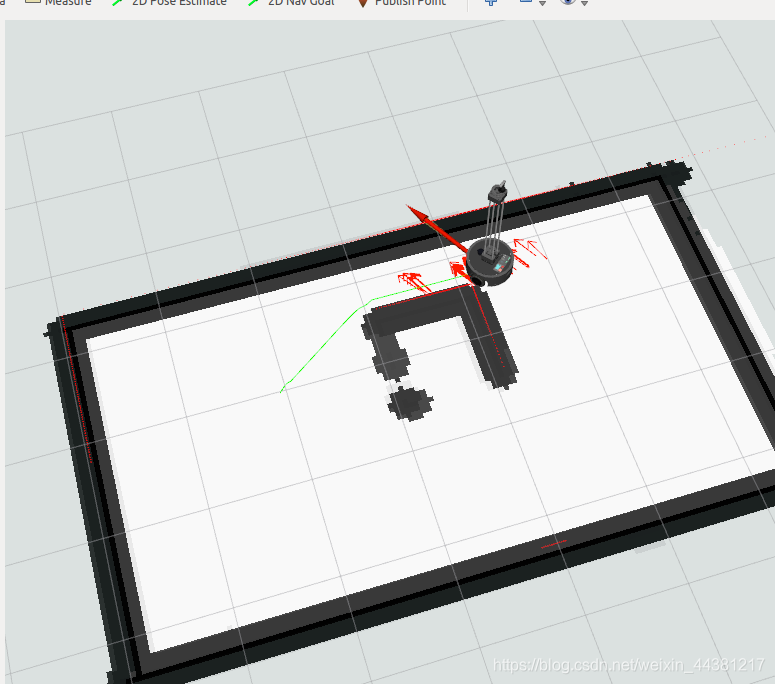
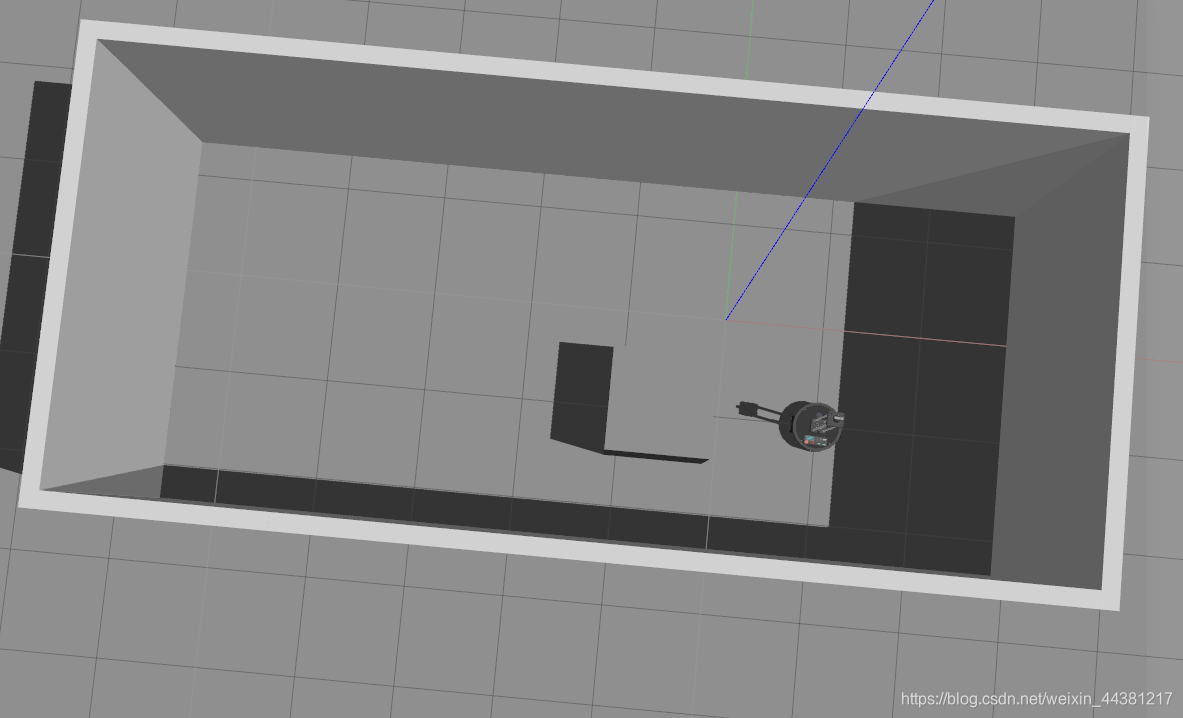
至此,导航完成.
本文来自互联网用户投稿,文章观点仅代表作者本人,不代表本站立场,不承担相关法律责任。如若转载,请注明出处。 如若内容造成侵权/违法违规/事实不符,请点击【内容举报】进行投诉反馈!