lvgl移植到 stm32 (stm32H743IIT6)
lvgl移植到stm32(stm32H743IIT6
- 1.简介
- 2.移植准备
- 硬件准备
- lvgl源码
- 3.移植过程
- 4.连接底层
- 5.屏幕配置
- 6.给lvgl一个心跳
- 7. 移植demos
1.简介
LVGL(轻巧而多功能的图形库)是一个免费的开放源代码图形库,它提供创建具有易于使用的图形元素,精美的视觉效果和低内存占用的嵌入式GUI所需的一切。
2.移植准备
硬件准备
我使用的是正点原子的stm32H743IIt6核心板+7寸 ALENTEK 7’’ RGB TFTLCDC触摸屏。(其他屏幕也可以,但是必须包含lcd与touch驱动函数)
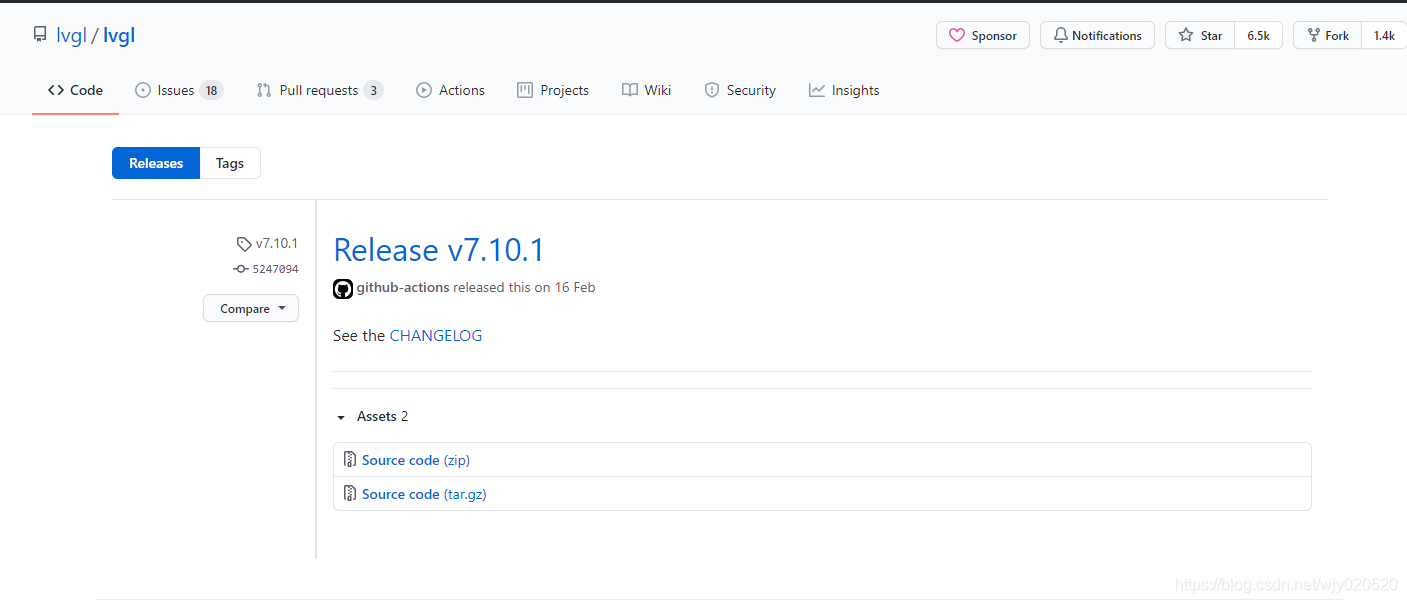
lvgl源码
我使用的是lvgl 7.10.1
3.移植过程
1.准备一个lcd触摸屏的例程
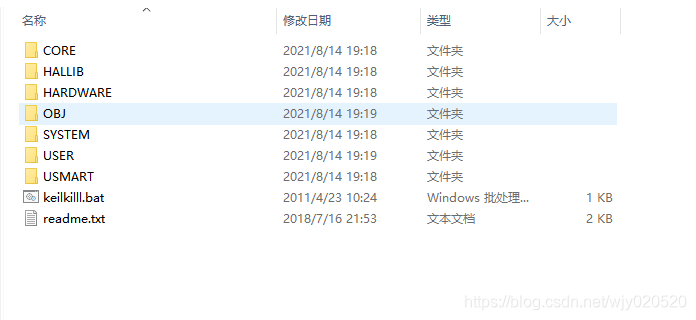
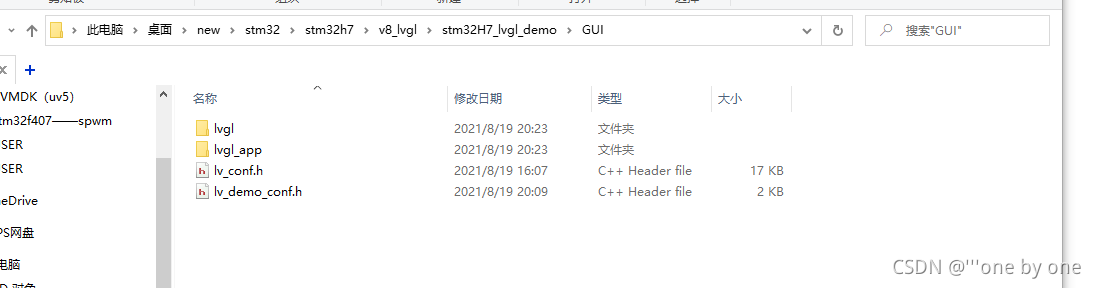
2.在工程目录下新建一个GUI文件夹,GUI文件夹下包含两个子文件夹
3.移植lvgl
打开下载的lvgl-8.0.1

把刚才下载的lvgl-8.0.1里所有内容复制在lvgl文件夹下,lvgl_app文件夹暂时留空。
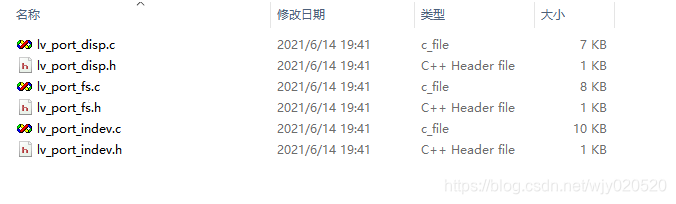
4.porting文件更名操作
我们把刚才复制后的GUI\lvgl\examples\porting下的文件进行一个改名
(1)原始
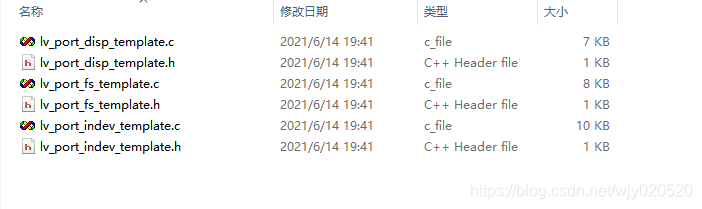
(2)更改名字之后
5.把GUI\lvgl\下的lv_conf_template.h文件复制到GUI文件夹下并更名为lv_conf.h:
5.keil
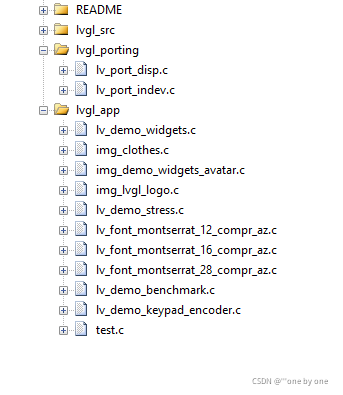
(1)新建Group
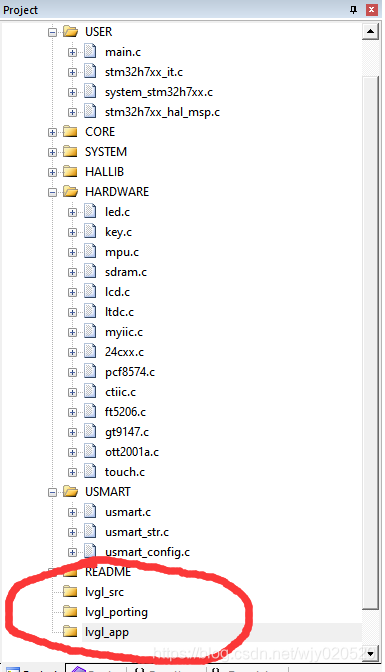
(1)lvgl_app暂时空着
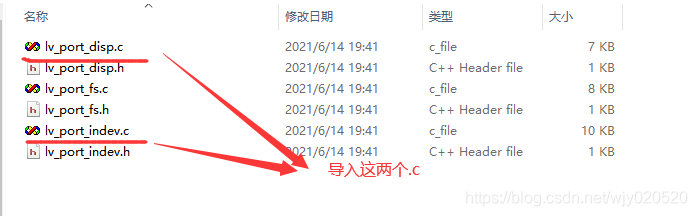
(2)将显示函数与触摸函数导入lvgl_porting中
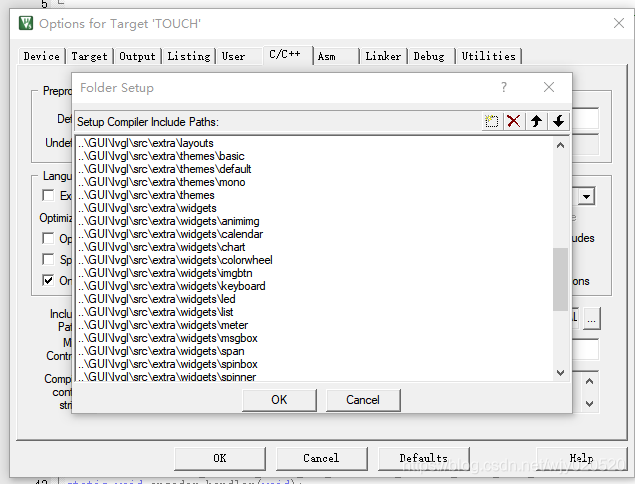
(3)将lvgl源码中所有的.c文件全部导入lvgl_src
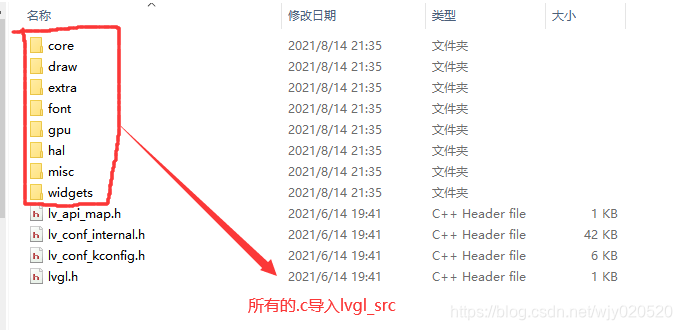
并且导入这些.c的路径
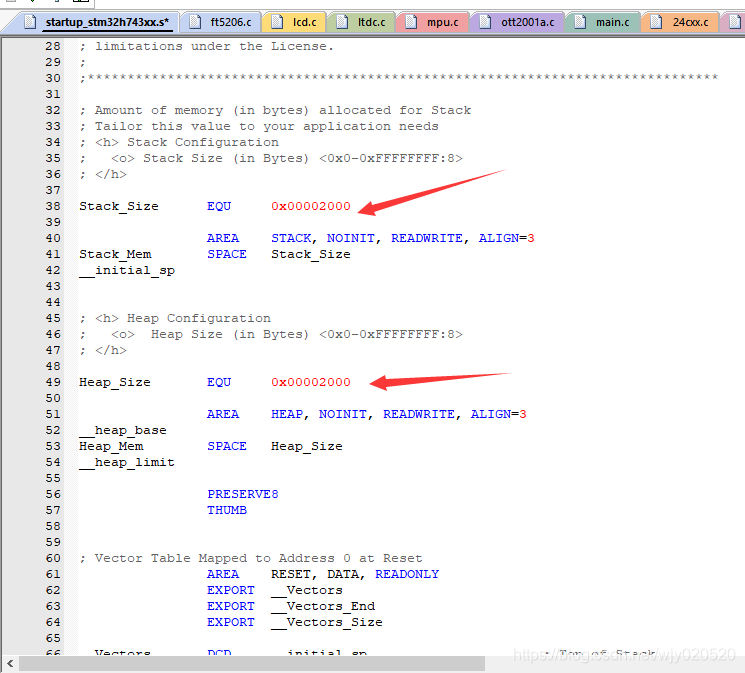
6.修改堆栈大小
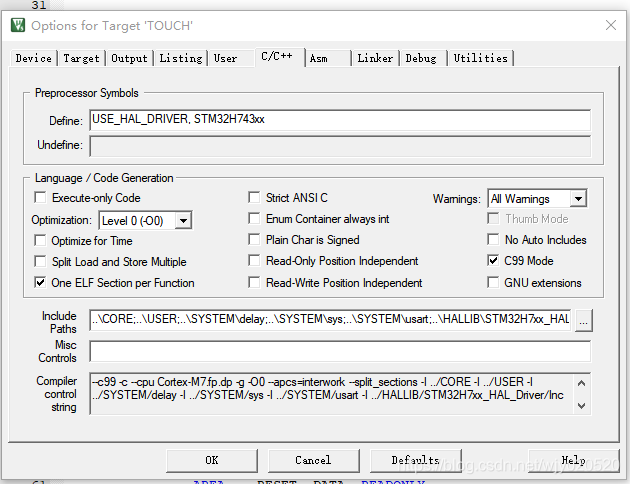
7.设计c99模式
8.使能l条件编译
要使能lv_conf.h,lv_port_indev.c。lv_port_indev.h,lv_port_disp.c,lv_port_disp.h的条件编译,如下
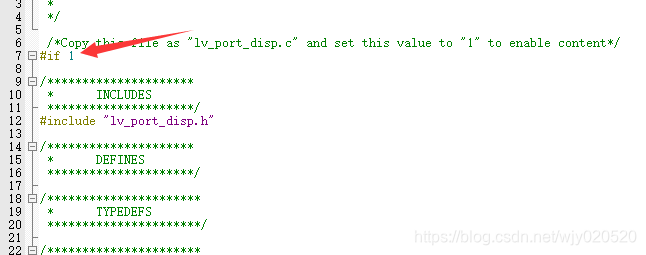
下面部分注释掉,只留一个即可,否则会报错
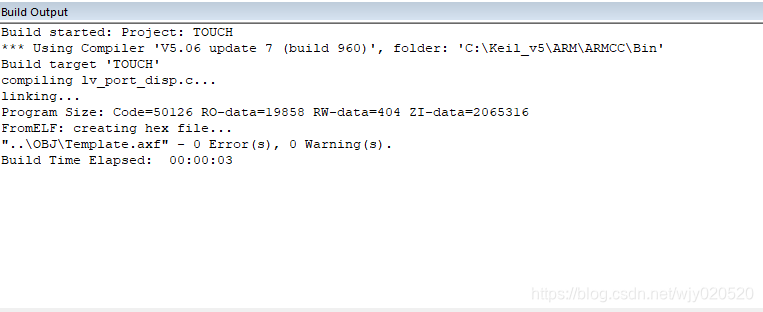
即可编译通过
4.连接底层
显示移植
与touch.h相关
这个连接的画点函数,比较慢
// An highlighted block
static void disp_flush(lv_disp_drv_t * disp_drv, const lv_area_t * area, lv_color_t * color_p)
{/*The most simple case (but also the slowest) to put all pixels to the screen one-by-one*/int32_t x;int32_t y;for(y = area->y1; y <= area->y2; y++) {for(x = area->x1; x <= area->x2; x++) {/* Put a pixel to the display. For example: *//* put_px(x, y, *color_p)*/GUI_DrawPoint(x,y,color_p->full);color_p++;}}/* IMPORTANT!!!* Inform the graphics library that you are ready with the flushing*/lv_disp_flush_ready(disp_drv);
}
下面展示一些 内联代码片。
直接调用颜色块会很快
// An highlighted block
static void disp_flush(lv_disp_drv_t * disp_drv, const lv_area_t * area, lv_color_t * color_p)
{/*The most simple case (but also the slowest) to put all pixels to the screen one-by-one*///    int32_t x;
//    int32_t y;
//    for(y = area->y1; y <= area->y2; y++) {
//        for(x = area->x1; x <= area->x2; x++) {
//            /*Put a pixel to the display. For example:*/
//            /*put_px(x, y, *color_p)*/
//				    LCD_Fast_DrawPoint(x,y,color_p->full);
//            color_p++;
//        }
//    }//    /*IMPORTANT!!!
//     *Inform the graphics library that you are ready with the flushing*/
//    LCD_Color_Fill(area->x1,area->y1,area->x2,area->y2,(u16*)color_p);//最后必须得调用,通知lvgl库你已经flushing拷贝完成了lv_disp_flush_ready(disp_drv);
}
两者选一个就可以
触摸移植
下面展示一些 内联代码片。
// An highlighted block
/*Will be called by the library to read the touchpad*/
static void touchpad_read(lv_indev_drv_t * indev_drv, lv_indev_data_t * data)
{static lv_coord_t last_x = 0;static lv_coord_t last_y = 0;tp_dev.scan(0);if (tp_dev.sta & TP_PRES_DOWN) //{printf("x坐标:%d,Y坐标:%d\r\n", tp_dev.x[0], tp_dev.y[0]);last_x = tp_dev.x[0];last_y = tp_dev.y[0];data->point.x = last_x;data->point.y = last_y;data->state = LV_INDEV_STATE_PR;}else{data->point.x = last_x;data->point.y = last_y;data->state = LV_INDEV_STATE_REL;}
}
有外部sdram时
可以这样定义
下面展示一些 内联代码片。
// An highlighted block
*********************/
#define LTDC_LCD_FRAMEBUF_SIZE		(1280*800*2)		//ltdc.c中ltdc_lcd_framebuf缓冲区的大小
#define COLOR_BUF_SIZE		(1024*10)	//全屏的大小static lv_color_t color_buf[COLOR_BUF_SIZE]	__attribute__((at(LCD_FRAME_BUF_ADDR+LTDC_LCD_FRAMEBUF_SIZE+COLOR_BUF_SIZE*2))); //分配到外部SDRAM,需要跳过ltdc.c中分配的帧缓冲区
static lv_color_t color_buf2[COLOR_BUF_SIZE]	__attribute__((at(LCD_FRAME_BUF_ADDR+LTDC_LCD_FRAMEBUF_SIZE+COLOR_BUF_SIZE*4)));//lvgl的第二个缓冲区,紧跟在第一个缓冲区的后面
5.屏幕配置
挺重要的,有时候搞完一直出不来,可能就是屏幕横屏竖屏没弄好
下面展示一些 内联代码片。
这里面屏幕的配置和你的lcd里横竖屏应该一致
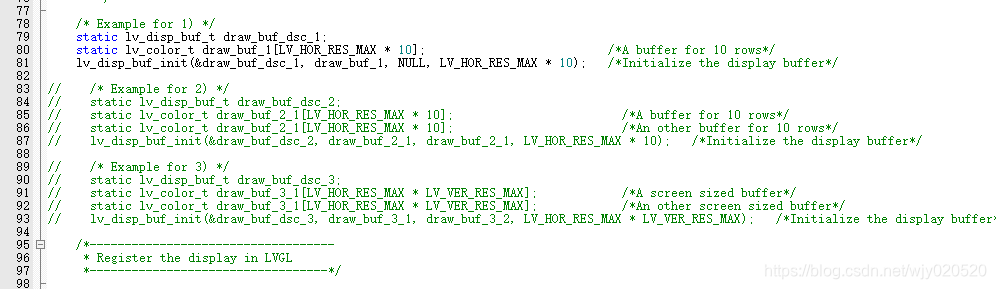
// An highlighted blockvoid lv_port_disp_init(void)
{/*-------------------------* Initialize your display* -----------------------*/disp_init();/*-----------------------------* Create a buffer for drawing*----------------------------*//*** LVGL requires a buffer where it internally draws the widgets.* Later this buffer will passed to your display driver's `flush_cb` to copy its content to your display.* The buffer has to be greater than 1 display row** There are 3 buffering configurations:* 1. Create ONE buffer:*      LVGL will draw the display's content here and writes it to your display** 2. Create TWO buffer:*      LVGL will draw the display's content to a buffer and writes it your display.*      You should use DMA to write the buffer's content to the display.*      It will enable LVGL to draw the next part of the screen to the other buffer while*      the data is being sent form the first buffer. It makes rendering and flushing parallel.** 3. Double buffering*      Set 2 screens sized buffers and set disp_drv.full_refresh = 1.*      This way LVGL will always provide the whole rendered screen in `flush_cb`*      and you only need to change the frame buffer's address.*//* Example for 1) *//*A buffer for 10 rows*/lv_disp_draw_buf_init(&draw_buf_dsc_1, color_buf, color_buf2, 1024 * 10);   /*Initialize the display buffer*///    /* Example for 2) */
//    static lv_disp_draw_buf_t draw_buf_dsc_2;
//    static lv_color_t buf_2_1[MY_DISP_HOR_RES * 10];                        /*A buffer for 10 rows*/
//    static lv_color_t buf_2_1[MY_DISP_HOR_RES * 10];                        /*An other buffer for 10 rows*/
//    lv_disp_draw_buf_init(&draw_buf_dsc_2, buf_2_1, buf_2_1, MY_DISP_HOR_RES * 10);   /*Initialize the display buffer*///    /* Example for 3) also set disp_drv.full_refresh = 1 below*/
//    static lv_disp_draw_buf_t draw_buf_dsc_3;
//    static lv_color_t buf_3_1[MY_DISP_HOR_RES * MY_DISP_VER_RES];            /*A screen sized buffer*/
//    static lv_color_t buf_3_1[MY_DISP_HOR_RES * MY_DISP_VER_RES];            /*An other screen sized buffer*/
//    lv_disp_draw_buf_init(&draw_buf_dsc_3, buf_3_1, buf_3_2, MY_DISP_VER_RES * LV_VER_RES_MAX);   /*Initialize the display buffer*//*-----------------------------------* Register the display in LVGL*----------------------------------*/static lv_disp_drv_t disp_drv;                         /*Descriptor of a display driver*/lv_disp_drv_init(&disp_drv);                    /*Basic initialization*//*Set up the functions to access to your display*//*Set the resolution of the display*/disp_drv.hor_res = 1024;disp_drv.ver_res = 600;/*Used to copy the buffer's content to the display*/disp_drv.flush_cb = disp_flush;/*Set a display buffer*/disp_drv.draw_buf = &draw_buf_dsc_1;/*Required for Example 3)*///disp_drv.full_refresh = 1/* Fill a memory array with a color if you have GPU.* Note that, in lv_conf.h you can enable GPUs that has built-in support in LVGL.* But if you have a different GPU you can use with this callback.*///disp_drv.gpu_fill_cb = gpu_fill;/*Finally register the driver*/lv_disp_drv_register(&disp_drv);
}
LCD_Display_Dir(1); lcd里这个函数配置横竖屏
在 lv_conf.h里进行一些配置
色彩深度: #define LV_COLOR_DEPTH 16
DPI: #define LV_DPI 100
提供给lvgl的空间: #define LV_MEM_SIZE (32U * 1024U)
6.给lvgl一个心跳
下面展示一些 内联代码片。
TIM7_Init(10-1,20000-1); 1ms的心跳
// An highlighted blockvoid TIM7_Init(u16 arr,u16 psc)
{  TIM7_Handler.Instance=TIM7;                          //通用定时器3TIM7_Handler.Init.Prescaler=psc;                     //分频TIM7_Handler.Init.CounterMode=TIM_COUNTERMODE_UP;    //向上计数器TIM7_Handler.Init.Period=arr;                        //自动装载值TIM7_Handler.Init.ClockDivision=TIM_CLOCKDIVISION_DIV1;//时钟分频因子HAL_TIM_Base_Init(&TIM7_Handler);HAL_TIM_Base_Start_IT(&TIM7_Handler); //使能定时器3和定时器3更新中断:TIM_IT_UPDATE
}//定时器底册驱动,开启时钟,设置中断优先级
//此函数会被HAL_TIM_Base_Init()函数调用
void HAL_TIM_Base_MspInit(TIM_HandleTypeDef *htim)
{if(htim->Instance==TIM7){__HAL_RCC_TIM7_CLK_ENABLE();            //使能TIM3时钟HAL_NVIC_SetPriority(TIM7_IRQn,1,3);    //设置中断优先级,抢占优先级1,子优先级3HAL_NVIC_EnableIRQ(TIM7_IRQn);          //开启ITM3中断   }
}//定时器3中断服务函数调用
void HAL_TIM_PeriodElapsedCallback(TIM_HandleTypeDef *htim)
{if(htim==(&TIM7_Handler)){lv_tick_inc(1);}
}
在主函数while循环里写入 lv_task_handler();
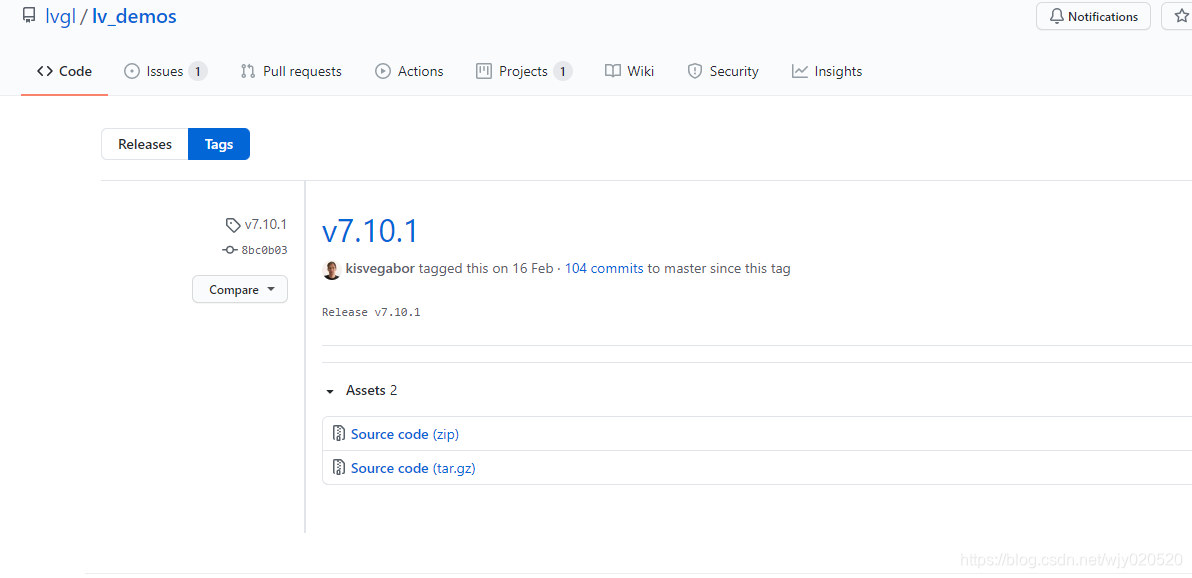
7. 移植demos
1.复制lv_examples-7.10.1整个文件夹至GUI\lvgl_app文件夹下并更名为lv_examples:
2.把GUI\lvgl_app\lv_examples下的lv_demo_conf_template.h复制到GUI文件夹下并更名为lv_demo_conf.h
使用哪个就在哪个地方打开预编译
在lv_demo_conf.h中
下面展示一些 内联代码片。
// An highlighted block
/*Show some widget*/
#define LV_USE_DEMO_WIDGETS        0
#if LV_USE_DEMO_WIDGETS
#define LV_DEMO_WIDGETS_SLIDESHOW  0
#endif/*Printer demo, optimized for 800x480*/
#define LV_USE_DEMO_PRINTER     0/*Demonstrate the usage of encoder and keyboard*/
#define LV_USE_DEMO_KEYPAD_AND_ENCODER     1/*Benchmark your system*/
#define LV_USE_DEMO_BENCHMARK   0/*Stress test for LVGL*/
#define LV_USE_DEMO_STRESS      0
我用的是//lv_demo_keypad_encoder();的demo
将lv_demo_keypad_encoder文件夹的c文件添加进lvgl_app
我的主函数
下面展示一些 内联代码片。
// An highlighted block
int main(void)
{HAL_Init(); //初始化HAL库Stm32_Clock_Init(160,5,2,4); //设置时钟,400Mhz delay_init(400); //延时初始化uart_init(115200); //串口初始化usmart_dev.init(200); //初始化USMART TIM3_Init(10-1,20000-1);LED_Init(); //初始化LEDKEY_Init(); //初始化按键SDRAM_Init(); //初始化SDRAMLCD_Init(); //初始化LCD// TP_Init();lv_init();lv_port_disp_init();lv_port_indev_init();tp_dev.init(); //触摸屏初始化
// POINT_COLOR=RED;
// LCD_ShowString(30,50,200,16,16,"Apollo STM32H7");
// LCD_ShowString(30,70,200,16,16,"TOUCH TEST");
// LCD_ShowString(30,90,200,16,16,"ATOM@ALIENTEK");
// LCD_ShowString(30,110,200,16,16,"2017/8/14");
// if(tp_dev.touchtype!=0XFF)LCD_ShowString(30,130,200,16,16,"Press KEY0 to Adjust");//电阻屏才显示
// delay_ms(1500);
// Load_Drow_Dialog();
// if(tp_dev.touchtype&0X80)ctp_test();//电容屏测试
// else rtp_test(); //电阻屏测试
//
// lv_demo_widgets();
// lv_demo_stress();
// lv_demo_benchmark();
lv_demo_keypad_encoder();
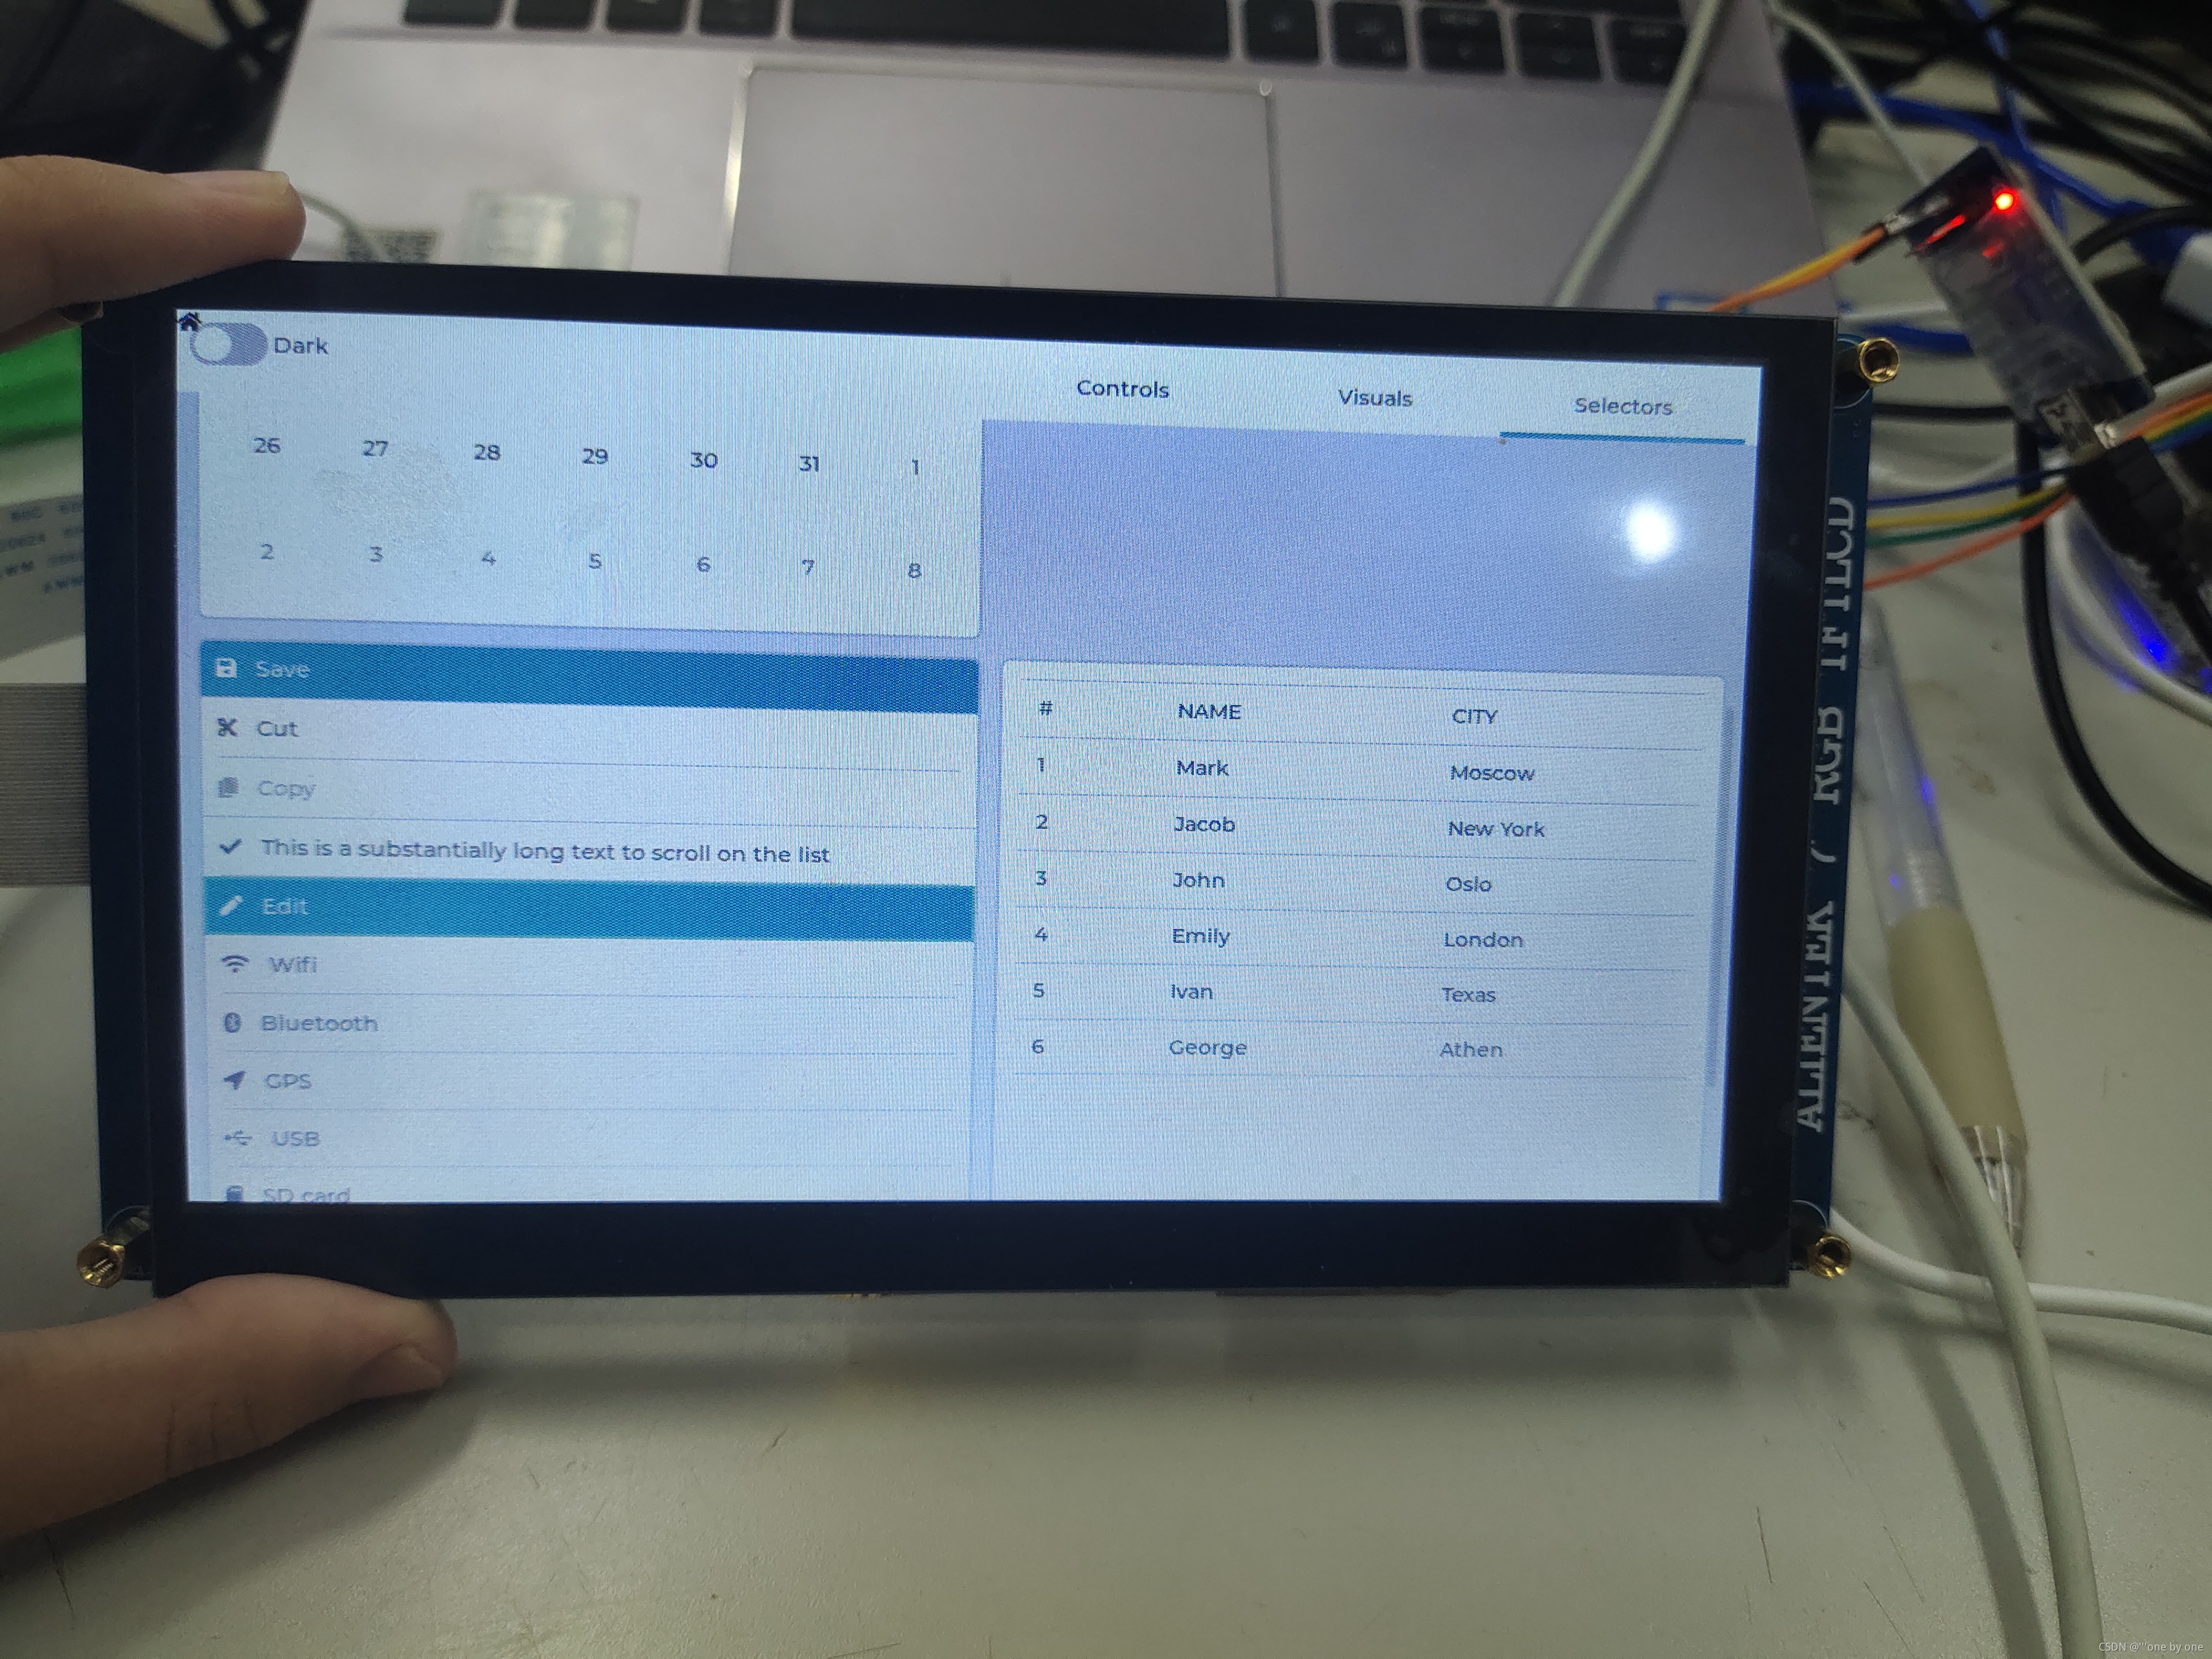
// lv_demo_test();while(1){lv_task_handler();}}移植成功
第一次写博客好开心哦__,嘻嘻
本文来自互联网用户投稿,文章观点仅代表作者本人,不代表本站立场,不承担相关法律责任。如若转载,请注明出处。 如若内容造成侵权/违法违规/事实不符,请点击【内容举报】进行投诉反馈!