Springboot整合swagger指南
Springboot整合swagger指南
1. 安装使用
1.1 下载依赖
<dependency><groupId>io.springfoxgroupId><artifactId>springfox-swagger2artifactId><version>2.9.2version>
dependency>
<dependency><groupId>io.springfoxgroupId><artifactId>springfox-swagger-uiartifactId><version>2.9.2version>
dependency>
不同版本,配置有所差异,最好采用相同版本
1.2 编写swagger配置文件
@Configuration
@EnableSwagger2
public class SwaggerConfig {@Beanpublic Docket docket() {return new Docket(DocumentationType.SWAGGER_2).apiInfo(myApiInfo());}private ApiInfo myApiInfo() {Contact DEFAULT_CONTACT = new Contact("夏2同学", "http://appletest.cn", "1754082565@qq.com");return new ApiInfo("Api Documentation","Api Documentation description...","1.0","urn:tos",DEFAULT_CONTACT,"Apache 2.0","http://www.apache.org/licenses/LICENSE-2.0",new ArrayList());}}
1.3 启动使用
对,springboot集成swagger,就是这么简单!
启动后,就可以看到我们的swagger界面。
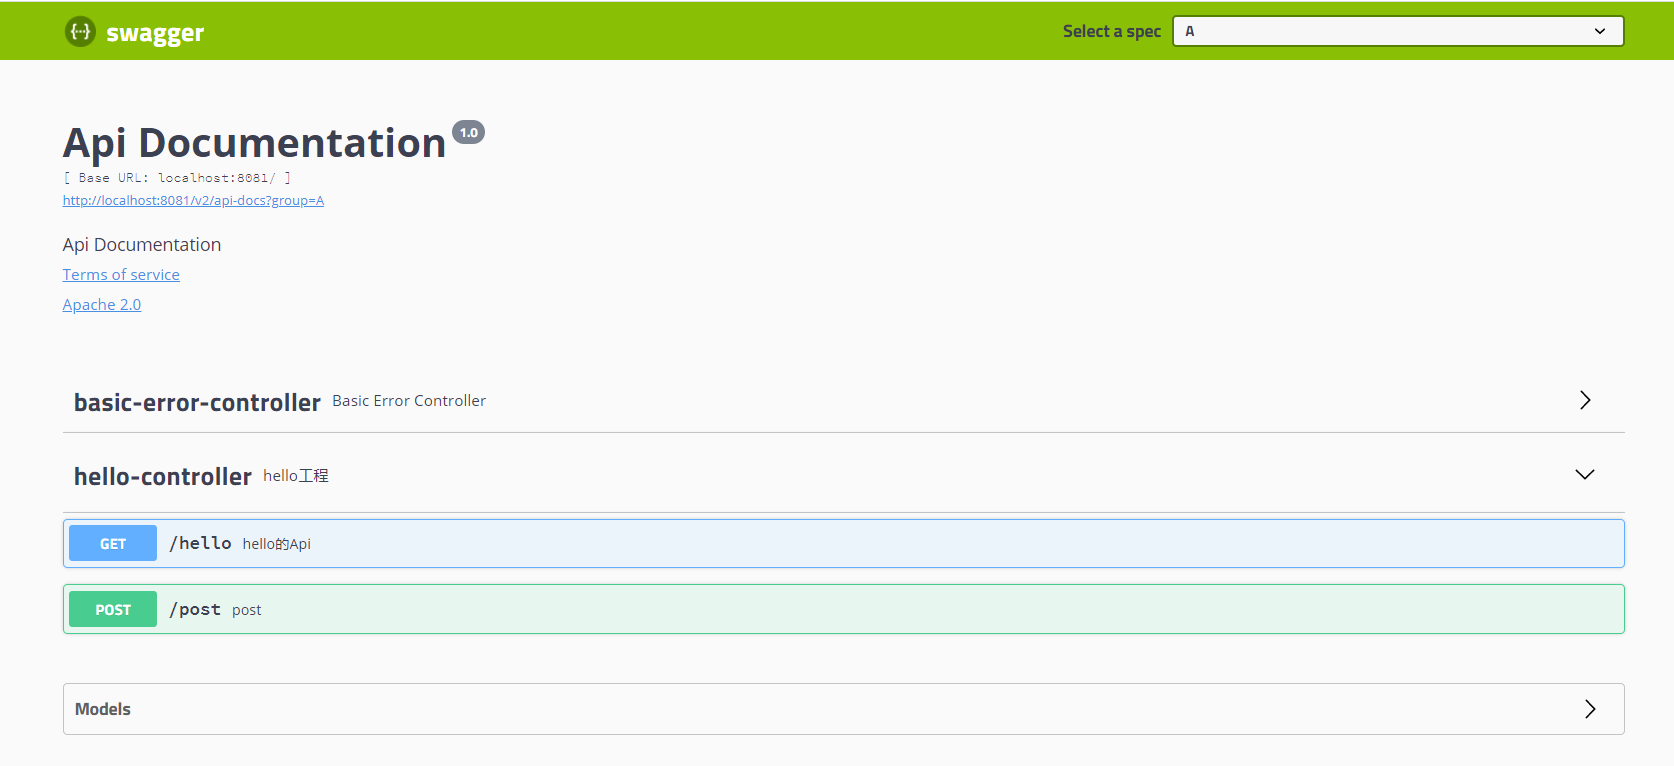
它默认会扫描,我们项目下面的所有controller和bean层,帮助我们直接生成文档。
controller部分代码如下:
@RestController
@Api(description = "hello工程")
public class HelloController {@GetMapping("/hello")@ApiOperation("hello的Api")public String hello(@ApiParam("用户名") String username){return "hello " + username;}@PostMapping("/post")public String post(String username, @RequestParam String password){return "hello " + username + ", " + password;}}
2. 注解使用
通过使用注解,可以让swagger上显示的信息更加语义化,减少沟通的成本。
2.1 用于注解pojo的两个:
@ApiModel(description = Content类描述)
public class Content {
@ApiModelProperty(标题)
private String title;
实例:
@Data
@AllArgsConstructor
@NoArgsConstructor
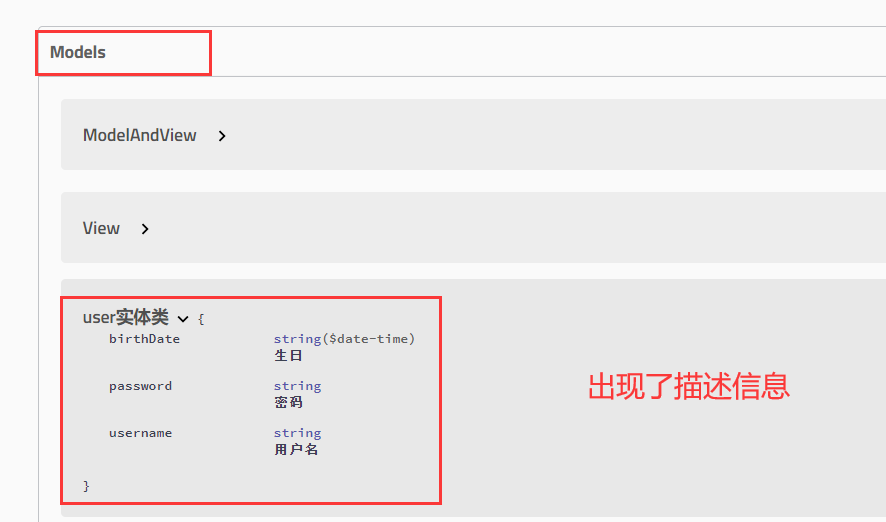
@ApiModel("user实体类")
public class User {@ApiModelProperty("用户名")private String username;@ApiModelProperty("密码")private String password;@ApiModelProperty("生日")private Date birthDate;
}
swagger运行效果:
2.2 用于控制器类的3个
@Api(tags = {Index控制器}) // tags是对Controller的接口重新分类
@Controller
public class IndexController {@ApiOperation(getContent方法)@GetMapping("/test")@ResponseBodypublic Content getContent(@ApiParam(名字) @RequestParam String name) {
本文来自互联网用户投稿,文章观点仅代表作者本人,不代表本站立场,不承担相关法律责任。如若转载,请注明出处。 如若内容造成侵权/违法违规/事实不符,请点击【内容举报】进行投诉反馈!