用Microsoft Speech制成的朗读文本的类(C#)

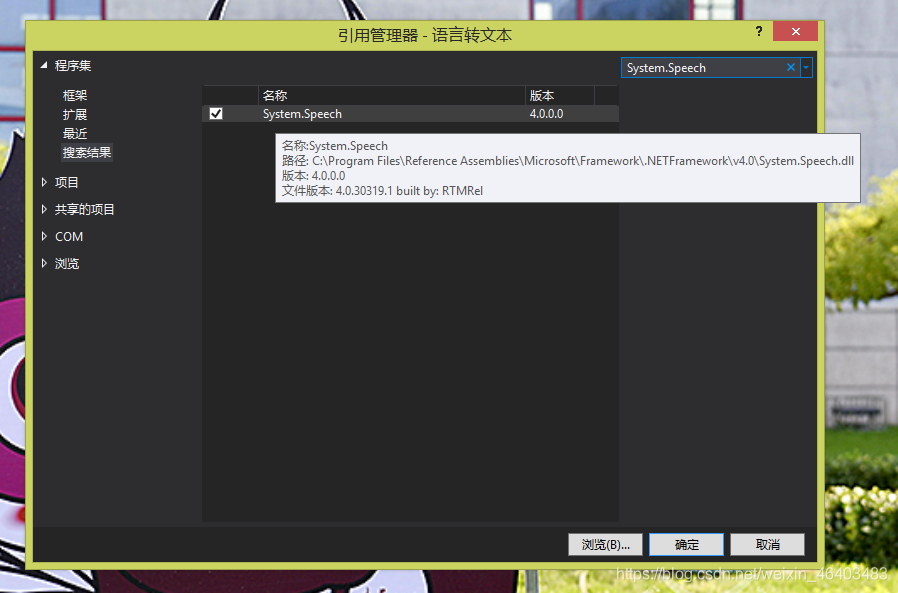
这是用Windows自带的Microsoft Speech引用做成的,使用前要先添加System.Speech的引用,然后导入头文件System.Speech.Synthesis
在这里插入图片描述

/// /// 用Microsoft Speech制成的类/// public class Speech{SpeechSynthesizer speech = new SpeechSynthesizer();/// /// 文字转语言/// /// 要朗读的文本/// 音量(0~100)/// 语速(-10~10)public void Say(string say = "文字转语言", int volume = 100, int yusu = 0){speech.Volume = volume; // 设置音量speech.Rate = yusu;     // 设置语速speech.SetOutputToDefaultAudioDevice();speech.Speak(say);      // 朗读文本speech.Dispose();       // 释放资源}/// /// 将朗读文本转为WAV文件/// /// 保存位置/// 要朗读的文本/// 音量(0~100)/// 语速(-10~10)public void Save(string path, string saythings = "文字转语言", int volume = 100, int yusu=0){speech.SetOutputToWaveFile(path);        // 保存位置speech.Rate = yusu;                      // 设置语速speech.Volume = volume;                  // 设置音量speech.Speak(saythings);            // 读文本speech.SetOutputToDefaultAudioDevice();}}

朗读文本的调用方法:

Speech speech = new Speech();
speech.Say("朗读文本", 100, 0);
// 其中“"朗读文本"”是要朗读的文本,
// “100”是朗读的音量,从0到100,注意是int类型
// “0”是朗读的语速,范围从-10到10,注意是int类型

保存音频文件的调用方法:

Speech speech = new Speech();
speech.Save("保存路径","朗读文本", 100, 0);
// 其中“"保存路径"”是把音频文件保存的路径
// “"朗读文本"”是要朗读的文本,
// “100”是朗读的音量,从0到100,注意是int类型
// “0”是朗读的语速,范围从-10到10,注意是int类型

实例代码:

/* ************************************************************************* 程序信息:                                                           **     更改/修改时间:2020年7月24日19:37:16                             **     作者:gfdgd xi                                                   **     调试平台:Visual Studio 2019 Professional 以及 Windows 8.1       **     程序目的:通过 Windows 自带的 Speech 来朗读文本                  **************************************************************************/
// 导入头文件
using System;
using System.Windows.Forms;
using System.Speech.Synthesis; // 重点是这个头文件!要加入“System.Speech”的引用
// using System.Collections.Generic;
// using System.ComponentModel;
// using System.Data;
// using System.Drawing;
// using System.Linq;
// using System.Text;
// 这些头文件和程序没什么关系,所以就注释掉了namespace 语言转文本 // 命名空间
{public partial class Form1 : Form{public Form1() // 实例化程序{InitializeComponent();}/// /// 用Microsoft Speech制成的类/// public class Speech{SpeechSynthesizer speech = new SpeechSynthesizer();/// /// 文字转语言/// /// 要朗读的文本/// 音量(0~100)/// 语速(-10~10)public void Say(string say = "文字转语言", int volume = 100, int yusu = 0){speech.Volume = volume; // 设置音量speech.Rate = yusu;     // 设置语速speech.SetOutputToDefaultAudioDevice();speech.Speak(say);      // 朗读文本speech.Dispose();       // 释放资源}/// /// 将朗读文本转为WAV文件/// /// 保存位置/// 要朗读的文本/// 音量(0~100)/// 语速(-10~10)public void Save(string path, string saythings = "文字转语言", int volume = 100, int yusu=0){speech.SetOutputToWaveFile(path);        // 保存位置speech.Rate = yusu;                      // 设置语速speech.Volume = volume;                  // 设置音量speech.Speak(saythings);            // 读文本speech.SetOutputToDefaultAudioDevice();}}private void button1_Click(object sender, EventArgs e){Speech speech = new Speech();speech.Say(textBox1.Text, trackBar1.Value, trackBar2.Value); // 播放音频}private void button2_Click(object sender, EventArgs e){if(saveFileDialog1.ShowDialog()==DialogResult.OK)// 如果用户在另存为对话框点击了“确定”{Speech speech = new Speech();speech.Save(saveFileDialog1.FileName, textBox1.Text, trackBar1.Value, trackBar2.Value); // 另存为音频MessageBox.Show("保存完成!", "提示", MessageBoxButtons.OK, MessageBoxIcon.Information); // 完成后提示结果}}}
}

在这里插入图片描述


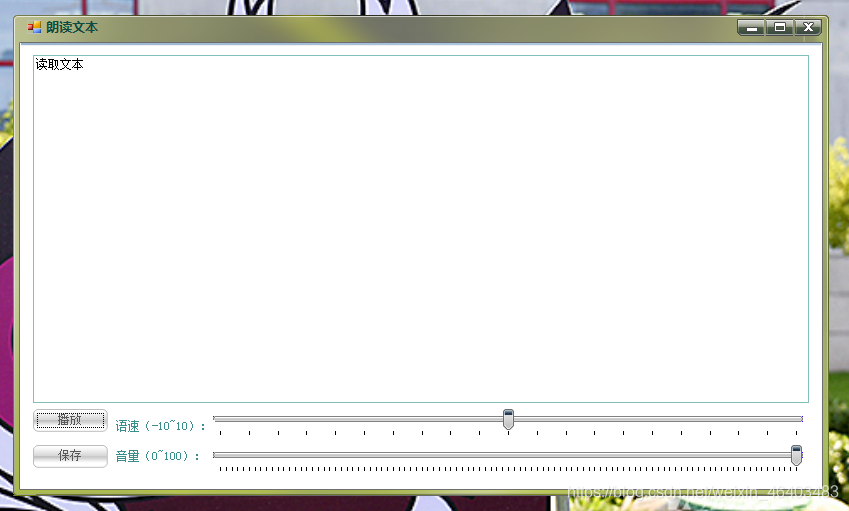
本文来自互联网用户投稿,文章观点仅代表作者本人,不代表本站立场,不承担相关法律责任。如若转载,请注明出处。 如若内容造成侵权/违法违规/事实不符,请点击【内容举报】进行投诉反馈!

相关文章

立即
投稿

微信公众账号

微信扫一扫加关注

返回
顶部