基于 MediaPipe 的图像去背
环境
windows 10 64bit
mediapipe 0.8.11
简介
本篇介绍另一个图片、视频和摄像头图像背景去除的开源项目,该项目基于 mediapipe 机器学习框架,主要封装了 FaceDetection 和 SelfieSegmentation,除此之外,还提供了像人脸检测和图像素描化的实例,很有参考价值。
安装
第一步去拉取源码
git clone https://github.com/pythonlessons/background_removal.git
cd background_removal
安装所有依赖
pip install -r requirements.txt如果机器中有 nvidia 的 gpu,就安装 onnxruntime-gpu 来代替 onnxruntime
测试
三个主要功能,我们一一来看
去背换背
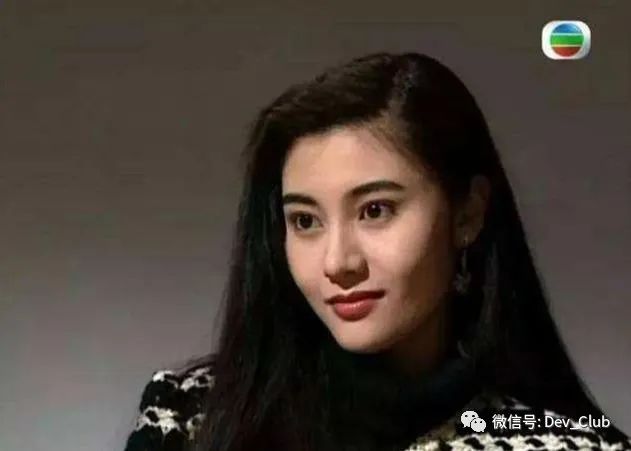
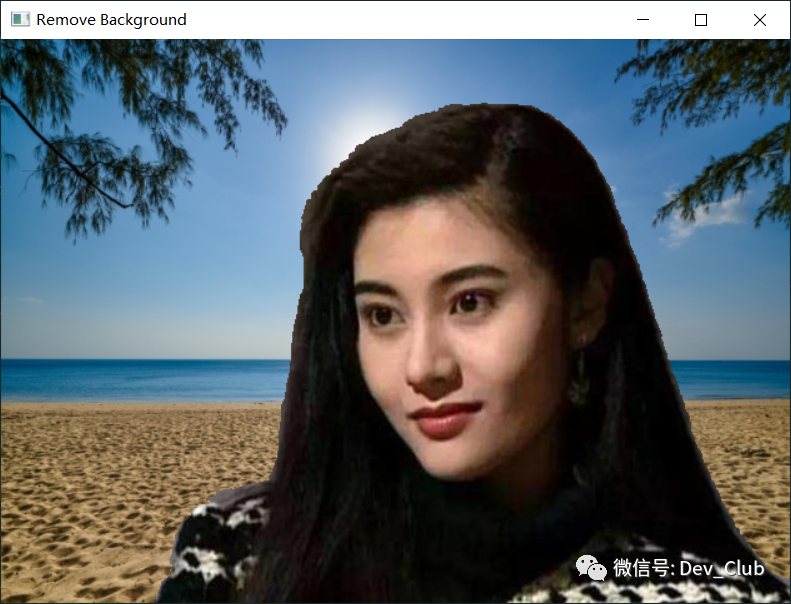
准备一张图片,来看看去除背景、替换背景的功能
from utils import FPSmetric
from selfieSegmentation import MPSegmentation
from engine import Engineif __name__ == '__main__':fpsMetric = FPSmetric()segmentationModule = MPSegmentation(threshold=0.3, bg_images_path='', bg_blur_ratio=(45, 45))selfieSegmentation = Engine(image_path='data/lijiaxin.jpg', show=True, custom_objects=[segmentationModule,])selfieSegmentation.run()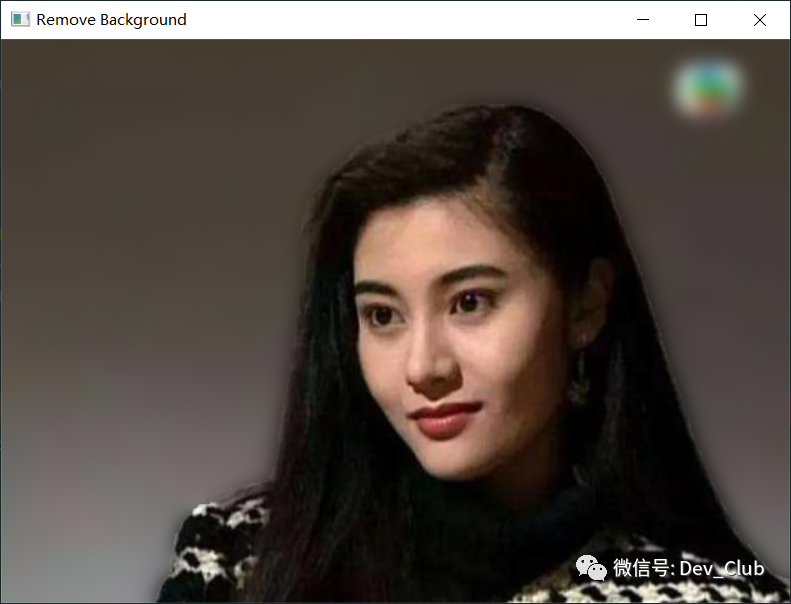
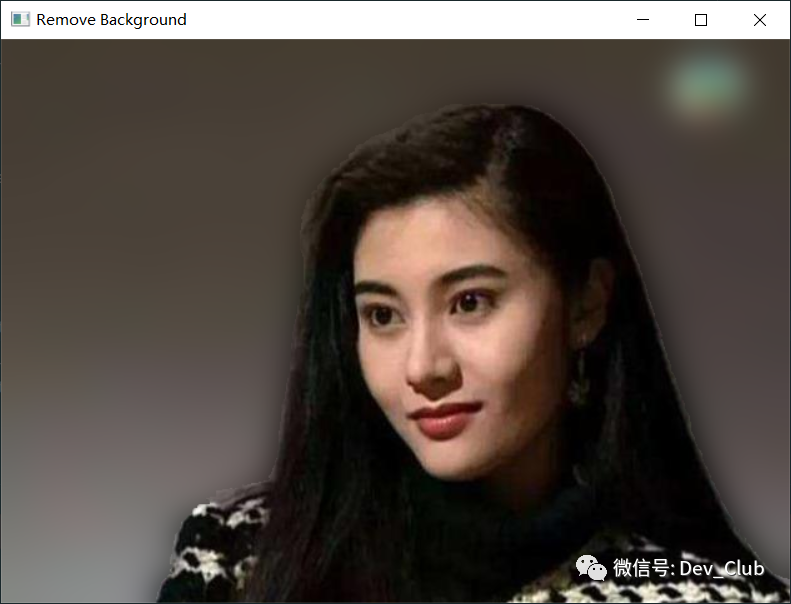
其中,MPSegmentation 中的参数 bg_blur_ratio 对应的是 cv2.GaussianBlur 中的 ksize,值越大,图像越模糊,下图是 bg_blur_ratio 为 (89,89) 的效果,这个值必须是奇数
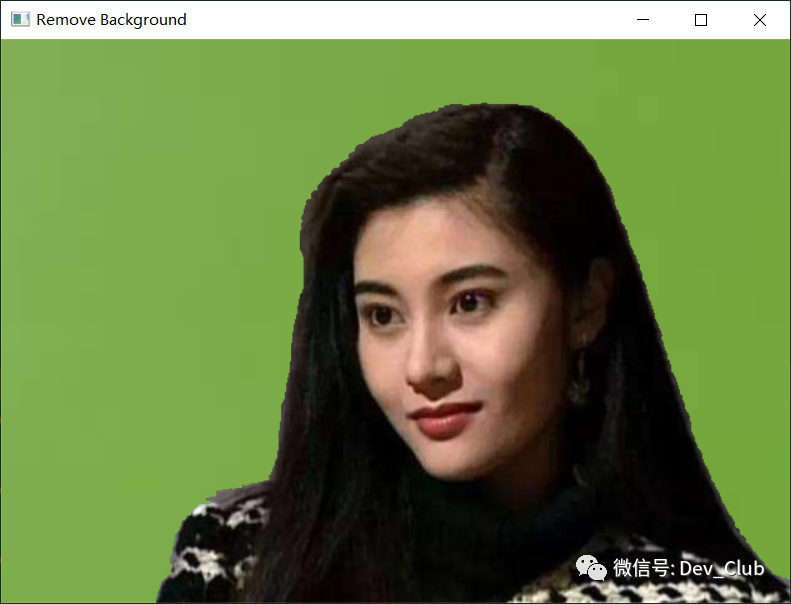
如果需要指定背景的话,可以在参数 bg_images_path 中指定背景所在的文件夹
通过参数 video_path 来指定待处理的视频文件
selfieSegmentation = Engine(video_path='data/test.mp4', show=True, custom_objects=[segmentationModule,])selfieSegmentation.run()通过参数 webcam_id 来使用特定的摄像头,多个摄像头通过不同的 id 来区分
selfieSegmentation = Engine(webcam_id=0, show=True, custom_objects=[segmentationModule,])selfieSegmentation.run()作者封装了一个 fps 相关的类 FPSmetric,需要使用的话,在 custom_objects 列表中加入
fpsMetric = FPSmetric()
selfieSegmentation = Engine(video_path='test.mp4', show=True, custom_objects=[segmentationModule, fpsMetric])
人脸检测
MPFaceDetection 封装的是 mediapipe 中的 FaceDetection,使用它可以进行人脸检测
from utils import FPSmetric
from faceDetection import MPFaceDetection
from engine import Engineif __name__ == '__main__':fpsMetric = FPSmetric()mpFaceDetector = MPFaceDetection()selfieSegmentation = Engine(video_path='test.mp4', show=True, custom_objects=[mpFaceDetector, fpsMetric])selfieSegmentation.run()
图像素描化
作者利用 opencv 实现了一个简单的图像素描化的效果,对应的类是 PencilSketch,其大致的工作流程如下
灰度化图像
颜色倒置,即 255 - 灰度值
使用
cv2.GaussianBlur进行模糊化处理在模糊化和灰度图上应用颜色减淡混合模式(
Colour Dodge blending mode)
PencilSketch 类的使用跟上面提到的 FPSmetric 类似
from pencilSketch import PencilSketch
from engine import Engineif __name__ == '__main__':pencilSketch = PencilSketch(blur_simga=5)selfieSegmentation = Engine(image_path='data/lijiaxin.jpg', show=True, custom_objects=[pencilSketch])selfieSegmentation.run()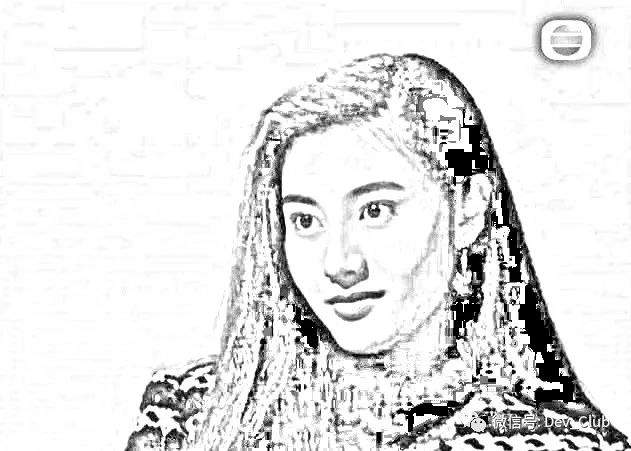
视频文件和摄像头数据的处理跟上面去背示例的用法是一样,就不再赘述了。
参考资料
backgroundremover去背
rembg去背
BackgroundMattingV2去背
本文来自互联网用户投稿,文章观点仅代表作者本人,不代表本站立场,不承担相关法律责任。如若转载,请注明出处。 如若内容造成侵权/违法违规/事实不符,请点击【内容举报】进行投诉反馈!