【Vue】nginx上线Vue前端项目(Windows / Ubuntu / Docker / Racher / ImageSOP / CI)--20230627
ImageSOP
1.下载最近nginx镜像
docker pull nginx
2.build第二版
docker build -t seasonzhang/vue_nginx:0.1 .
3,nginx转发镜像,commit第三版正式vue镜像
修改nginx转发配置default.conf
docker commit 13e646a2d91c3c099b256b74887d96651 seasonzhang/training_dashboard_vue_nginx_final:0.1
docker push seasonzhang/training_dashboard_vue_nginx_final:0.1
4.build django镜像
docker build -t seasonzhang/training_dashboard:2.1.2 .
docker push seasonzhang/training_dashboard:2.1.2
5.公司电脑拉取第三版正式vue镜像和django镜像
docker pull seasonzhang/training_dashboard_vue_nginx_final:0.1
docker pull seasonzhang/training_dashboard:2.1.2
6.公司电脑推送harbor
docker tag 44a20dfa0d30 harbor-k8s.wzs.wistron.com.cn/season/training_dashboard_vue_nginx_final:0.1
docker push harbor-k8s.wzs.wistron.com.cn/season/training_dashboard_vue_nginx_final:0.1
docker tag 44a20dfa0d30 harbor-k8s.wzs.wistron.com.cn/season/training_dashboard:2.1.2
docker push harbor-k8s.wzs.wistron.com.cn/season/training_dashboard:2.1.2
112-尚品汇-尚硅谷-nginx反向代理
我的实践(windows)
1.打包 npm run build
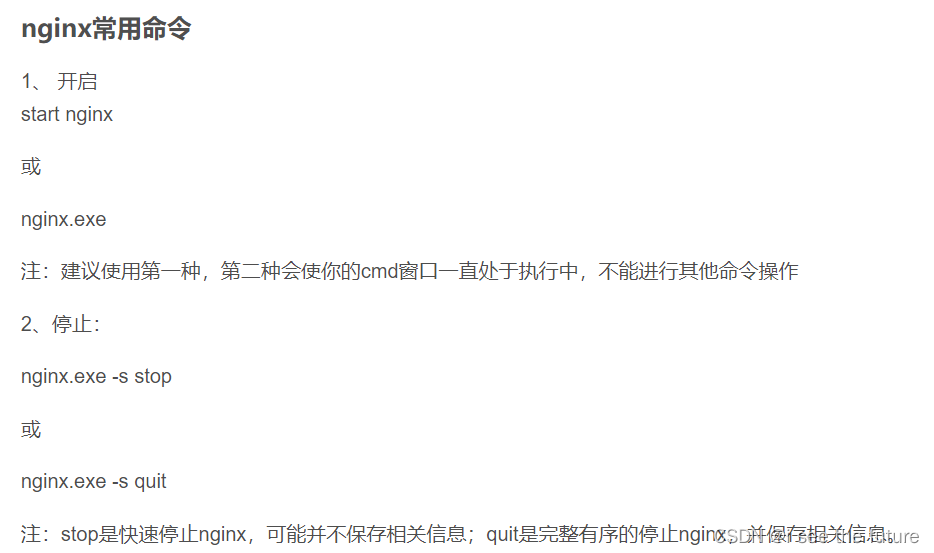
2.下载nginx
https://blog.csdn.net/GyaoG/article/details/124081770
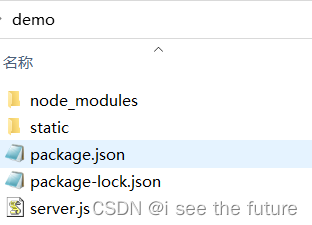
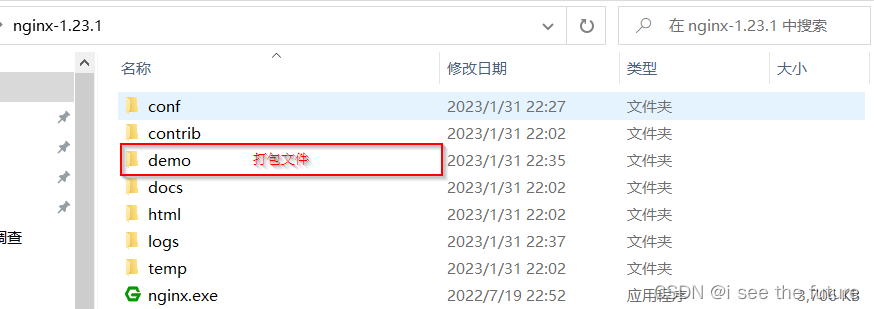
3.拷贝打包文件到nginx
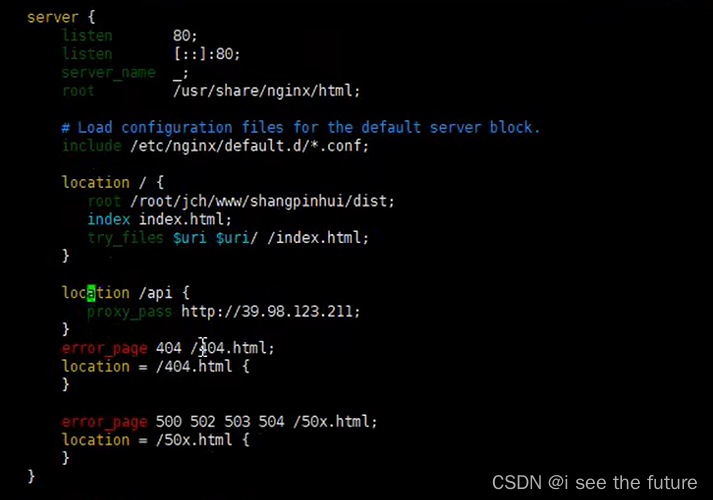
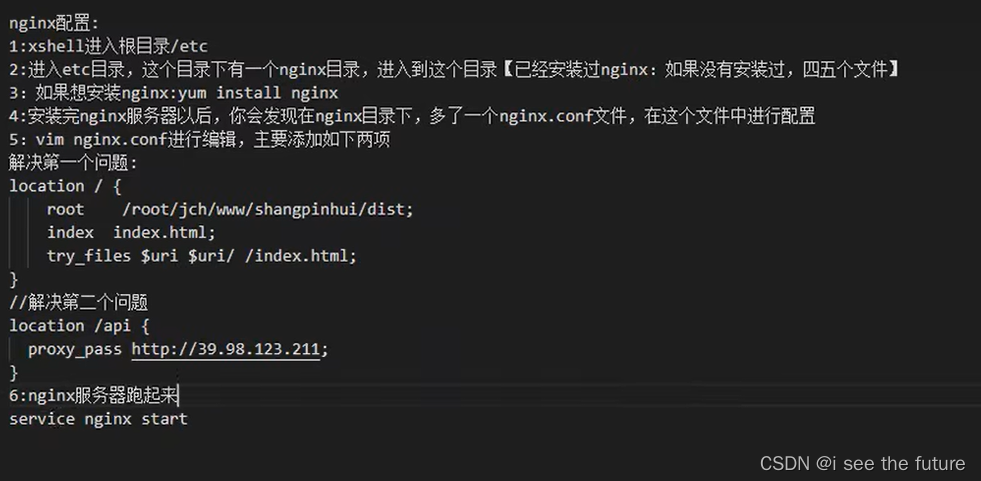
4.修改nginx配置nginx.conf
#user  nobody;
worker_processes  1;#error_log  logs/error.log;
#error_log  logs/error.log  notice;
#error_log  logs/error.log  info;#pid        logs/nginx.pid;events {worker_connections  1024;
}http {include       mime.types;default_type  application/octet-stream;#log_format  main  '$remote_addr - $remote_user [$time_local] "$request" '#                  '$status $body_bytes_sent "$http_referer" '#                  '"$http_user_agent" "$http_x_forwarded_for"';#access_log  logs/access.log  main;sendfile        on;#tcp_nopush     on;#keepalive_timeout  0;keepalive_timeout  65;#gzip  on;server {listen       5005;server_name  localhost;#charset koi8-r;#access_log  logs/host.access.log  main;location / {root   demo/static;index  index.html index.htm;}location /api {proxy_pass   http://gmall-h5-api.atguigu.cn;}#error_page  404              /404.html;# redirect server error pages to the static page /50x.html#error_page   500 502 503 504  /50x.html;location = /50x.html {root   html;}# proxy the PHP scripts to Apache listening on 127.0.0.1:80##location ~ \.php$ {#    proxy_pass   http://127.0.0.1;#}# pass the PHP scripts to FastCGI server listening on 127.0.0.1:9000##location ~ \.php$ {#    root           html;#    fastcgi_pass   127.0.0.1:9000;#    fastcgi_index  index.php;#    fastcgi_param  SCRIPT_FILENAME  /scripts$fastcgi_script_name;#    include        fastcgi_params;#}# deny access to .htaccess files, if Apache's document root# concurs with nginx's one##location ~ /\.ht {#    deny  all;#}}# another virtual host using mix of IP-, name-, and port-based configuration##server {#    listen       8000;#    listen       somename:8080;#    server_name  somename  alias  another.alias;#    location / {#        root   html;#        index  index.html index.htm;#    }#}# HTTPS server##server {#    listen       443 ssl;#    server_name  localhost;#    ssl_certificate      cert.pem;#    ssl_certificate_key  cert.key;#    ssl_session_cache    shared:SSL:1m;#    ssl_session_timeout  5m;#    ssl_ciphers  HIGH:!aNULL:!MD5;#    ssl_prefer_server_ciphers  on;#    location / {#        root   html;#        index  index.html index.htm;#    }#}}
5.关闭并重新打nginx
https://blog.csdn.net/weixin_42116703/article/details/127482331
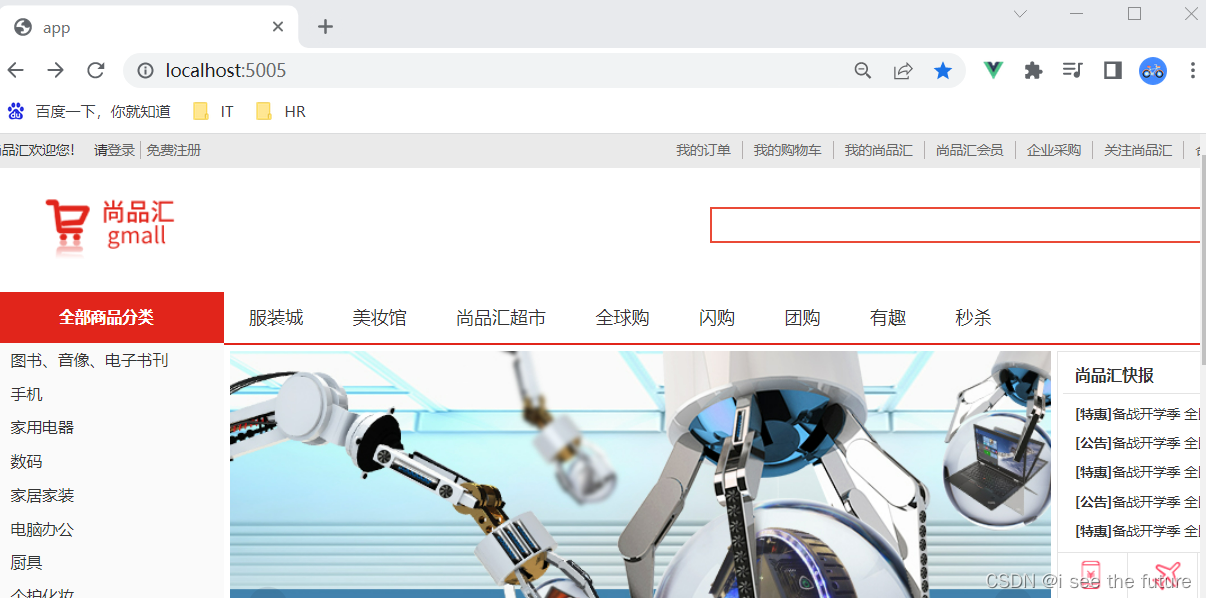
6.效果
我的实践(ubuntu)
1.打包 npm run build
2.下载nginx
sudo apt-get install nginx
3.拷贝打包文件到虚拟机,不用在nginx文件夹中

4.sudo vim修改nginx配置default
1.sudo vim修改nginx配置default
season@ZHS-190213650:/$ ls
bin   dev  home  lib    lib64   lost+found  mnt  proc  run   snap  sys  usr
boot  etc  init  lib32  libx32  media       opt  root  sbin  srv   tmp  var
season@ZHS-190213650:/$ cd etc
season@ZHS-190213650:/etc$ cd nginx
season@ZHS-190213650:/etc/nginx$ ls
conf.d        fastcgi_params  koi-win     modules-available  nginx.conf    scgi_params      sites-enabled  uwsgi_params
fastcgi.conf  koi-utf         mime.types  modules-enabled    proxy_params  sites-available  snippets       win-utf
season@ZHS-190213650:/etc/nginx$ cd sites-available
season@ZHS-190213650:/etc/nginx/sites-available$ sudo vim
[sudo] password for season:
season@ZHS-190213650:/etc/nginx/sites-available$ sudo vim sites-available
season@ZHS-190213650:/etc/nginx/sites-available$ ls
default  sites-available
season@ZHS-190213650:/etc/nginx/sites-available$ sudo vim default
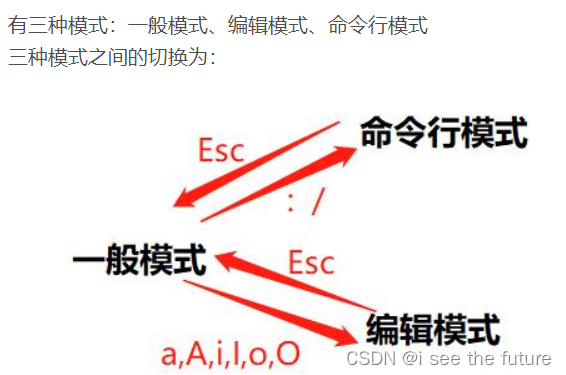
2.Vim指令https://blog.csdn.net/dotdotyy/article/details/120108308
若权限不足,则用sudo vim打开default。
3.default配置(个人觉得配置用windows那一版也可以)
server {listen 5005  default_server;#listen [::]:80 default_server;# SSL configuration## listen 443 ssl default_server;# listen [::]:443 ssl default_server;## Note: You should disable gzip for SSL traffic.# See: https://bugs.debian.org/773332## Read up on ssl_ciphers to ensure a secure configuration.# See: https://bugs.debian.org/765782## Self signed certs generated by the ssl-cert package# Don't use them in a production server!## include snippets/snakeoil.conf;#root /var/www/html;root /home/season/myseason/myfile/dist/static;# Add index.php to the list if you are using PHPindex index.html index.htm index.nginx-debian.html;server_name _;location / {# First attempt to serve request as file, then# as directory, then fall back to displaying a 404.try_files $uri $uri/ =404;}location /api {proxy_pass http://gmall-h5-api.atguigu.cn;}# pass PHP scripts to FastCGI server##location ~ \.php$ {#	include snippets/fastcgi-php.conf;##	# With php-fpm (or other unix sockets):#	fastcgi_pass unix:/var/run/php/php7.4-fpm.sock;#	# With php-cgi (or other tcp sockets):#	fastcgi_pass 127.0.0.1:9000;#}# deny access to .htaccess files, if Apache's document root# concurs with nginx's one##location ~ /\.ht {#	deny all;#}
}# Virtual Host configuration for example.com
#
# You can move that to a different file under sites-available/ and symlink that
# to sites-enabled/ to enable it.
#
#server {
#	listen 80;
#	listen [::]:80;
#
#	server_name example.com;
#
#	root /var/www/example.com;
#	index index.html;
#
#	location / {
#		try_files $uri $uri/ =404;
#	}
#}
5.关闭并重新打nginx
sudo service nginx restart
6.效果(有bug)
很多时候导航列表无法带出,有时候可以带出。不知道bug在哪?可能是网速过慢。建议用5G网段。

我的实践(docker)
https://blog.csdn.net/wenxingchen/article/details/119167860
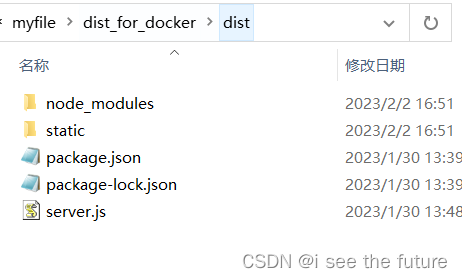
1.打包 npm run build
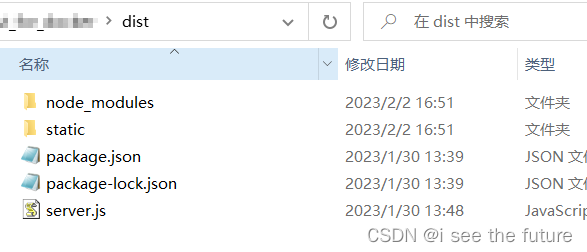
2.拷贝打包文件到虚拟机,不用在nginx文件夹中
3.下载nginx基础镜像(第1个镜像)
docker pull nginx

4.cd到Dockerfile目录下,构建镜像。docker build -t 取个镜像名称 .
使用dockerfile生成包含dist下文件的nginx镜像(第2个镜像)–vue_nginx:0.0
dockerfile
# 设置基础镜像,这里使用最新的nginx镜像,前面已经拉取过了
FROM nginx# 将dist文件中的内容复制到 /usr/share/nginx/html/ 这个目录下面
COPY dist/  /usr/share/nginx/html/
5.启动第2个镜像:vue_nginx
docker run --rm -d -p 9020:80/tcp vue_nginx:0.0
6.使用vscode来修改nginx配置default

default.conf配置
server {listen       80;listen  [::]:80;server_name  localhost;#access_log  /var/log/nginx/host.access.log  main;location / {root   /usr/share/nginx/html/static;index  index.html index.htm;}location /api {proxy_pass   http://gmall-h5-api.atguigu.cn;}#error_page  404              /404.html;# redirect server error pages to the static page /50x.html#error_page   500 502 503 504  /50x.html;location = /50x.html {root   /usr/share/nginx/html;}# proxy the PHP scripts to Apache listening on 127.0.0.1:80##location ~ \.php$ {#    proxy_pass   http://127.0.0.1;#}# pass the PHP scripts to FastCGI server listening on 127.0.0.1:9000##location ~ \.php$ {#    root           html;#    fastcgi_pass   127.0.0.1:9000;#    fastcgi_index  index.php;#    fastcgi_param  SCRIPT_FILENAME  /scripts$fastcgi_script_name;#    include        fastcgi_params;#}# deny access to .htaccess files, if Apache's document root# concurs with nginx's one##location ~ /\.ht {#    deny  all;#}
}
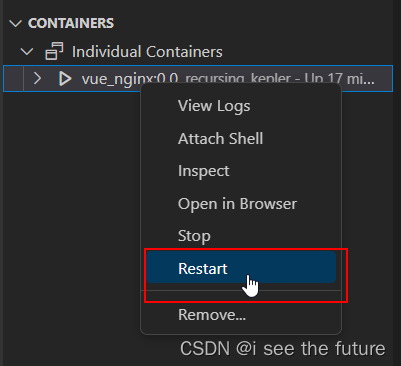
7.启动第二个镜像来检查nginx配置default是否正确。如能正常访问网页,则进行下一步。
vscode 中选中容器,restart该容器。
8.重新构建改完配置的nginx镜像(第三个镜像)
https://blog.csdn.net/weixin_41790086/article/details/102932185
docker commit [选项] <容器ID或容器名> [<仓库名>[:<标签>]]
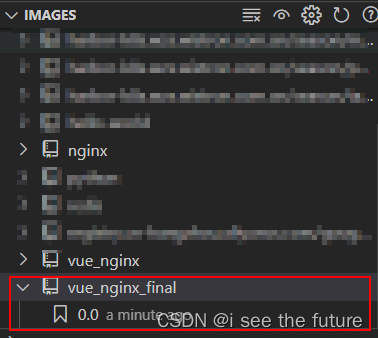
docker commit 6e2464e03c33d8c8d18927159fdcd9765e448fc1d89c7 vue_nginx_final:0.0
生成镜像如下图:
9.启动第三个镜像生成容器
docker run --rm -d -p 9020:80/tcp vue_nginx_final:0.0
10.效果

我的实践(Racher)
1.上传镜像到harbor
docker tag 44a20dfa0d30 harbor-k8s..com.cn/season/vue_nginx_final:0.0
docker push harbor-k8s..com.cn/season/vue_nginx_final:0.0

2.设置workload

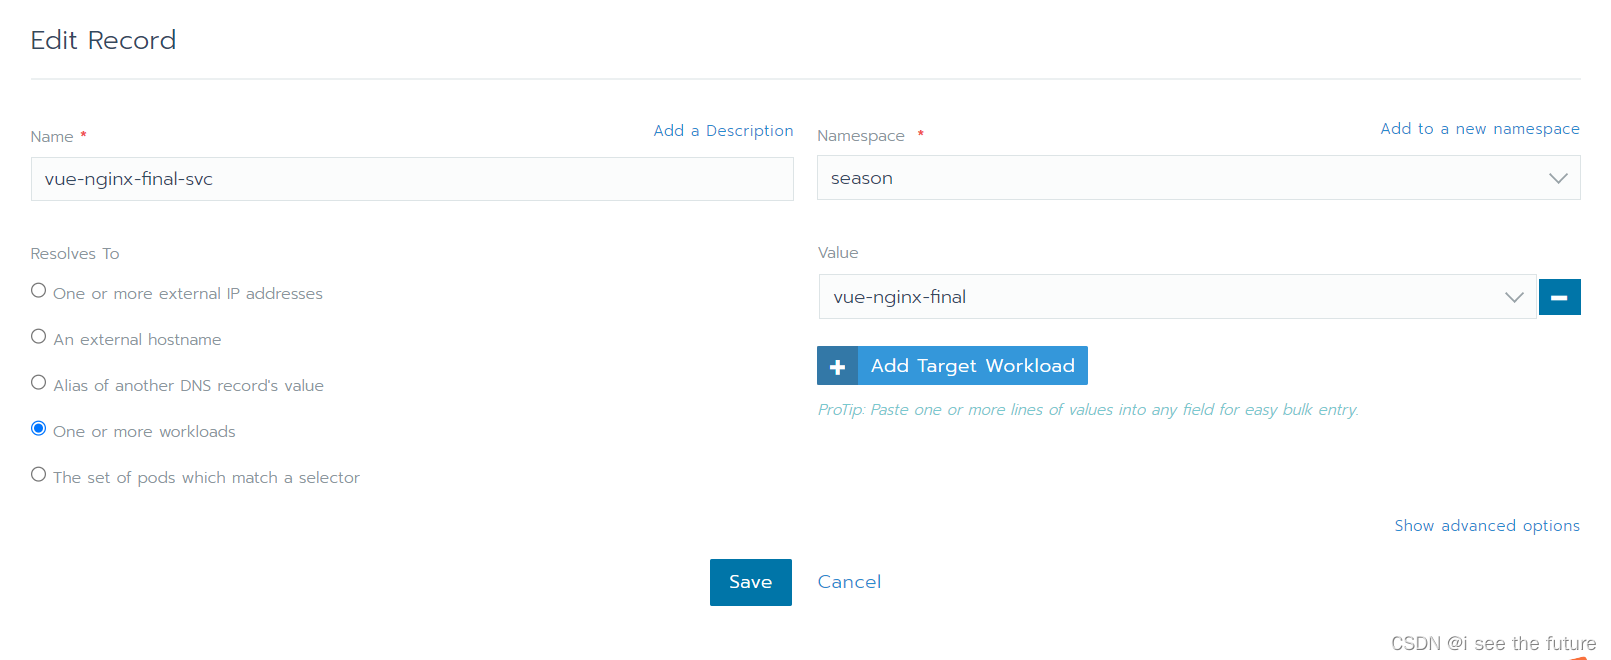
3.设置svc
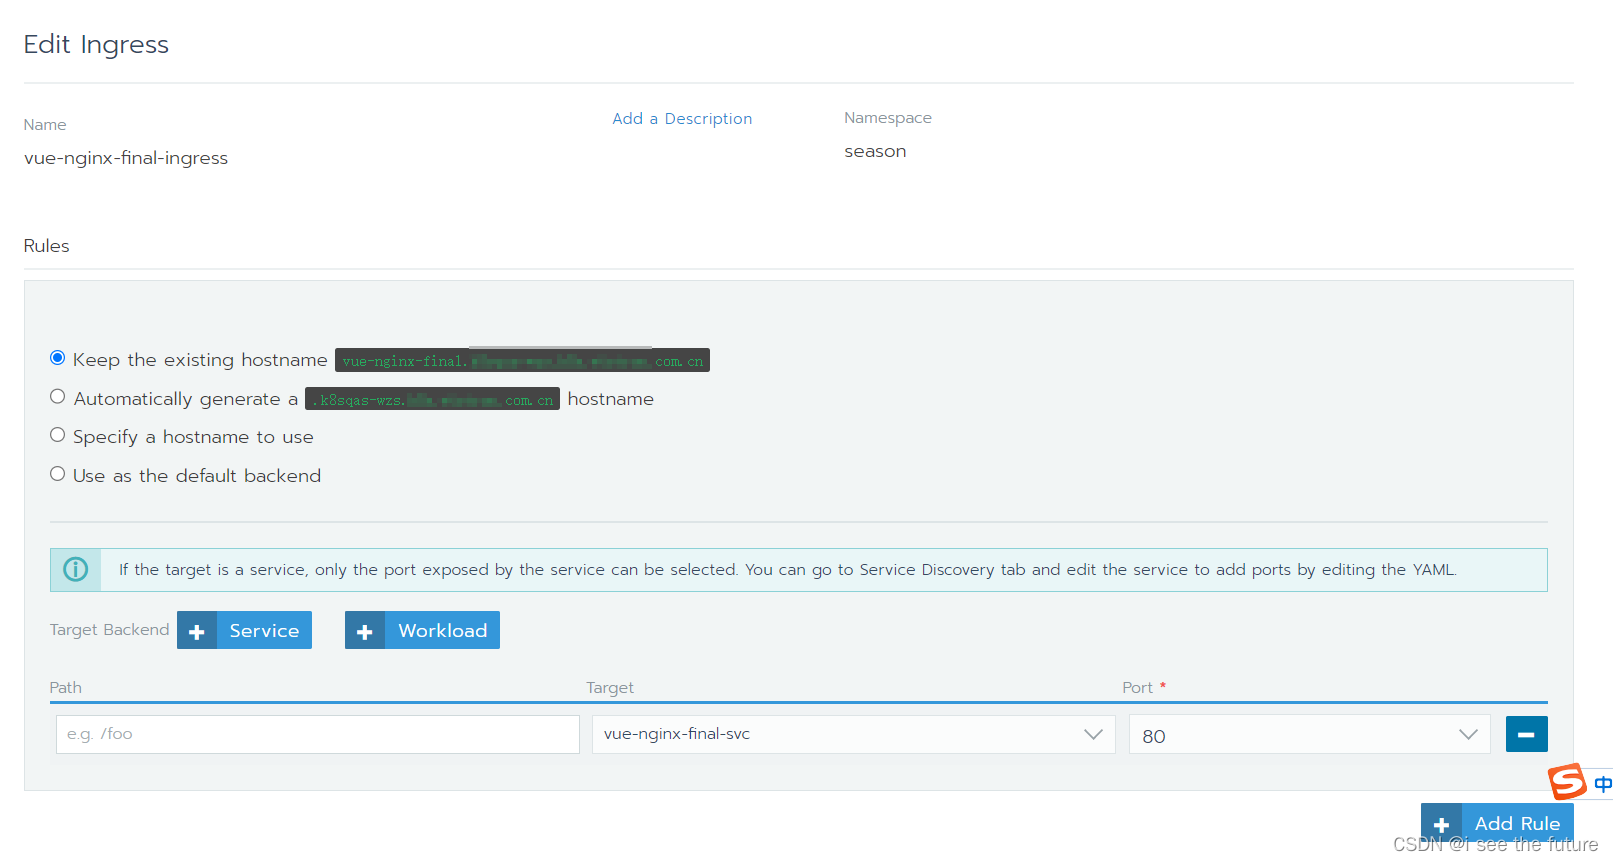
4.设置ingress
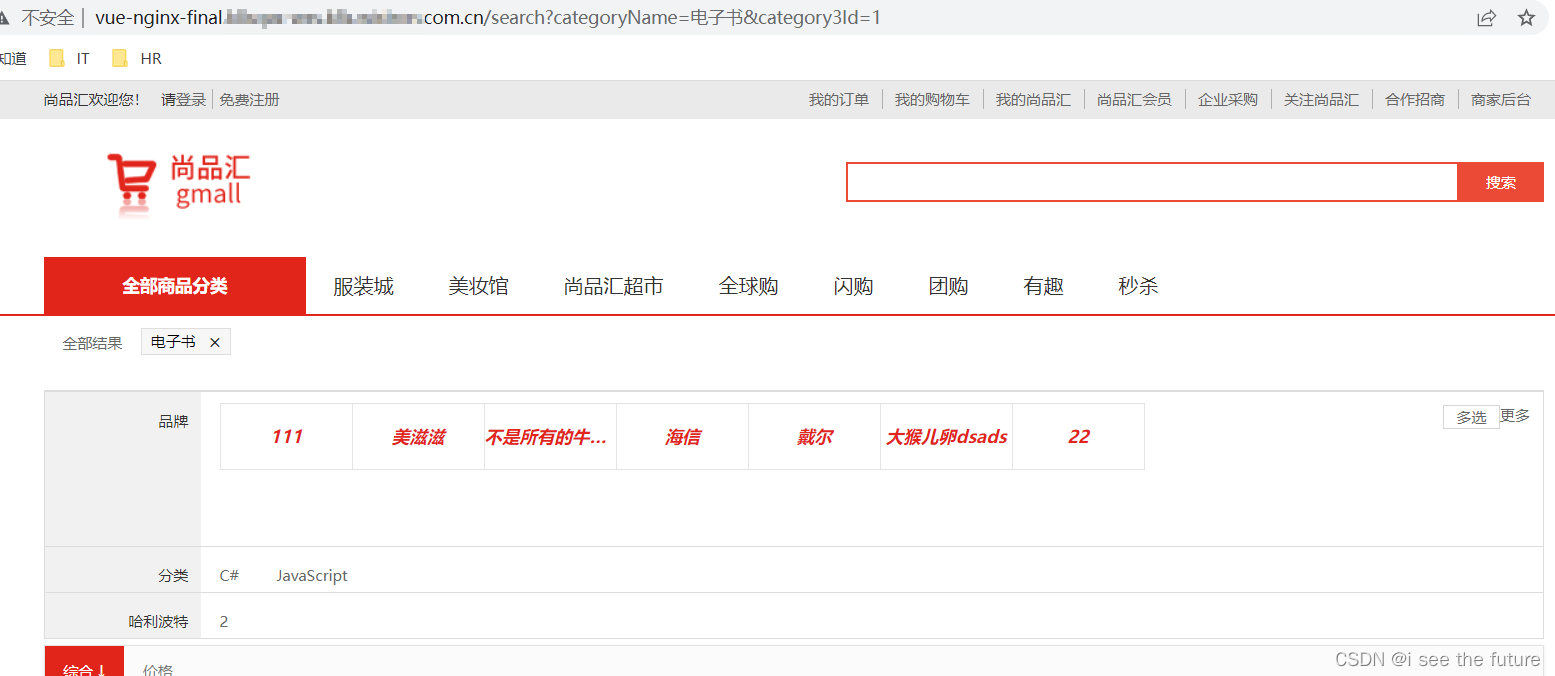
5.效果
我的实践(CI)
1.打包 npm run build,产生dist文件
2.将dist文件的内容拷贝到static下面。不用在nginx文件夹中
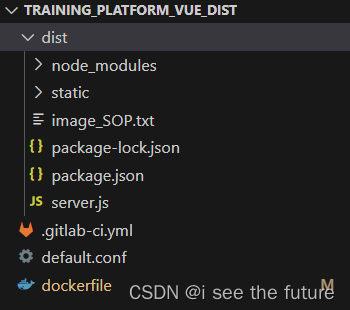
3.编写nginx配置
default.conf
server {listen 80;listen [::]:80;server_name localhost;location / {root /usr/share/nginx/html/static/;index index.html index.htm;}location /dlt {proxy_pass https://dltapi.wistron.com;}location /auth {proxy_pass https://authdwt.wistron.com;}location /api {proxy_pass http://training-platform-django.k8sprd-wzs.k8s.wistron.com.cn;}error_page 500 502 503 504 /50x.html;location = /50x.html {root /usr/share/nginx/html;}}4.编写dockerfile
dockerfile
# 设置基础镜像,这里使用最新的nginx镜像,前面已经拉取过了
FROM nginx# 将dist文件中的内容复制到 /usr/share/nginx/html/ 这个目录下面
COPY dist/  /usr/share/nginx/html/# 修改nginx配置
COPY default.conf etc/nginx/conf.d/default.conf
5.编写.gitlab-ci.yml
.gitlab-ci.yml
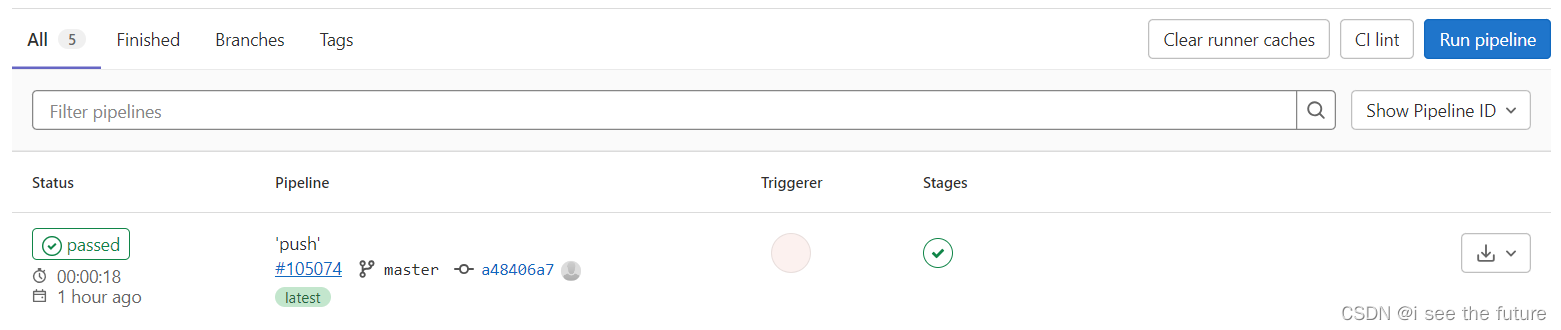
variables:DOCKER_IMAGE_NAME: training_platform_vue_distDOCKER_IMAGE_TAG: 0.0.0services:- name: harbor-k8s.wzs.wistron.com.cn/base_image/docker:stableentrypoint: []command: ["--insecure-registry=harbor-k8s.wistron.com.cn"]stages:- docker_builddocker-build:image: harbor-k8s.wzs.wistron.com.cn/base_image/docker:stablestage: docker_buildtags: - wzs-runner01script:- docker info- echo $DOCKER_IMAGE_NAME- echo $DOCKER_IMAGE_TAG- docker build -t $DOCKER_IMAGE_NAME:$DOCKER_IMAGE_TAG .- docker tag $DOCKER_IMAGE_NAME:$DOCKER_IMAGE_TAG harbor-k8s.wzs.wistron.com.cn/season/$DOCKER_IMAGE_NAME:$DOCKER_IMAGE_TAG- echo "$HARBOR_PASSWORD" | docker login -u "$HARBOR_USER" --password "$HARBOR_PASSWORD" harbor-k8s.wzs.wistron.com.cn- docker push harbor-k8s.wzs.wistron.com.cn/season/$DOCKER_IMAGE_NAME:$DOCKER_IMAGE_TAG6.Gitlab配置CICD,并git push启动CI
本文来自互联网用户投稿,文章观点仅代表作者本人,不代表本站立场,不承担相关法律责任。如若转载,请注明出处。 如若内容造成侵权/违法违规/事实不符,请点击【内容举报】进行投诉反馈!