SpringBoot连接RabbitMQ集群
本案例中使用的是普通模式来连接RabbitMQ集群
需要导入的依赖:
<dependency><groupId>org.springframework.bootgroupId><artifactId>spring-boot-starter-amqpartifactId>dependency><dependency><groupId>org.springframework.bootgroupId><artifactId>spring-boot-starter-webartifactId>dependency>
properties文件的配置:
#配置RabbitMQ的消息(集群模式)
spring.rabbitmq.addresses=192.168.79.128:5672,192.168.79.135:5672
spring.rabbitmq.username=admin
spring.rabbitmq.password=123456
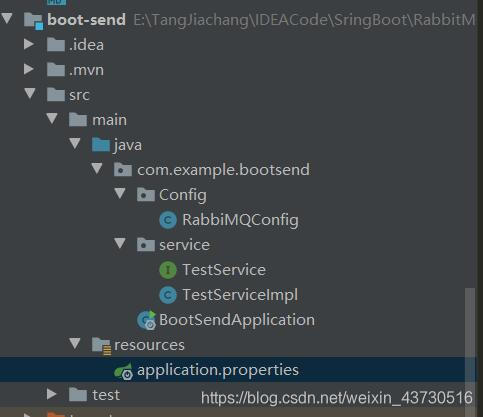
发送方:
项目目录 :
TestServiceImpl:
@Service("sendService")
public class TestServiceImpl implements TestService {/**注入AMQP模板类* 利用这个对象来发送和接收消息* */@Resourceprivate AmqpTemplate amqpTemplate;@Overridepublic void sendTopicMessage(String Message) {amqpTemplate.convertAndSend("topicExchange","aa.bb",Message);}
}
RabbiMQConfig:
@Configuration
public class RabbiMQConfig {/**配置Topic交换机* */@Beanpublic TopicExchange topicExchange(){return new TopicExchange("topicExchange");}
}
BootSendApplication:
@SpringBootApplication
public class BootSendApplication {public static void main(String[] args) {SpringApplication application = new SpringApplication(BootSendApplication.class);ConfigurableApplicationContext context = application.run(args);TestService service = context.getBean(TestService.class);service.sendTopicMessage("topic类型交换机的测试消息");}
}
接收方:
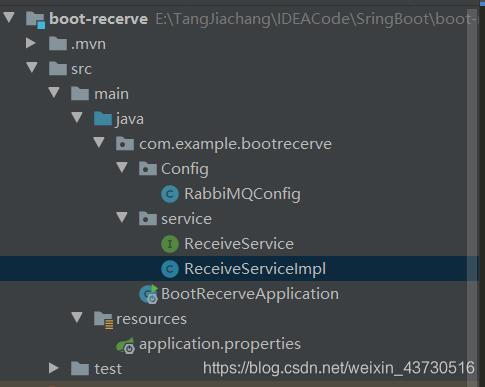
除了RecerveServiceImpl文件外,其他文件消息和发送方一致。
ReceiveServiceImpl:
@Service("receiveService")
public class ReceiveServiceImpl implements ReceiveService {@RabbitListener(bindings = {@QueueBinding(value = @Queue("topic01"),key = {"aa"},exchange = @Exchange(name = "topicExchange",type = "topic"))})public void topicReceive01(String message){System.out.println("topic接收到的消息:  "+message+" key: aa");}@RabbitListener(bindings = {@QueueBinding(value = @Queue("topic02"),key = {"aa.*"},exchange = @Exchange(name = "topicExchange",type = "topic"))})public void topicReceive02(String message){System.out.println("topic接收到的消息:  "+message+" key: aa.*");}@RabbitListener(bindings = {@QueueBinding(value = @Queue("topic03"),key = {"aa.#"},exchange = @Exchange(name = "topicExchange",type = "topic"))})public void topicReceive03(String message){System.out.println("topic接收到的消息:  "+message+" key: aa.#");}
}
运行结果:

本案例发送方的RoutdingKey是aa.bb,与topic类型的交换机原理得出结果一致。
Topic交换机基本原理
本文来自互联网用户投稿,文章观点仅代表作者本人,不代表本站立场,不承担相关法律责任。如若转载,请注明出处。 如若内容造成侵权/违法违规/事实不符,请点击【内容举报】进行投诉反馈!