SpringBoot+SpringSecurity+Angular6简单的登录控制权限控制Demo(二)
SpringBoot+SpringSecurity+Angular6简单的登录控制权限控制Demo(二)
- SpringBoot+SpringSecurity+Angular6简单的登录控制权限控制Demo(二)
- 1.angularJS 与 angular 的区别
- 2.项目初始化
- 3.页面设计
- 4.一级路由,登录和index组件
- 5.Header和NavBar
- (1)Header
- (2)NavBar
- (3) index组件
- (4)效果
- (5)添加其他组件
- 6.login组件
- 6.结语
SpringBoot+SpringSecurity+Angular6简单的登录控制权限控制Demo(二)
接上一篇 https://blog.csdn.net/cepto/article/details/85331386
有了后端服务器,接下来就是编写我们的angular6前端项目了
1.angularJS 与 angular 的区别
angularJS是初代 angular是2代以后的称呼,他们的区别可以用两个不同的框架来形容了,所以新手同学一定要注意区别,很多东西不能通用。
PS.编写angular项目老是搜到angularJS的资源真是很难受。
2.项目初始化
我的开发环境是先安装nvm再用nvm安装node9再用npm安装angular6
有了环境后开始创建项目。
这里我的样式单选用了scss可以简化css编写且样式结构更清晰。
[zz@zz-pc security-front]$ ng new security-front --style=scss
然后安装jq和bootstrap
[zz@zz-pc security-front]$ npm i jquery bootstrap
安装好后需要再angular.json中配置一下才能生效
"styles": ["src/styles.scss","./node_modules/bootstrap/dist/css/bootstrap.css"],"scripts": ["./node_modules/jquery/dist/jquery.js","./node_modules/bootstrap/dist/js/bootstrap.js"]
接下来把全局的样式重置一下
styles.scss
/* You can add global styles to this file, and also import other style files */
/* http://meyerweb.com/eric/tools/css/reset/v2.0 | 20110126License: none (public domain)
*/
html, body, div, span, applet, object, iframe,
h1, h2, h3, h4, h5, h6, p, blockquote, pre,
a, abbr, acronym, address, big, cite, code,
del, dfn, em, img, ins, kbd, q, s, samp,
small, strike, strong, sub, sup, tt, var,
b, u, i, center,
dl, dt, dd, ol, ul, li,
fieldset, form, label, legend,
table, caption, tbody, tfoot, thead, tr, th, td,
article, aside, canvas, details, embed,
figure, figcaption, footer, header, hgroup,
menu, nav, output, ruby, section, summary,
time, mark, audio, video {margin: 0;padding: 0;border: 0;font-size: 100%;font: inherit;vertical-align: baseline;
}
/* HTML5 display-role reset for older browsers */
article, aside, details, figcaption, figure,
footer, header, hgroup, menu, nav, section {display: block;
}
body {line-height: 1;
}
ol, ul {list-style: none;
}
blockquote, q {quotes: none;
}
blockquote:before, blockquote:after,
q:before, q:after {content: '';content: none;
}
table {border-collapse: collapse;border-spacing: 0;
}
这样我们的项目初始化工作就做好了。
3.页面设计

对应路由关系

4.一级路由,登录和index组件
首先添加index和login两个组件
[zz@zz-pc security-front]$ ng g c page/login
[zz@zz-pc security-front]$ ng g c page/index
然后添加路由模块
[zz@zz-pc security-front]$ ng g m app-routing --flat --module=app
flat表示不为路由新建单独的文件夹,–module=app表示自动注册到根模块中
app-routing.module.ts
import {NgModule} from '@angular/core';
import {CommonModule} from '@angular/common';
import {LoginComponent} from './page/login/login.component';
import {IndexComponent} from './page/index/index.component';
import {RouterModule, Routes} from "@angular/router";const appRoutes: Routes =[{path: '',component: IndexComponent,            },{path: 'login',component: LoginComponent},];@NgModule({imports: [CommonModule,RouterModule.forRoot(appRoutes)],exports: [RouterModule], // 记得一定要添加这个导出语句declarations: []
})
export class AppRoutingModule {
}
路由模块添加完成后记得把根视图替换成下面代码
app.component.html
<router-outlet>router-outlet>
接下来测试一下
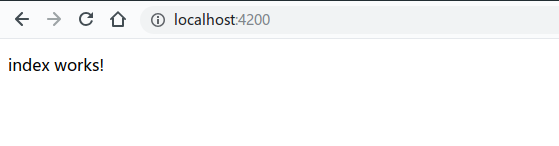
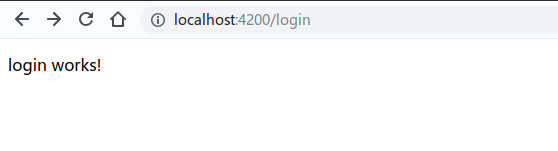
到这里我们的一级路由和其基础组件就完成了
5.Header和NavBar
头部和导航组件是从bootstrap官方文档copy过来的,毕竟美观不是我们的主要目的。
[zz@zz-pc security-front]$ ng g c component/header
[zz@zz-pc security-front]$ ng g c component/navbar
(1)Header
header.component.html
<nav class="navbar navbar-dark bg-dark"><div class="container"><a class="navbar-brand" href="#"><img src="../../../assets/img/bootstrap-solid.svg" width="30" height="30" class="d-inline-block align-top"alt="">Bootstrapa><div class="form-inline sign-in-up"><a href="javascript:void(0)">登出a>div>div>
nav>
header.component.scss
.sign-in-up{color: white;a{color: white;padding: 0 5px;}
}
(2)NavBar
navbar.component.html
<div class="nav flex-column nav-pills" id="v-pills-tab" role="tablist" aria-orientation="vertical"><a class="nav-link active" id="v-pills-home-tab" data-toggle="pill" routerLink="/home" role="tab"aria-controls="v-pills-home" aria-selected="true">Homea><a class="nav-link" id="v-pills-profile-tab" data-toggle="pill" routerLink="/profile" role="tab"aria-controls="v-pills-profile" aria-selected="false">Profilea><a class="nav-link" id="v-pills-messages-tab" data-toggle="pill" routerLink="/messages" role="tab"aria-controls="v-pills-messages" aria-selected="false">Messagesa><a class="nav-link" id="v-pills-settings-tab" data-toggle="pill" routerLink="/settings" role="tab"aria-controls="v-pills-settings" aria-selected="false">Settingsa>
div>
(3) index组件
头部和导航是index组件的一部分,所以我在index组件中规划了他们的位置
index.component.html
<app-header>app-header>
<div class="container"><div class="row"><div class="col-2"><app-navbar>app-navbar>div><div class="col-10"><div class="tab-content"><router-outlet>router-outlet>div>div>div>
div>
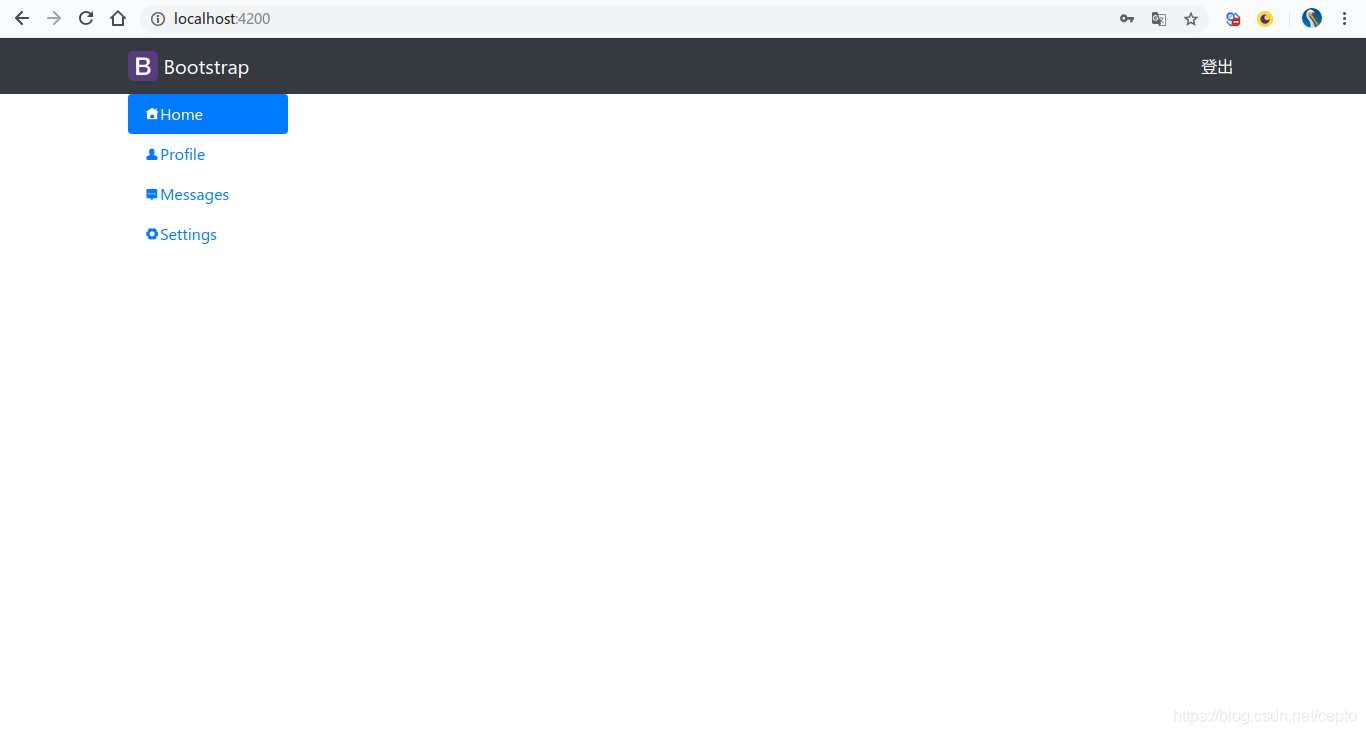
(4)效果
最后大概是个这个效果,
(5)添加其他组件
[zz@zz-pc security-front]$ ng g c page/home
[zz@zz-pc security-front]$ ng g c page/profile
[zz@zz-pc security-front]$ ng g c page/message
[zz@zz-pc security-front]$ ng g c page/setting
在路由中添加这些组件的路由,这些组件将渲染在上节index组件中的二级路由站位标签中
app-routing.module.ts
import {NgModule} from '@angular/core';
import {CommonModule} from '@angular/common';import {RouterModule, Routes} from "@angular/router";import {LoginComponent} from "./page/login/login.component";
import {IndexComponent} from "./page/index/index.component";
import {HomeComponent} from "./page/home/home.component";
import {ProfileComponent} from "./page/profile/profile.component";
import {MessagesComponent} from "./page/messages/messages.component";
import {SettingsComponent} from "./page/settings/settings.component";
import {LoginGuard} from "./auth/login.guard";const appRoutes: Routes =[{path: '',component: IndexComponent,children: [{path: 'home',component: HomeComponent},{path: 'profile',component: ProfileComponent},{path: 'messages',component: MessagesComponent},{path: 'settings',component: SettingsComponent},]},{path: 'login',component: LoginComponent},{path: '**',component: LoginComponent}];@NgModule({imports: [CommonModule,RouterModule.forRoot(appRoutes)],exports: [RouterModule],declarations: []
})
export class AppRoutingModule {
}
6.login组件
登录组件也引用了一些bootstrap的原生样式
login.component.html
<div class="container"><div class="card my-card" style="width: 18rem;"><h1><b>MY-SYSb>h1><div class="form-group"><label for="username">用户名:label><input type="text" class="form-control" id="username" name="username" placeholder="请输入用户名" [(ngModel)]="username">div><div class="form-group"><label for="password">密码:label><input type="password" class="form-control" id="password" name="password" placeholder="请输入密码"[(ngModel)]="password">div><div class="form-check my-check"><input type="checkbox" class="form-check-input" id="exampleCheck1"><label class="form-check-label" for="exampleCheck1">Check me outlabel>div><button type="button" class="btn btn-primary" (click)="doLogin()">登 录button>div>
div>
login.component.scss
.container {margin: 200px auto;.my-card {width: 40% !important;padding: 30px;margin: 0 auto;background-color: rgba(255, 255, 255, .8);.my-check {margin: 0 0 .5rem 0;}.btn {}}
}
静态效果大概是这样的(请忽略吃货背景图)

6.结语
本篇完成了前端项目的静态部分和简单的路由功能,下一篇将添加网络功能,路由守卫功能
源码: https://github.com/Zzuser/security/tree/master/security-front
上篇: https://blog.csdn.net/cepto/article/details/85331386
本文来自互联网用户投稿,文章观点仅代表作者本人,不代表本站立场,不承担相关法律责任。如若转载,请注明出处。 如若内容造成侵权/违法违规/事实不符,请点击【内容举报】进行投诉反馈!