梅科尔工作室-崔启凡-鸿蒙笔记3
两个组件和渲染
- list组件
- 父子组件(自定义组件)
- 双向数据绑定
- if-else渲染
- for循环渲染
- 案例
- 循环、列表
- 父子组件、点击事件
list组件
由list容器组件和listitem容器组件构成,list是一个大容器,listitem是大容器里的小容器
基本代码
List(){//List大容器
ListItem(){//ListItem小容器,用来装饰内容
//编写内容
}
}
代码示例
List( ) {
ListItem(){Text("示例1").fontSize(30).width("90%").height("10%")
}
ListItem(){Text("示例2")fontSize(30).width("90%").height("10%")
}
ListItem(){Text("示例3").fontSize(30) .width("90%").height("10%")
}
ListItem(){Text("示例4").fontSize(30).width("90%").height("10%")
}
}
效果

- 接口`List(value?:{space?: number | string, initialIndex?: number, scroller?: Scroller})
- 参数:
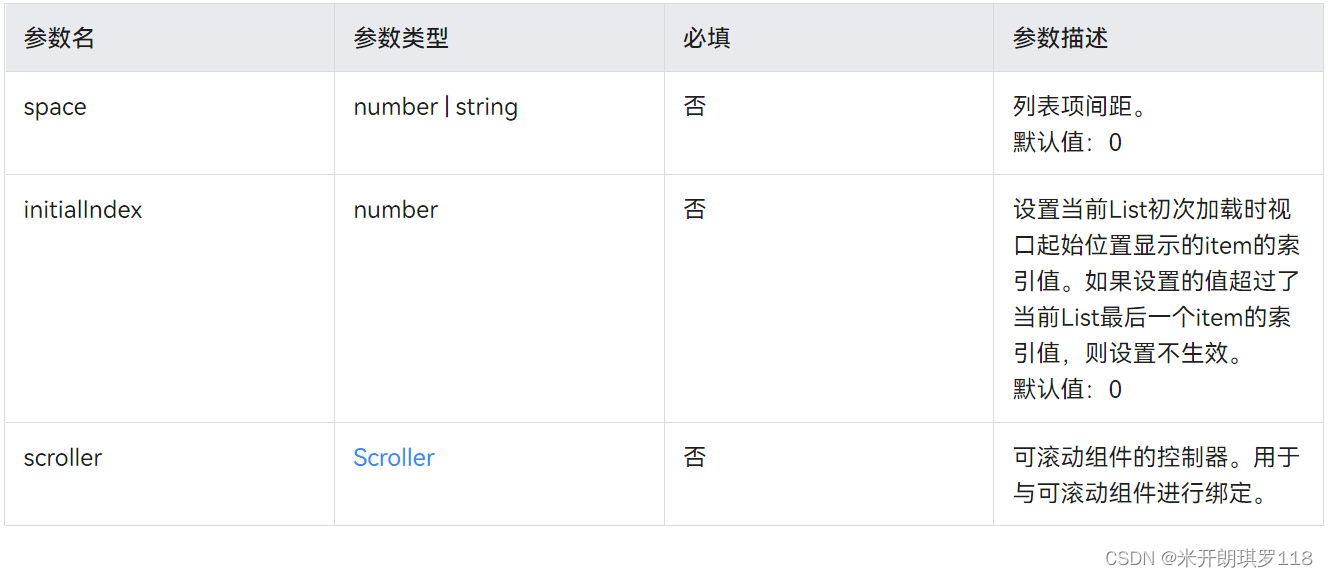
`
父子组件(自定义组件)
- 在另一个文件夹中编写子组件(修饰器不用写@entry),子组件导出用export语句
@Component
export struct child{build(){Text('1').fontSize(30)Button('按钮').width(100).height(50)}
}
- 调用子组件的称为父组件,父组件导入用import {子组件文件名称} from “子组件文件相对路径”
import{子组件名字} from"路径" //引入子组件
双向数据绑定
- 改变任何一方数据时,两方数据都会变为改变的一方数据
- 子组件中数据用@Link修饰
@Link 子组件名字:string
- 父组件中用@State修饰,在子组件接口中数据用$修饰
@State fuzujiantext: string="父组件";
子组件名字({zizujiantext:$fuzujiantext})
if-else渲染
- 使用语法
- if/else渲染可以改变组件的渲染状态,即决定组件是否在页面中被渲染。if括号内的变量是true的话,则对应下的组件都被渲染,否则都不被渲染。
- 注意事项
- 必须在容器组件内使用。
- 使用if/else可以使子组件的渲染依赖条件语句。
- 示例
- 使用if条件语句:
Column(){
if(this.count>0){Text('count is positive')
}}
- 使用if、else if、if语句
Column(){
if(this.count<0){Text('count is negative')
}
else if(this.count%2===0){DividerText('even')
} else{DividerText('odd')
}
}
for循环渲染
- 通过循环渲染(ForEach)从数组中获取数据,并为每个数据项创建相应的组件,可减少代码复杂度。
ForEach(arr: any[], itemGenerator: (item: any, index?: number) => void,keyGenerator?: (item: any, index?: number) => string
)
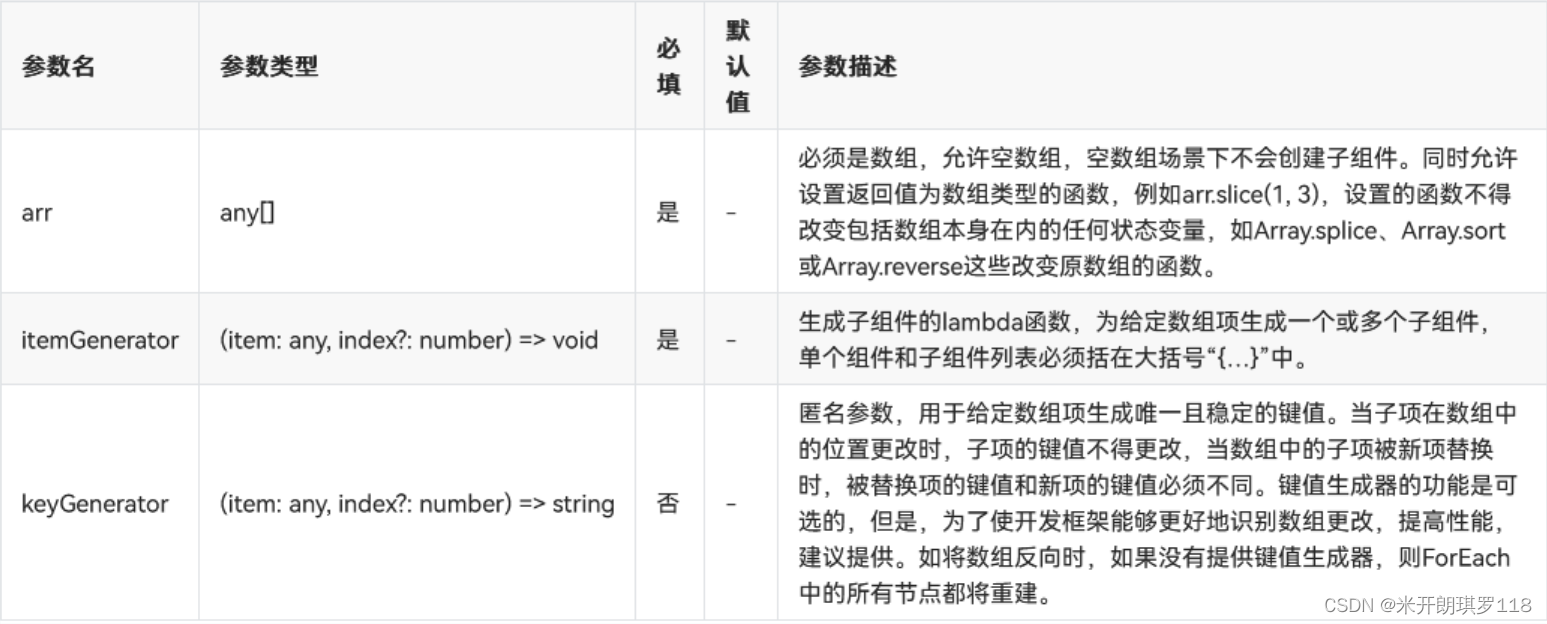
- 说明
-
ForEach必须在容器组件内使用。
-
生成的子组件应当是允许包含在ForEach父容器组件中的子组件。
-
允许子组件生成器函数中包含if/else条件渲染,同时也允许ForEach包含在if/else条件渲染语句中。
-
itemGenerator函数的调用顺序不一定和数组中的数据项相同,在开发过程中不要假设itemGenerator和keyGenerator函数是否执行及其执行顺序。
-
- 代码示例
// xxx.ets
@Entry
@Component
struct MyComponent {@State arr: number[] = [10, 20, 30]build() {Column({ space: 5 }) {Button('Reverse Array').onClick(() => {this.arr.reverse()})ForEach(this.arr, (item: number) => {Text(`item value: ${item}`).fontSize(18)Divider().strokeWidth(2)}, (item: number) => item.toString())}}
}
案例
循环、列表
代码
@Entry
@Component
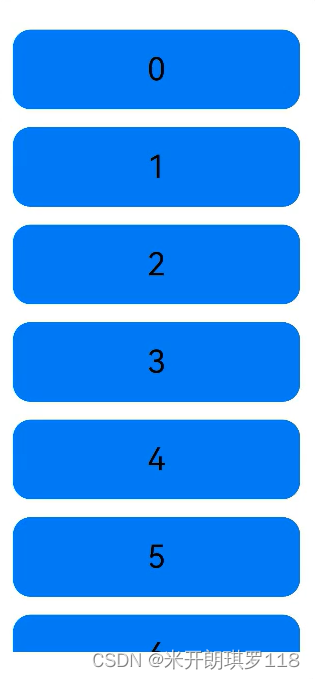
struct ListExample {private arr: number[] = [0, 1, 2, 3, 4, 5, 6, 7, 8, 9] // 一个列表build() {Column() {Column() {List({ space: 20 }) {ForEach(this.arr, (item) => { //for循环渲染出10个Listitem小列表ListItem() {Text(item.toString()) //使列表里面的元素转化为字符串出现到文本里.width('100%').height(90).fontSize(36) //文字大小.textAlign(TextAlign.Center) //文字居中.backgroundColor("#007DEF")//背景颜色.borderRadius(20) //使ListItem出现圆角}})}.listDirection(Axis.Vertical) // 排列方向}.width("90%") //宽高都设为90%便于居中美观.height('90%')}.width('100%') //宽高100%让容器沾满手机屏幕.height('100%').justifyContent(FlexAlign.SpaceAround)//沿中心线对齐}
}
- 效果(可以动的)
父子组件、点击事件
子代码
@Component
export struct child{  //导出@Link childnum:number@Link childstatu:booleanbuild() {Column({space:10}) {  //容器,子组件间隔10if(this.childstatu){  //如果真执行,如果假不执行;真假由childststu的值决定Text(this.childnum.toString())  //文本组件,括号内是为了让内容转化为字符型.fontSize(80)  //字体大小.fontColor(Color.Red)// 字体颜色}Button('增加')   //这是一个按钮.width(200).height(90).fontSize(30)  //按钮中文本大小.onClick(()=>{  //点击事件this.childnum++//点击后childnum的值加1})Button('减少').width(200).height(90).fontSize(30).onClick(()=>{this.childnum--//点击后childnum的值减1})Button('归零').width(200).height(90).fontSize(30).onClick(()=>{this.childnum = 0//点击后childnum的值变为零})Button('显示').width(200).height(90).fontSize(30).onClick(()=>{this.childstatu =! this.childstatu//真假互换})}}
}
父代码
import{child} from"../common/child"  //引入子组件
@Entry
@Component
struct Index{@State fathernum:number = 0 //设fathernum为number类型值为0@State fatherstatu:boolean = true//设fatherstatu为boolean类型值为truebuild() {Row() {Column() {child({ childnum: $fathernum,childstatu:$fatherstatu})  //子组件}.width('100%')}.height('100%')}
}
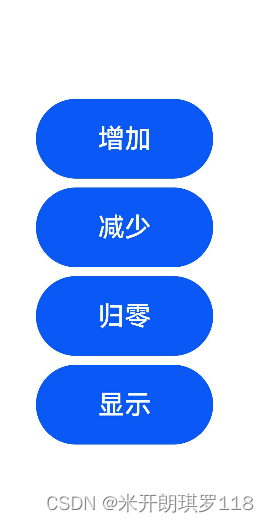
效果图
开始运行
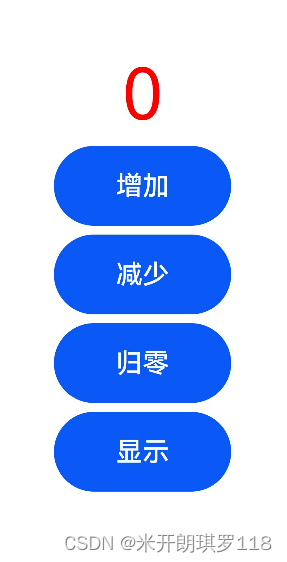
点击三次增加(点击一次数字加一)
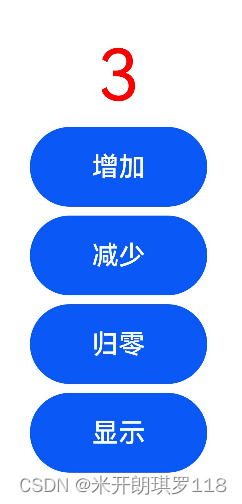
点击一次减少数字就会减一
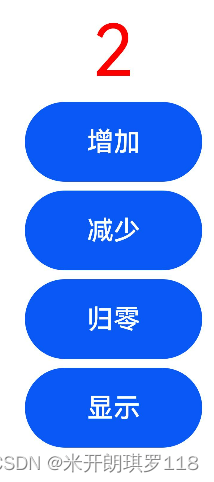
点击归零(即数字变为零)
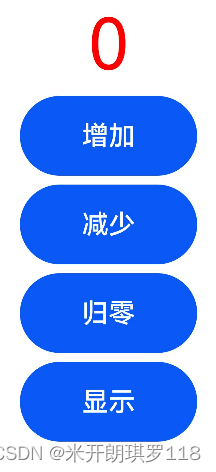
点击显示可隐藏或显示数字
本文来自互联网用户投稿,文章观点仅代表作者本人,不代表本站立场,不承担相关法律责任。如若转载,请注明出处。 如若内容造成侵权/违法违规/事实不符,请点击【内容举报】进行投诉反馈!