MATLAB Appdesigner制作图像基础处理APP
文章目录
- 前言
- 一、app.UIAxes和app.button创建与使用
- 二、app.image和app.button创建与使用
- 三、MATLAB appdesinger与图像基础处理结合
前言
Mathworks在2016年初推出R2016a,这个版本初次引入App Designer,用于代替GUIDE。我之前看了很多关于GUIDE的新手教程,在接触App Designer之后,感觉一点点的一言难尽。对于老手来说,App Designer确实有实力去代替GUIDE,界面更加灵活,而且排版都很接见现代社会;但是对于新手来说,App Designer的学习难度高于GUIDE(对于我来说)。
这里强烈推荐一个MATLAB App Designer的学习网站:
https://www.bilibili.com/video/BV1Kz4y1R7X2/?p=5&spm_id_from=333.880.my_history.page.click&vd_source=1861080cbedb7db7f4b12c242abf7138
下面就初步介绍一下App Designer的基础创建与使用,以及与遥感基础图像处理相结合。
一、app.UIAxes和app.button创建与使用
-
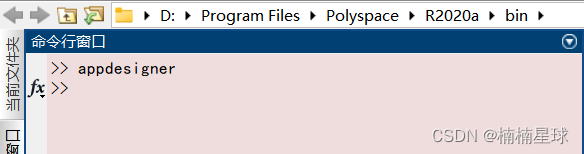
在命令行窗口输入appdesinger
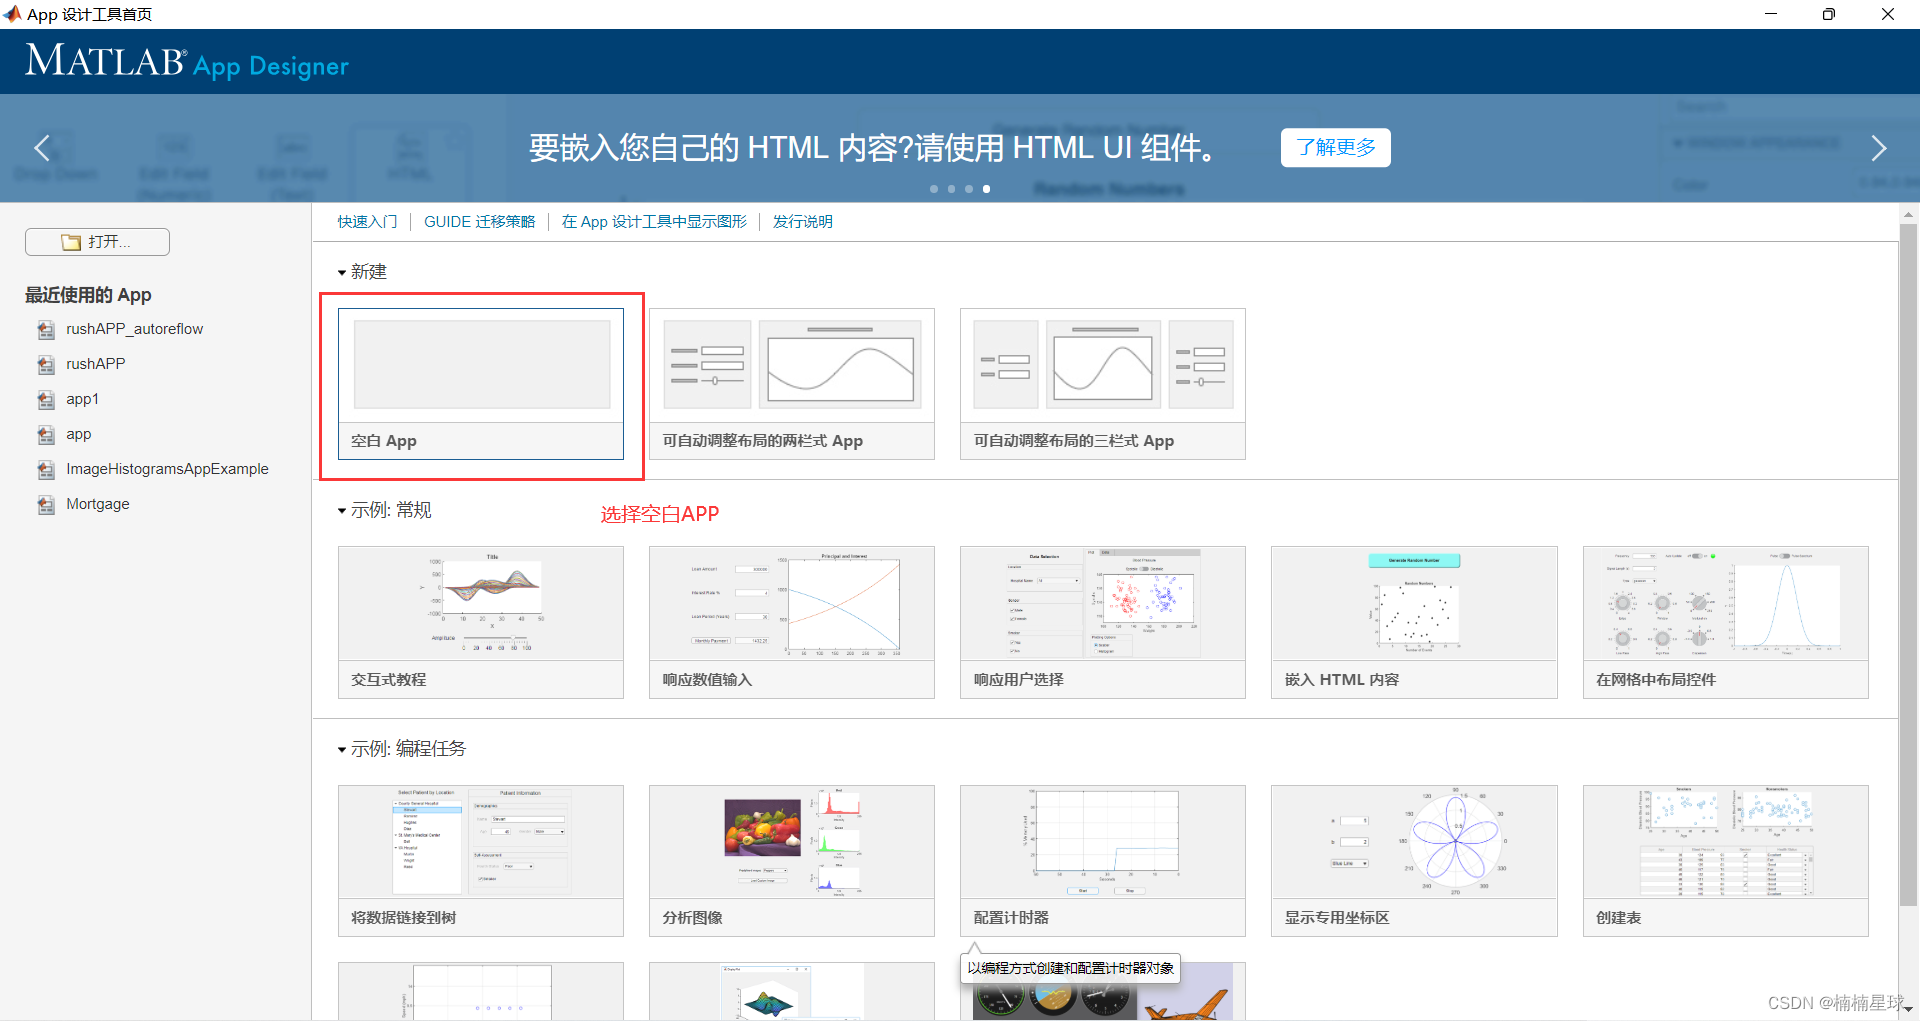

-
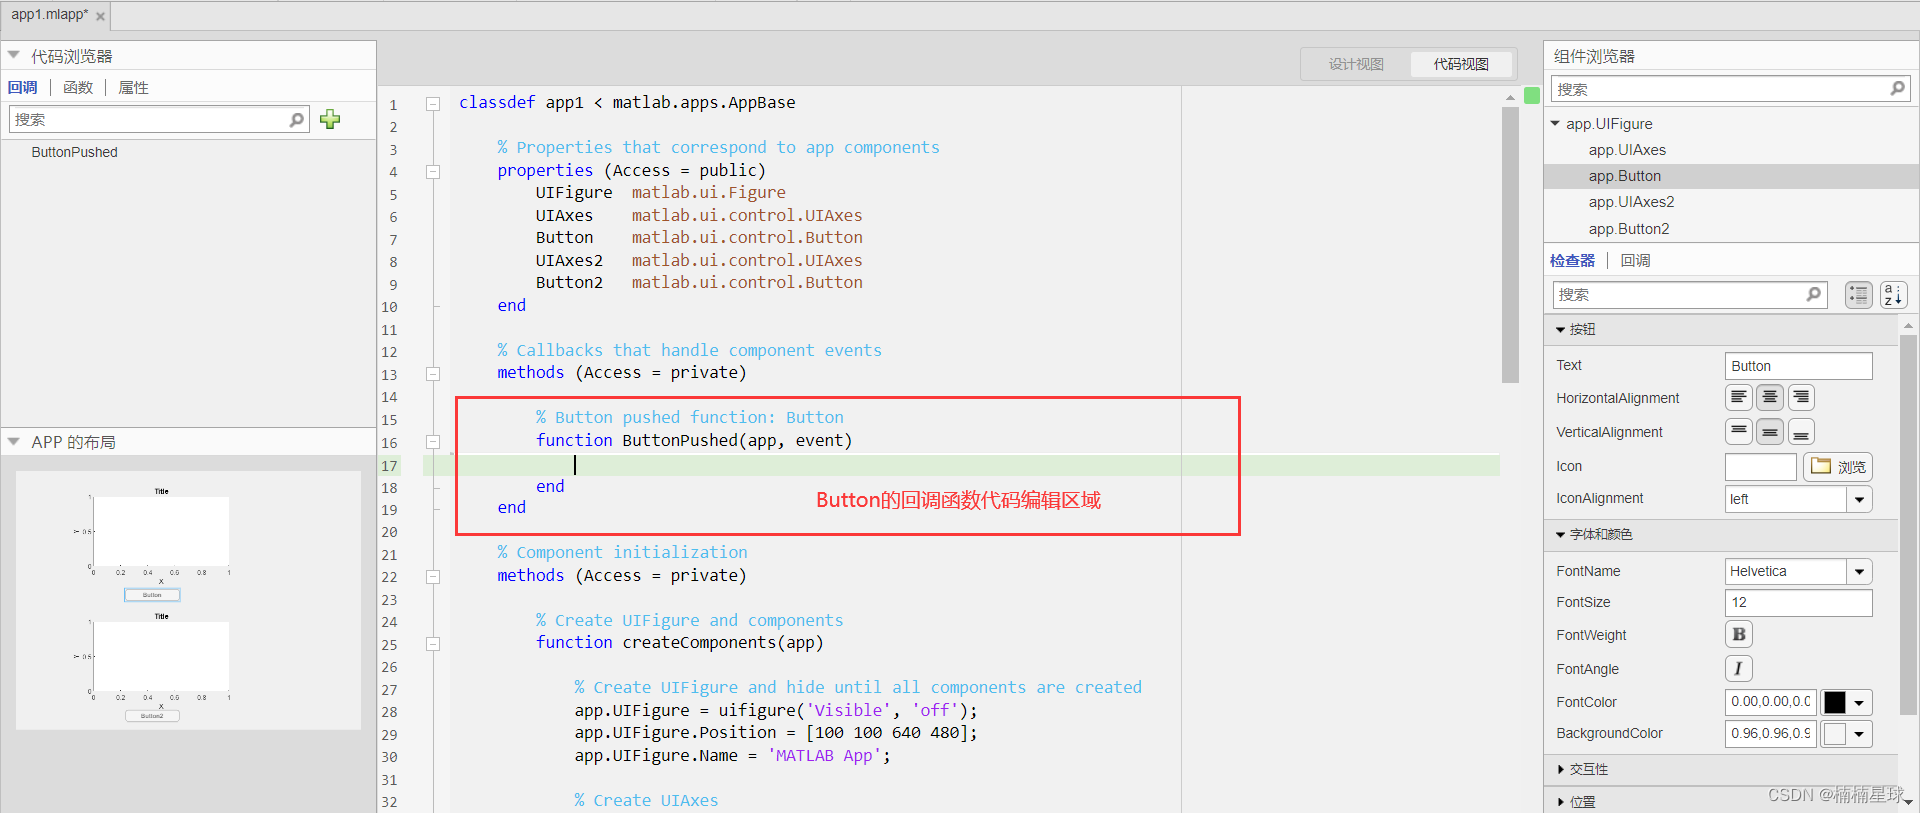
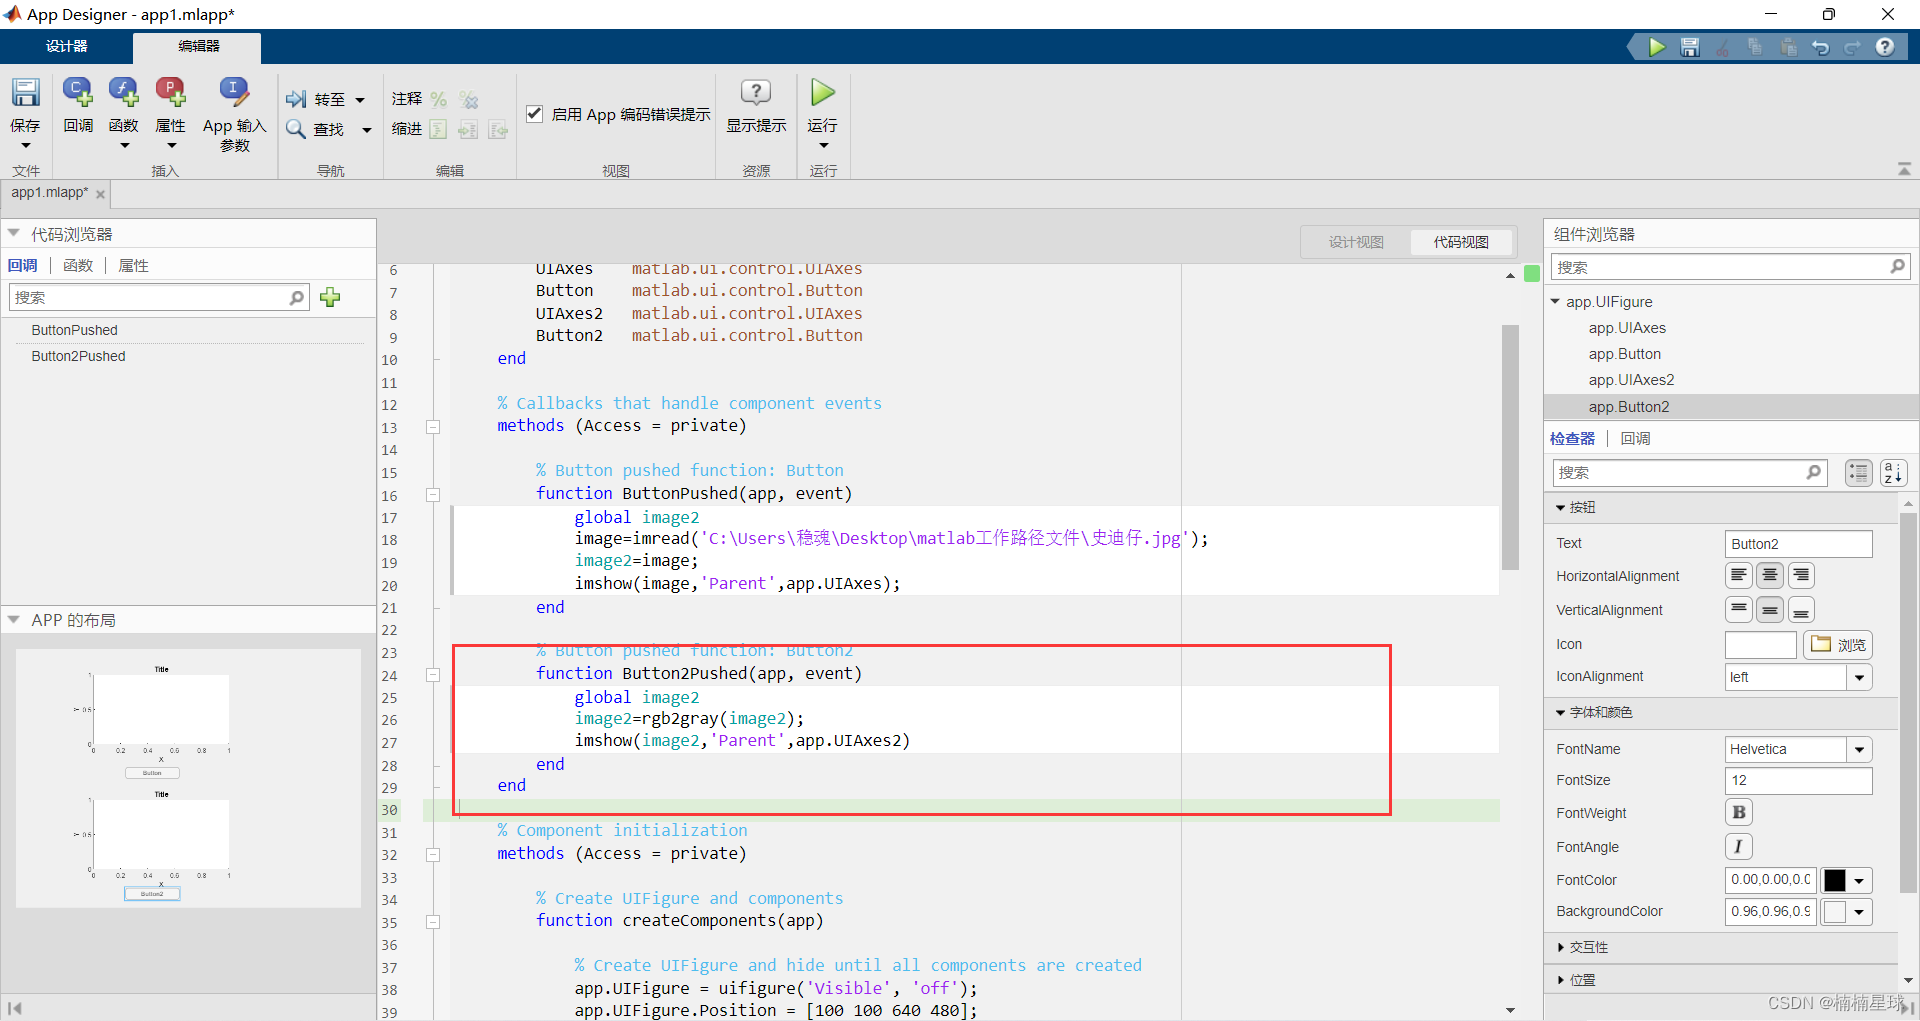
布局好组件之后,在上方点击代码视图,在右侧的组件浏览器找到app.button,右击选择回调—添加ButtonPushedFcn回调

-
在代码编辑区里面输入自己的代码,和正常代码一样
需要注意一下几点:
1、由于我们的坐标区和按钮各有两个,button2会借用button的值,所以需要声明全局变量image2
2、坐标区app.UIAxes是没有回调函数,而是里面imshow函数,将image图像矩阵作为父级反馈给app.UIAxes
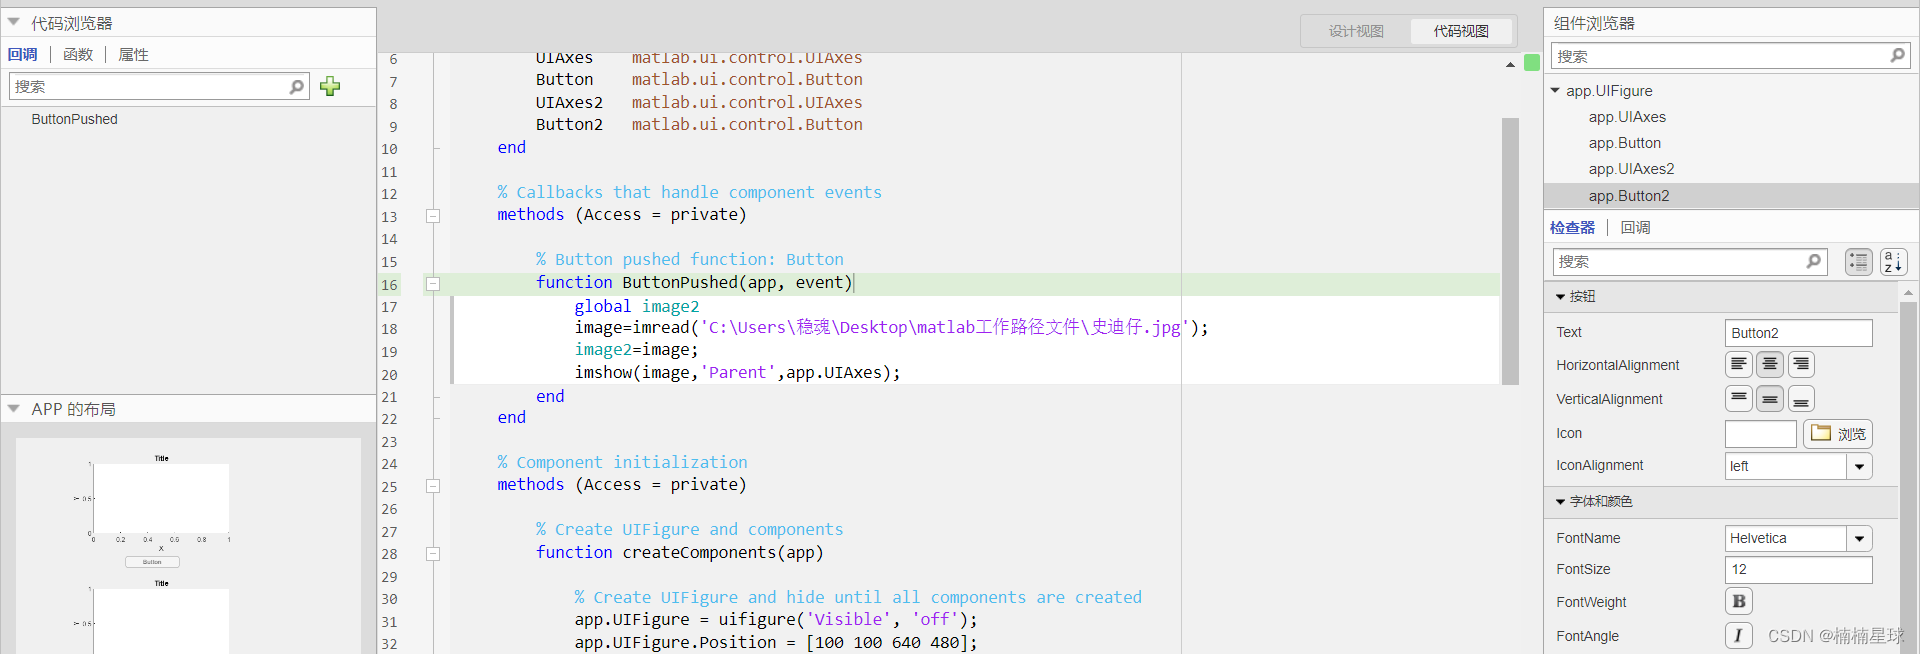
% Button pushed function: Buttonfunction ButtonPushed(app, event)global image2image=imread('C:\Users\稳魂\Desktop\matlab工作路径文件\史迪仔.jpg');image2=image;imshow(image,'Parent',app.UIAxes);end
-
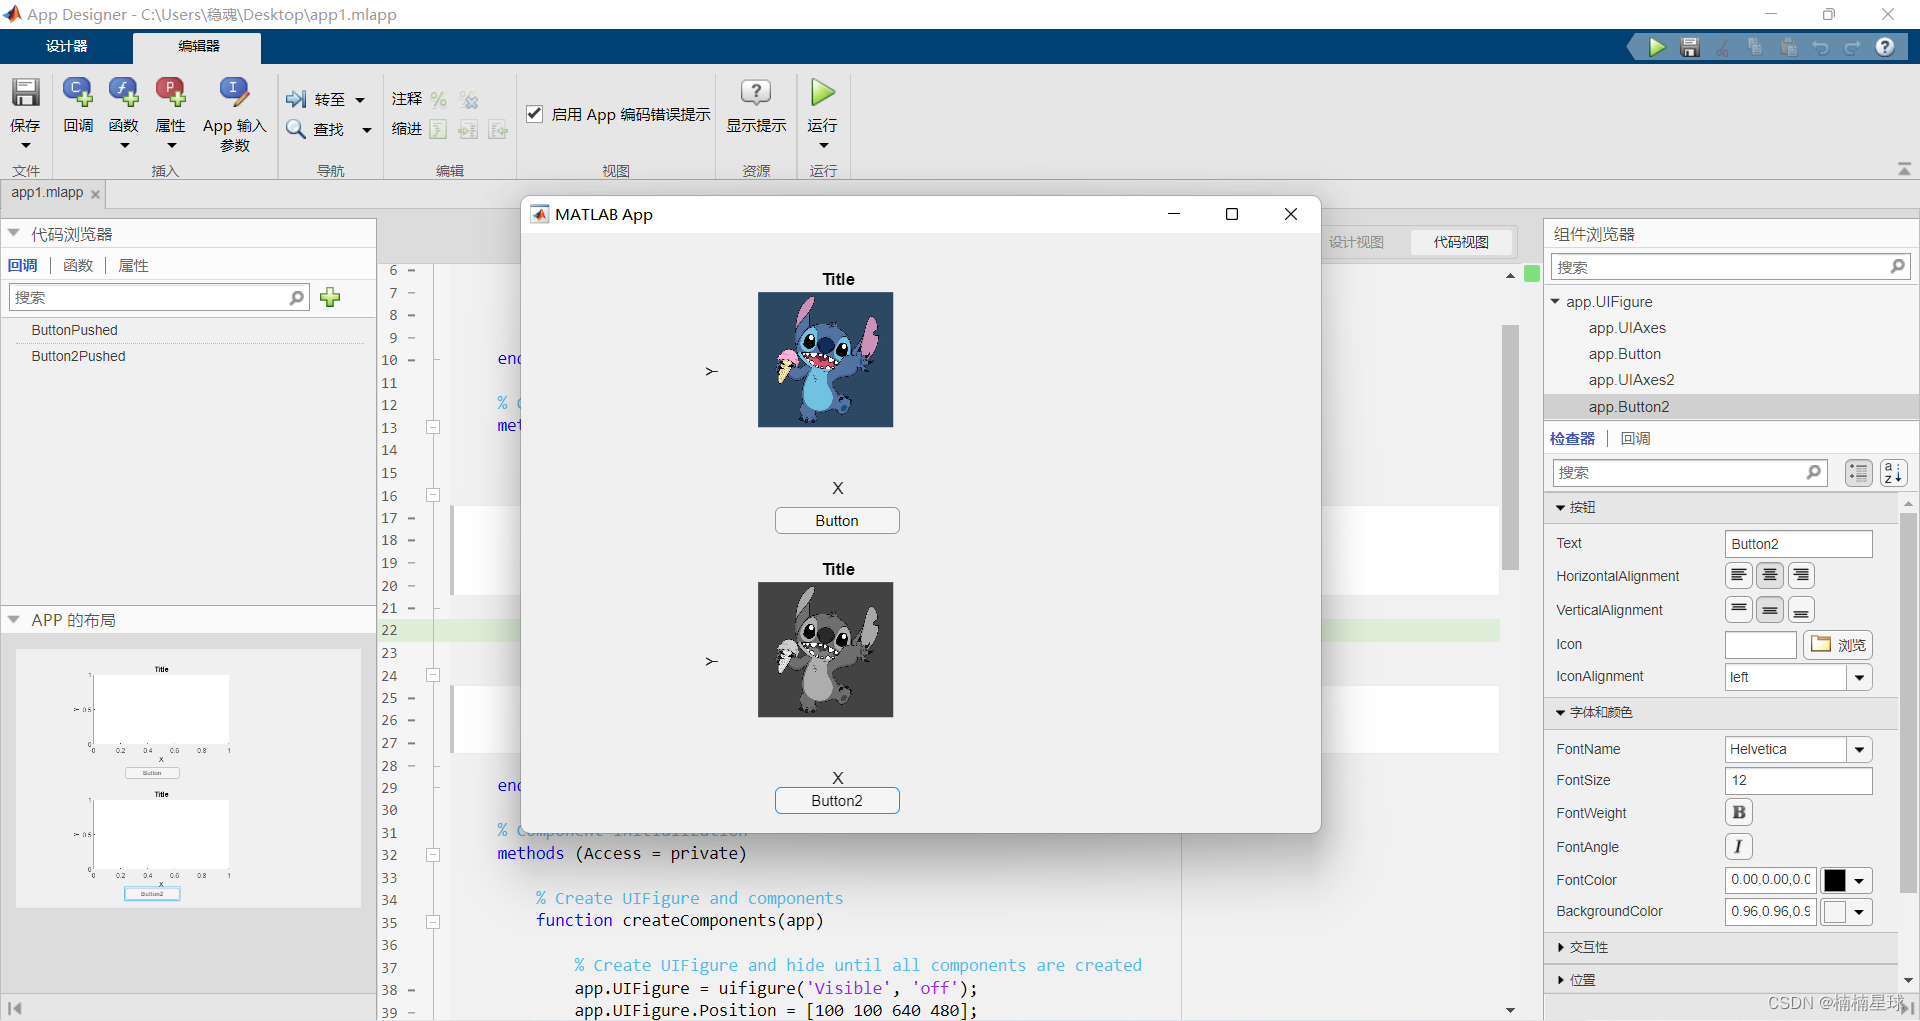
按照步骤二的方法,我们添加button2的回调函数,在代码编辑区里面输入代码
同样需要里面global函数声明一下image2,便与传递
% Button pushed function: Button2function Button2Pushed(app, event)global image2image2=rgb2gray(image2);imshow(image2,'Parent',app.UIAxes2)end
-
完成上述步骤,之后我们点击运行
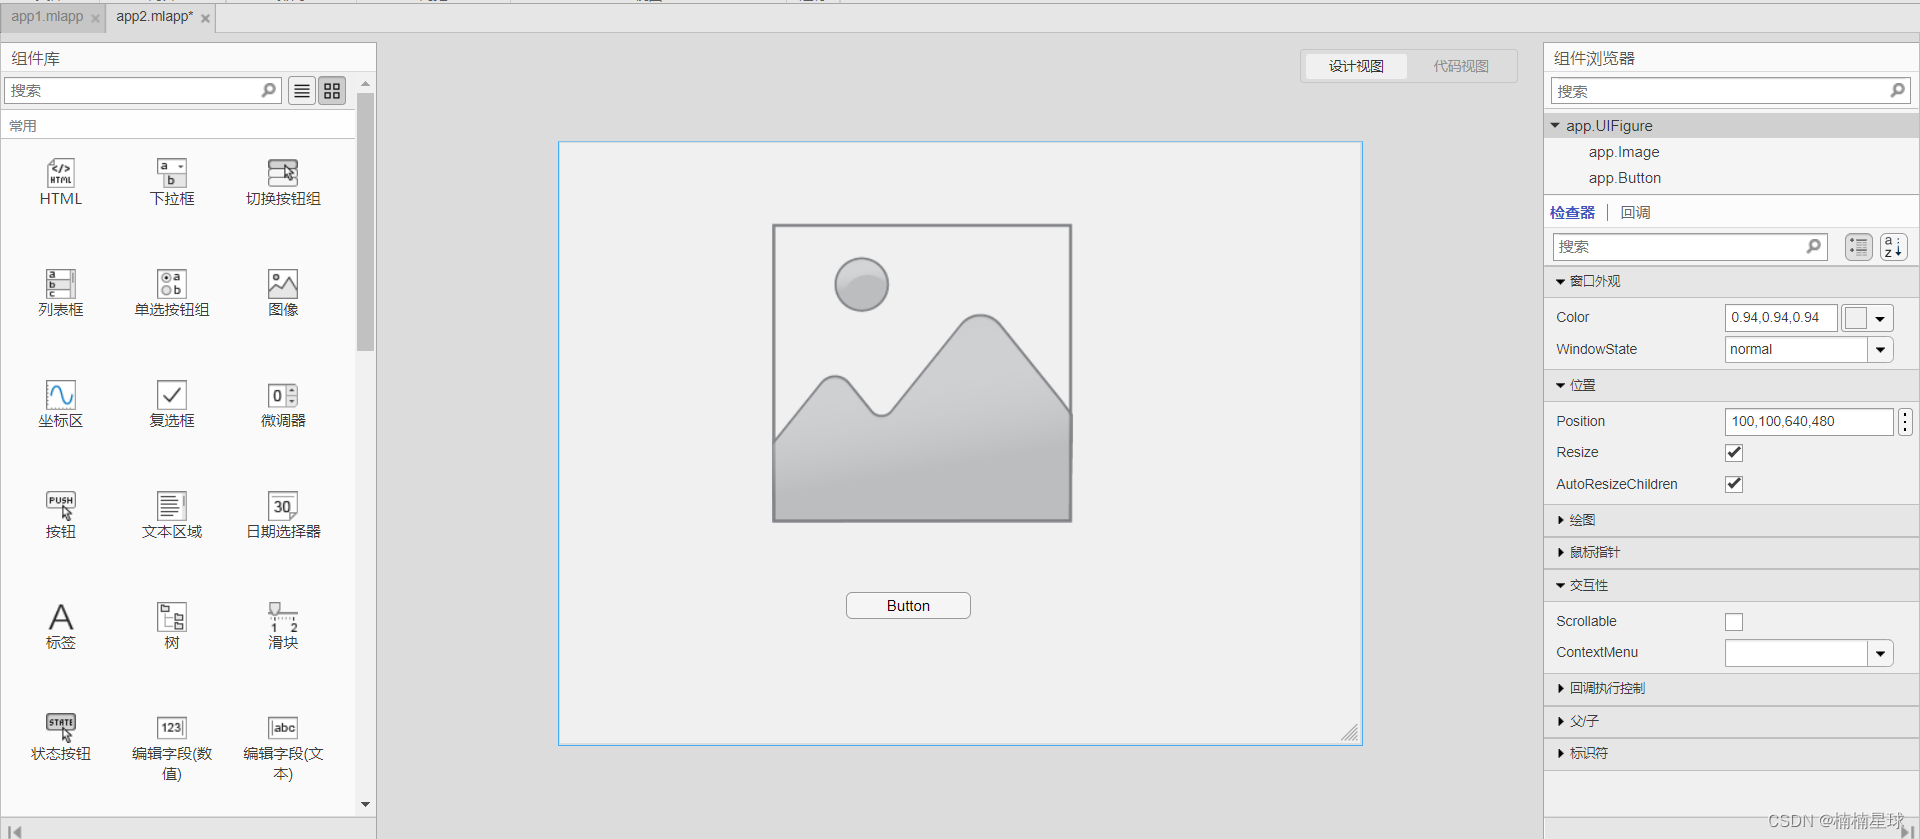
二、app.image和app.button创建与使用
其实这些组件间的变量传递有很多方法,只要不触碰Appdesigner的代码写作规则,还是和基础脚本差不多。

三、MATLAB appdesinger与图像基础处理结合
代码必要解释
uigetfile是调用读取文件的人机交互窗口的函数
isequal函数是判断变量是否满足某一条件
isequal函数是判断变量是否满足某一条件
padarry是用于在矩阵外围拓展一圈的函数
imhist函数是用于统计图像矩阵,[像元值,像元个数]
imfilter函数是matlab自带的锐化处理的函数
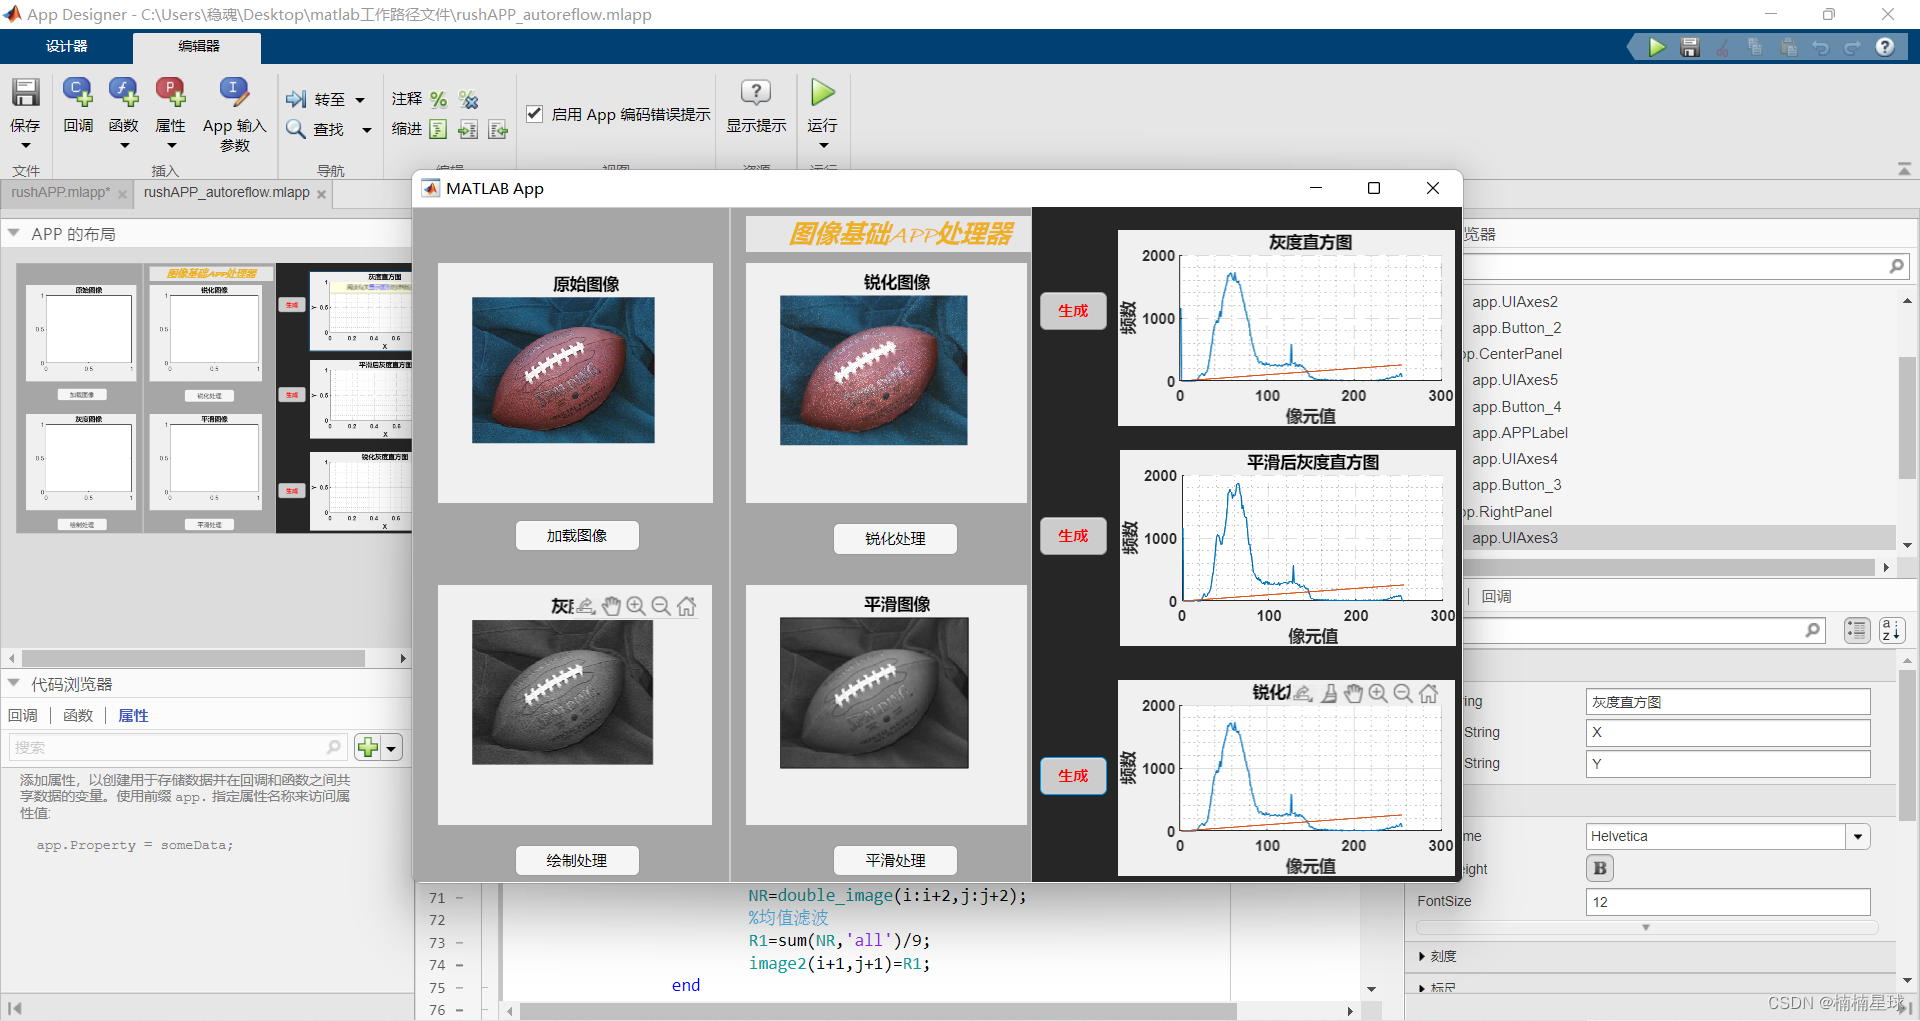
% Button pushed function: Buttonfunction ButtonPushed(app, event)%-------------------------------------------------------------------% '加载影像'的button代码段%-------------------------------------------------------------------global image image2 image3 ; [filename ,filepath]=uigetfile({'*.bmp;*.jpg;*.tif'},'选择图片文件');if isequal(filename,0) || isequal(filepath,0)errordlg('没有选中文件,请重新选择','出错');return;endfullpathname=strcat(filepath ,filename);image=imread(fullpathname);image2=imread(fullpathname);image3=imread(fullpathname);imshow(image,'Parent',app.UIAxes);end% Button pushed function: Button_3function Button_3Pushed(app, event)%-------------------------------------------------------------------%'平滑处理'的button代码段%-------------------------------------------------------------------global image2 double_image NR R1 rows cols;image2=rgb2gray(image2);image2=padarray(image2,[1,1]);double_image=double(image2); [rows,cols]=size(double_image); for i=1:rows-2for j=1:cols-2NR=double_image(i:i+2,j:j+2); %均值滤波R1=sum(NR,'all')/9; image2(i+1,j+1)=R1;endendimshow(image2,'Parent',app.UIAxes4);end% Button pushed function: Button_2function Button_2Pushed(app, event)%-------------------------------------------------------------------% '灰度处理'的button代码段%-------------------------------------------------------------------global image image1 ;image1=rgb2gray(image);imshow(image1,'Parent',app.UIAxes2);end% Button pushed function: Button_5function Button_5Pushed(app, event)%-------------------------------------------------------------------% '生成'灰度直方图的button代码段%-------------------------------------------------------------------global image1 hd_hist image1_k;image1_k=padarray(image1,[1,1]);[x,y]=imhist(image1_k,255);hd_hist=[x,y];plot(hd_hist,'Parent',app.UIAxes3);app.UIAxes3.XLabel.String='像元值';app.UIAxes3.YLabel.String='频数';end% Button pushed function: Button_4function Button_4Pushed(app, event)%-------------------------------------------------------------------% '锐化处理'的button代码段%-------------------------------------------------------------------global I4 image3 image_ruihua;I4=imfilter(image3,fspecial('laplacian',0.2),'replicate','same');image_ruihua=imadd(I4.*0.95,image3);imshow(image_ruihua,'Parent',app.UIAxes5);end% Button pushed function: Button_6function Button_6Pushed(app, event)%-------------------------------------------------------------------% '生成'平滑后灰度直方图的button代码段%-------------------------------------------------------------------global image2 hd_hist2 ;[x,y]=imhist(image2,255);hd_hist2=[x,y];plot(hd_hist2,'Parent',app.UIAxes6);app.UIAxes6.XLabel.String='像元值';app.UIAxes6.YLabel.String='频数';end% Button pushed function: Button_7function Button_7Pushed(app, event)%-------------------------------------------------------------------% '生成'锐化后灰度直方图的button代码段%-------------------------------------------------------------------global image3 hd_hist3 rgb_image3;rgb_image3=rgb2gray(image3);[x,y]=imhist(rgb_image3,255);hd_hist3=[x,y];plot(hd_hist3,'Parent',app.UIAxes7);app.UIAxes7.XLabel.String='像元值';app.UIAxes7.YLabel.String='频数';end
运行结果

本文来自互联网用户投稿,文章观点仅代表作者本人,不代表本站立场,不承担相关法律责任。如若转载,请注明出处。 如若内容造成侵权/违法违规/事实不符,请点击【内容举报】进行投诉反馈!